Long time readers will have followed the twists and turns of the John Deere repair saga, in which the agricultural machinery manufacturer has used DRM to restrict the repair of its tractors. It may be hot stuff on the prairies, but it matters to everyone because it’s a key right-to-repair battleground. Now the company’s attempt to throw out the latest class-action lawsuit, this time in Illinois. has failed, paving the way for a meaningful challenge.
This lawsuit is special because has the aim of determining whether or not Deere conspired to drive up the cost of repair and edge out independent mechanics. It comes against a backdrop in which their promised access to repair software which we reported on back in January has failed to materialize, and this is likely to figure as an act of bad faith.
A failing of corporate culture is that the organisation can in its own eyes, never be wrong. In Deere’s case they have accrued plenty of bad publicity in the years they’ve pursued this ill-advised business model, and in case that weren’t enough they’ve alienated their core customers out on the farms to the extent that a second-hand Deere from before the DRM era has more value than its newer counterparts. Deere genuinely do make very good tractors, so for farmers loyal for generations to turn their backs on them is a very significant story indeed. One has to ask, how much bad publicity and how many lawsuits do they have to have before someone at head office in Moline figures out that DRM in tractors (or anything else for that matter) isn’t the great idea they once thought it was? Maybe this one will finally herald the moment when that happens.
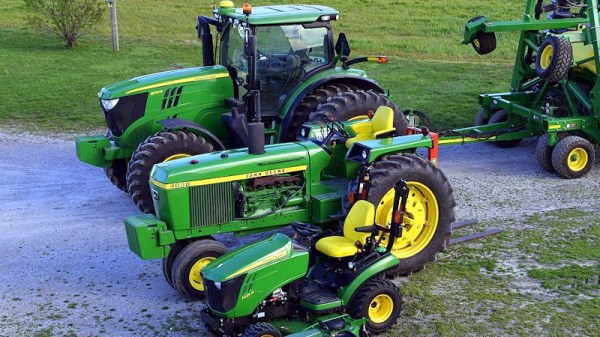
Header image: Nheyob / CC BY-SA 4.0