The Amiga 600 was in its day the machine nobody really wanted — a final attempt to flog the almost original spec 68000 platform from 1985, in 1992. Sure it had a PCMCIA slot nobody used, and an IDE interface for a laptop hard drive, but it served only to really annoy anyone who’d bought one when a few months later the higher-spec 1200 appeared. It’s had a rehabilitation in recent years though as a retrocomputer, and [LinuxJedi] has a 600 motherboard in need of some attention.
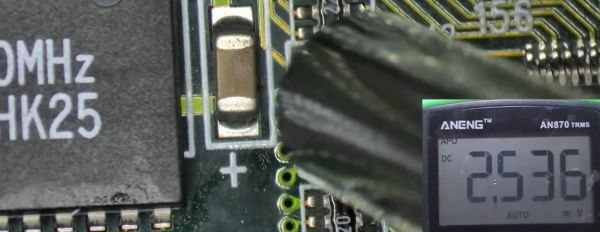
As expected for a machine of its age it can use replacement electrolytic capacitors, and its reset capacitor had bitten the dust. But there’s more to that with one of these machines, as capacitor leakage can damage the filter circuitry surrounding its video encoder chip. Since both video and audio flow through this circuit, there was no composite video to be seen.
The hack comes in removing the original chip rather than attempt the difficult task of replacing the filter, and replacing it with a different Sony chip in the same series. It’s nicely done with a connector in the original footprint, and a small daughterboard. The A600 lives again, but this time it won’t be a disappointment to anyone.
If you want to wallow in some Amiga history as well as read a rant about what went wrong, we have you covered.