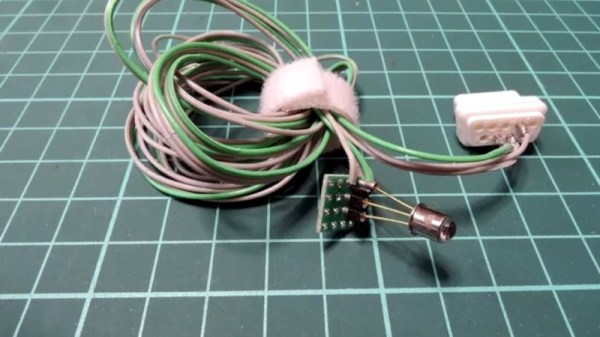
Sometimes the simplest of projects end up revealing the most interesting of things, as for example is the case with [Ryo Mukai]’s light pen for the Vectrex console. It’s an extremely simple device using an integrated light sensor with built-in Schmitt trigger, but for us the magic isn’t in the pen itself but in discovering how it worked with the Vectrex’s vector graphics.
Light pens were a popular accessory in the 8-bit computing days, offering a relatively inexpensive pointing device that gave your micro an even more futuristic feel. On most computers that used a raster-scanning TV display they simply picked up the flying dot on the screen as it passed the end of the pen, but the Vectrex with its display not scanning all of the screen at once needed a different approach.
This piqued our interest, and the answer to how it was done came from PlayVectrex. There was a target X on the screen which could be picked up with the pen, and when picked up it would surround itself with a circle. Crossing the dot as it flew round the circle would tell the console where the pen was, and the position would move to fit. For those of us who only saw a Vectrex in a shop window back in the day, mystery solved! We’ve placed a video showing the process below the break.
This isn’t the first light pen we’ve seen, they can even be connected to modern computers, too.

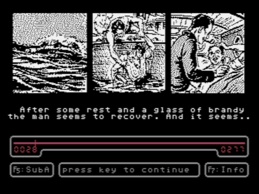 StripStream runs on a stock PAL C64 system, using the Datasette interface. A PC program is used to compose a comic into a suitable format for the C64. It then generates a .TAP file which can either be played in a C64 emulator, or recorded onto an audio tape for loading on real hardware.