Sparkfun Electronics held their 6th annual Autonomous Vehicle Competition last weekend, and this year was bigger than ever before. The action was at Boulder Reservoir in Colorado, but anyone could follow along (with a few technical difficulties) on the YouTube LiveStream. (Part 1), and (Part 2).
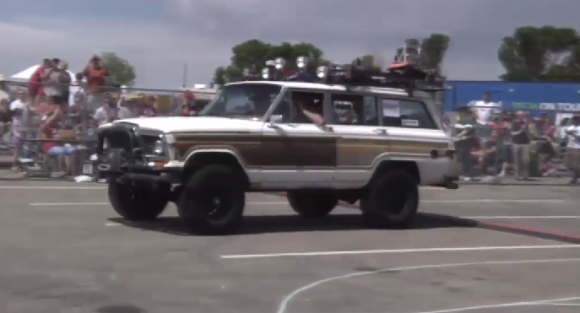
The story of the day was Team SHARC’s Troubled Child, which won the ground vehicle doping class. Rather than mess around with miniature cars, Team SHARC built their ‘bot out of a freaking Jeep, a 1986 Jeep Grand Wagoneer to be exact. Troubled Child had no problem getting around the course. One could say it carried the entire team. Literally – the rest of Team SHARC’s robots are riding along on top of Troubled Child in the picture up there.
There was also plenty of action in the aerial competition. Sir Crash-a-Lot was the first drone to find a watery doom at Boulder Reservoir. The last we saw of it on the stream, the team was looking for some divers.
Aircraft can not be hand launched at the AVC. Not a problem for rotary-winged vehicles, but this rule has led to some interesting solutions for fixed wing aircraft. The disguised “Team Falcon” showed up with an incredible compressed air launcher, which used a gallon water jug to fire their delta-winged plane to a clean run. Team Karma550 wasn’t quite as lucky, with their helicopter crashing hard, and throwing up quite a bit of smoke.
We’re still waiting for more detailed results, but if you want the full scores, they are available on Sparkfun’s AVC scoreboard page.
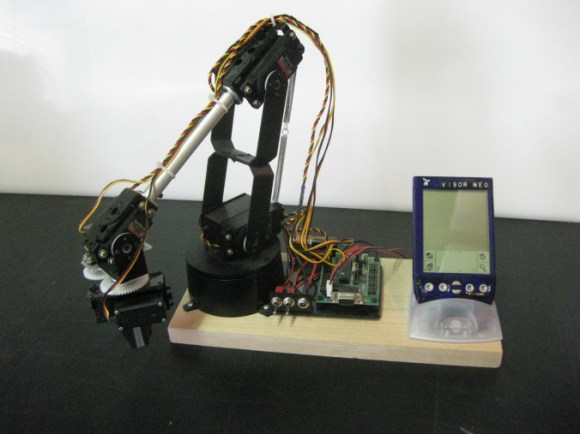
 When you think of a robotic arm, you’re probably thinking about digital control, microcontrollers, motor drivers, and possibly a feedback loop. Anyone who was lucky enough to have an Armatron knows this isn’t the case, but you’d still be surprised


