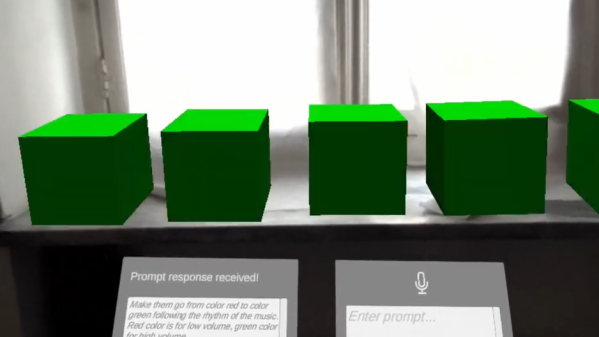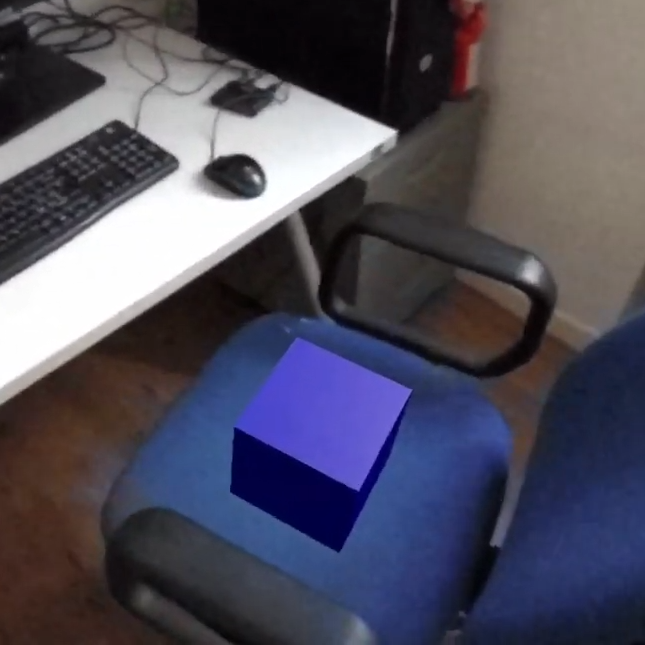
Generating videos for projects can be difficult. Not only do you have to create the thing, but you film the process and cut it together in a story that a viewer can follow. Explaining complex topics to the viewer often involves a whiteboard of some sort, but as we all know, it’s not always a perfect solution. [Jacob] was working on a video game and making videos to document the progress and built a tool called Motion Canvas to help visualize topics like custom shaders. A few months ago, he decided to release it as an open source project.
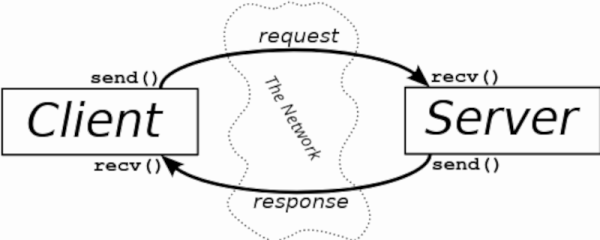
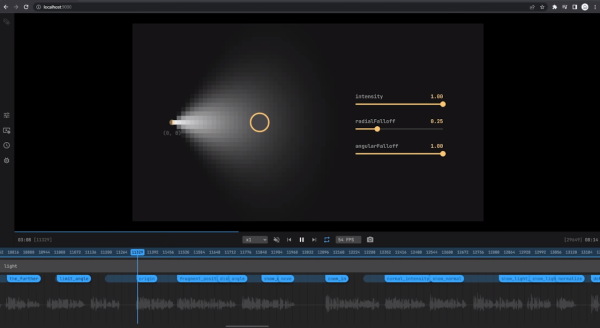
Since then, it has seen quite a few forks and GitHub forks with a lively showcase on the community Discord. Looking at the docs, it is pretty easy to see why. The interface allows you to write procedural animations using the async semantics of TypeScript while still offering the GUI interface we expect from our video editors. In particular, the signal system allows dependencies to be defined between values. The system runs in Node, and the GUI runs in your browser locally while you edit the files in your terminal/notepad/IDE. CSS and Flexbox are available as the video is rendered to a web canvas and then compiled into a video via FFMPEG. The documentation is quite extensive, and it’s a great example of a tool someone built to fit a need they had going on to become something a little more fantastic.
This isn’t the first time we’ve discussed how to share your projects with the world, and we’ll freely admit we have a bit of bias toward encouraging folks to document their projects.
Continue reading “Motion Canvas Helps Get Your Point Across”