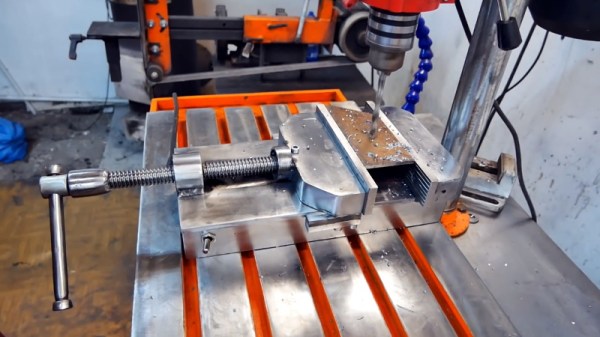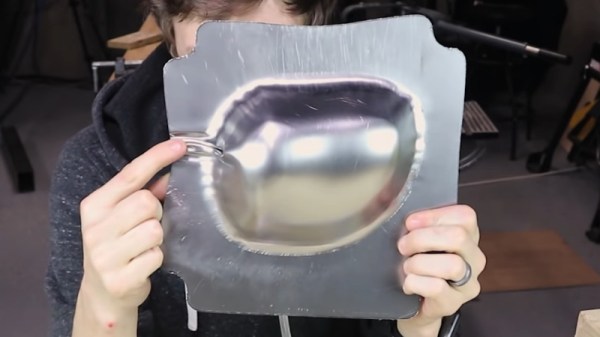
If you have ever looked closely at a typical mass-produced automobile, you will be familiar with pressed-steel panels. Complex curves can be repeated thousands of times over, by putting a sheet of steel between shaped tooling in a press and applying huge force. The same work that would take a skilled panel beater weeks to do by hand, in a second. It’s something [Stuff Made Here] tackled when he wanted to wear a set of Crocs in the workshop, and needed to make the tooling to produce them in his hydraulic press. The resulting video which we’ve posted below the break shows his learning curve, and along the way is a handy primer in sheet metal pressing.
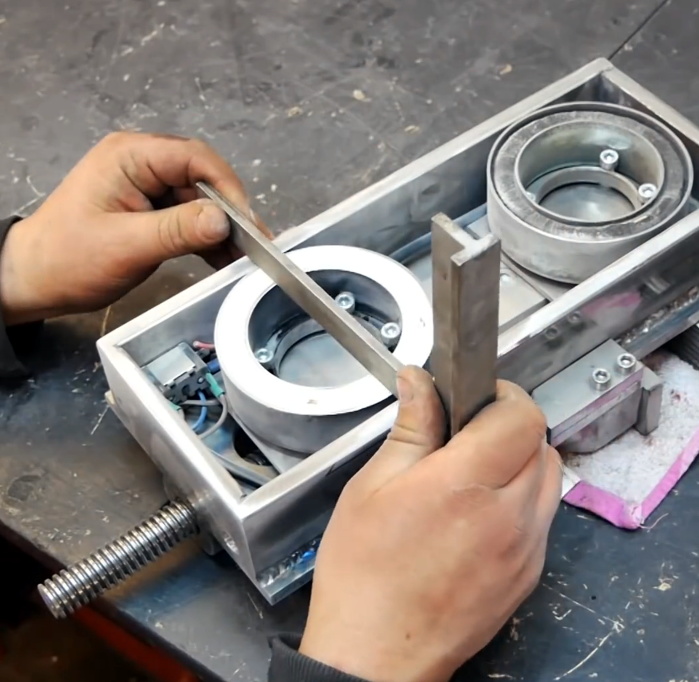
We watch as he discovers the properties of sheet metal under the stress of pressing, how it wrinkles and folds, and how the tool needs careful design and the sheet needs to be securely clamped in place to prevent this. The big surprise is that his tooling is made from CNC-machined wood, while we’re sure that it would wear given repeated use it seems that the forces on the tool are not such as to destroy this material. In the end he’s produced a multi-part tool including both halves of the press tool, a machined guide for the moving part, and a set of substantial sheet metal plates to constrain the material. The steel toecap application may not be everyone’s first idea when it comes to sheet metal forming, but we’re sure this technique could find application in many other projects. It’s a territory into which we’ve edged in the past, but never with pressings this complex.
Continue reading “Wooden Sheet Metal Press Tools Make Steel Toecaps”