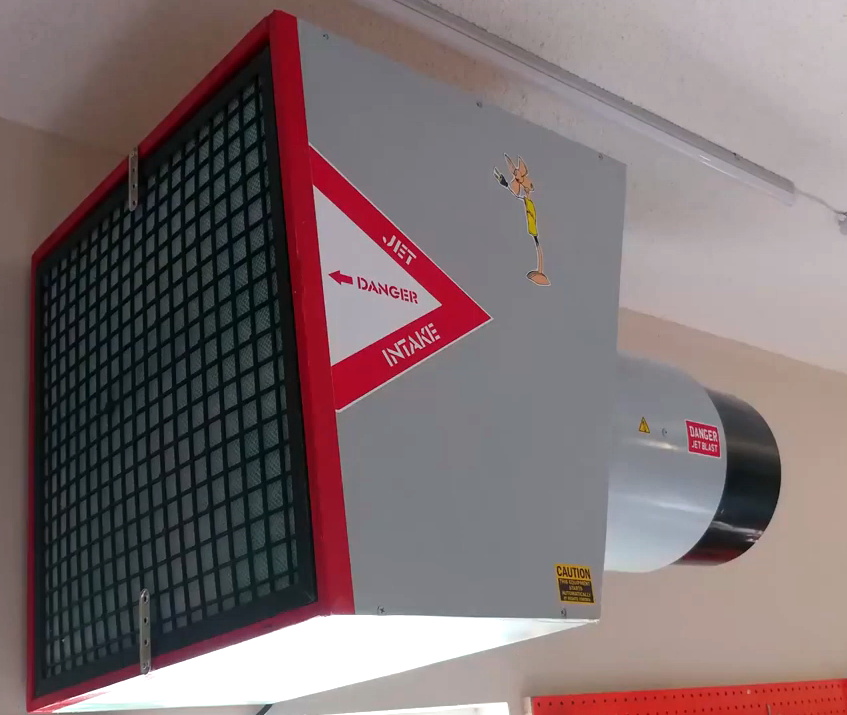
[Ruud], the creator of [Capturing Dust], started his latest video with what most of us would consider a solved problem: the dust collection system for his shop already had a three-stage centrifugal dust separator with more than 99.7% efficiency. This wasn’t quite as efficient as it could be, though, so [Ruud]’s latest upgrade shrinks the size of the third stage while increasing efficiency to within a rounding error of 99.9%.
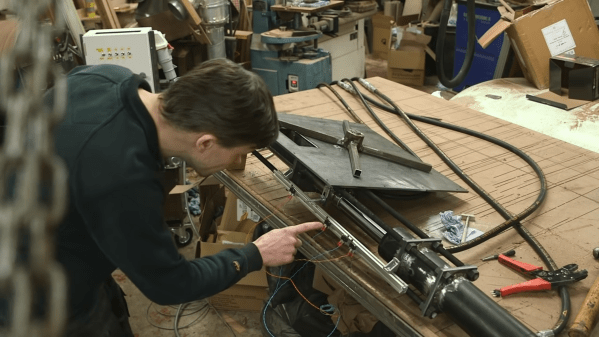
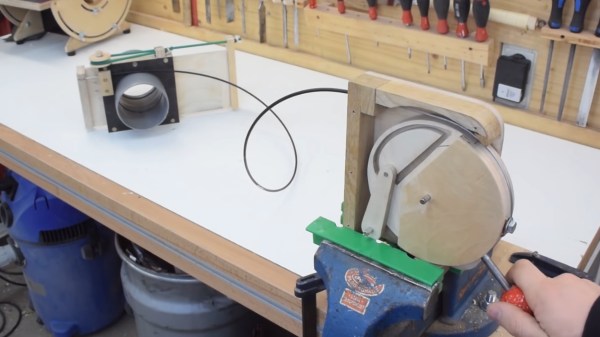
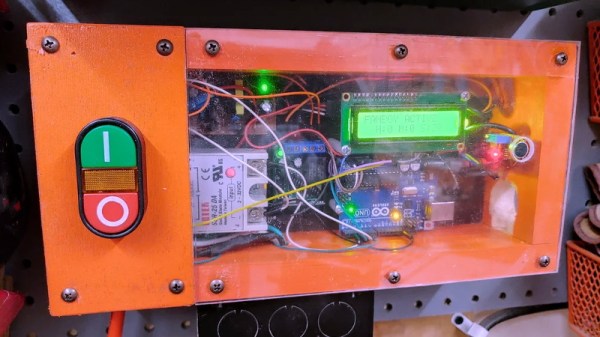
The old separation system had two stages to remove large and medium particles, and a third stage to remove fine particles. The last stage was made out of 100 mm acrylic tubing and 3D-printed parts, but [Ruud] planned to try replacing it with two parallel centrifugal separators made out of 70 mm tubing. Before he could do that, however, he redesigned the filter module to make it easier to weigh, allowing him to determine how much sawdust made it through the extractors. He also attached a U-tube manometer (a somewhat confusing name to hear on YouTube) to measure pressure loss across the extractor.
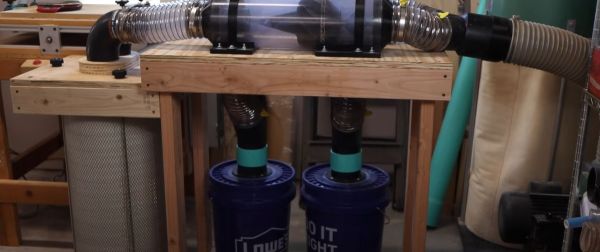
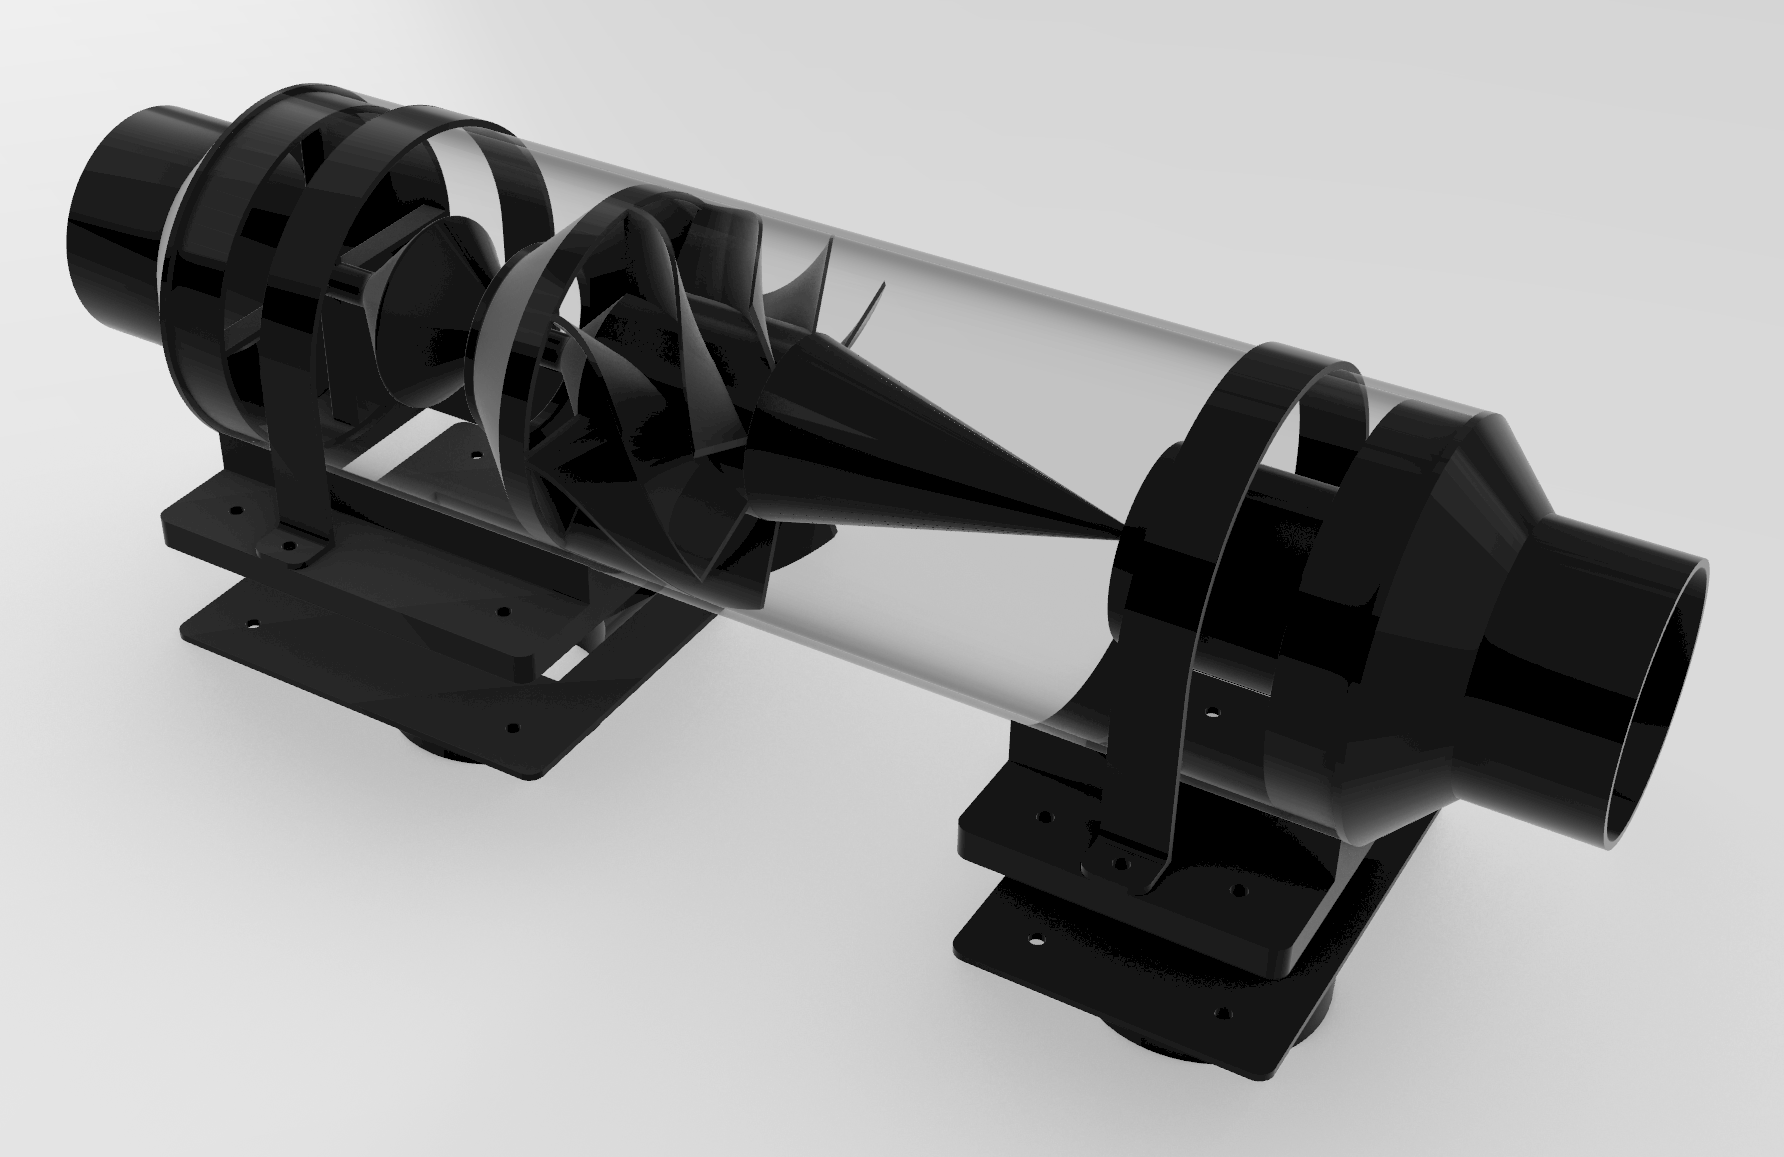
The new third stage used impellers to induce rotational airflow, then directed it against the circular walls around an air outlet. The first design used a low-profile collection bin, but this wasn’t keeping the dust out of the air stream well enough, so [Ruud] switched to using plastic jars. Initially, this didn’t perform as well as the old system, but a few airflow adjustments brought the efficiency up to 99.879%. In [Ruud]’s case, this meant that of 1.3 kilograms of fine sawdust, only 1.5 grams of dust made it through the separator to the filter, which is certainly impressive in our opinion. The design for this upgraded separator is available on GitHub.
[Ruud] based his design off of another 3D-printed dust separator, but adapted it to European fittings. Of course, the dust extractor is only one part of the problem; you’ll still need a dust routing system.
Thanks to [Keith Olson] for the tip!