Not many people will argue with flying RC airplanes is super fun. One big bummer is when a crash damages a part beyond repair. Sure, the RC pilot could keep buying replacement parts but doing so will add up after a while. RC plane builder and general guy with a cool name, [HuckinChikn], decided to build a hot wire foam cutter so making replacement wings would be quick and cheap.
The actual hot wire part is nothing special, just some wire pulled taut across a frame and a 24 vdc power supply pumping out current and heating the wire so it melts any foam in its path. The unique part of the build is that one side of the hot wire frame is secured in place and only allowed to pivot about that point. The other side of the frame traces an airfoil-shaped pattern. This setup allows [HuckinChikn] to make tapered wings. The difference between a straight wing and a tapered wing is similar to that of a cylinder and cone.

Check out the video after the break for a quick demonstration how easy it is to make a wing when you have the right tool!
Continue reading “Move Over Red Bull, Hot Wire Foam Cutter Now Gives You Wings”
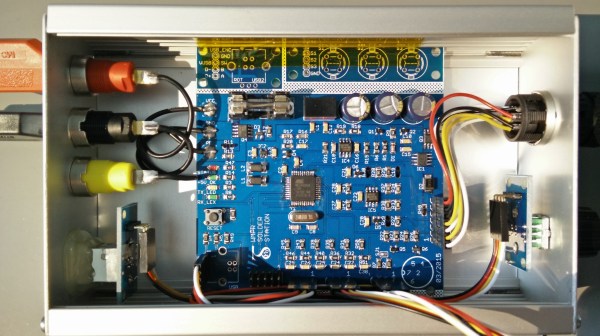
 A PWM signal from the microcontroller controls the load current using a MOSFET. Load current is measured using a Hall Effect-Based Linear Current Sensor –