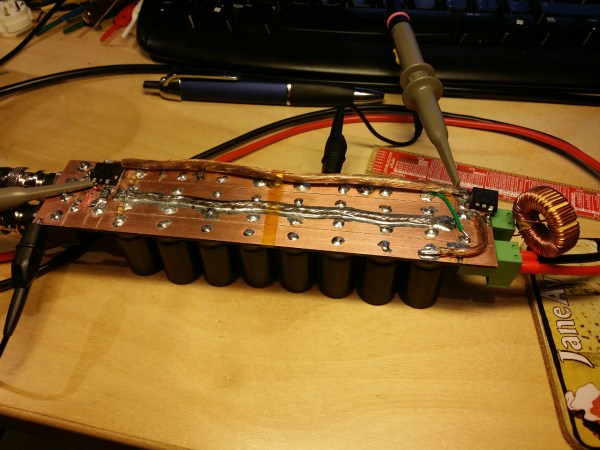
[Stynus] has finished a unique decade resistance box which doesn’t use conventional rotary switches to select the appropriate resistors. These switches are old fashioned and expensive, so [Stynus] built this decade resistance box that uses a microcontroller and a series of relays to switch the resistors.
Simply selecting a resistance on the screen tells the microcontrollers which resistors need to be switched in order to provide the proper resistance. The box uses relays to do switching instead of transistors because the transistors don’t handle high frequency AC as well as the relays. The device is powered by an 18V transformer and rectifier and, as a bonus, [Stynus] got all of his parts on the cheap which made this a great solution to the expensive resistance decade box problem.
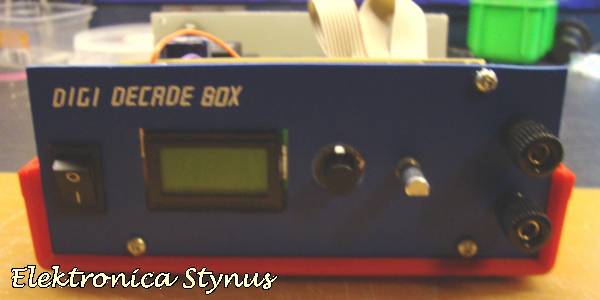
This is a very well-polished piece of test equipment. We’ve featured other decade resistance boxes but never one that was controlled by a microcontroller. All of the PCB layouts and the code for microcontroller are available on the project site if you have a desire to make your own.

 [Tom] told us that the team is currently redesigning their hardware. The next generation prototype board with more protection can be seen in the far right of the top photo. He also mentioned that they’re shooting for 5 digits of accuracy, placing them on par with many bench scopes. We’re skeptical to say the least about 5 digits, but the team is definitely putting their all into this product. We’ll wait until the Kickstarter backers start getting their final devices to see if Voltset is everything it’s cracked up to be.
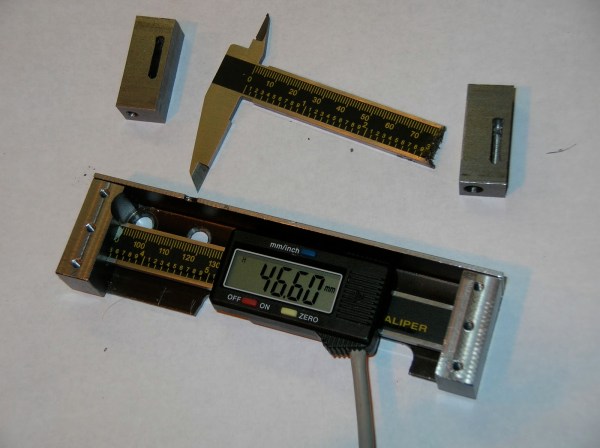
 It is totally reasonable to use the stock caliper display to read the positional information, however, even these cheap digital calipers have