Once upon a time, a radio controlled plane was a hefty and complex thing. They required small nitro engines, support equipment, and relatively heavy RC electronics. Times have changed since then, as this lightweight RC build from [Ravi Butani] demonstrates.
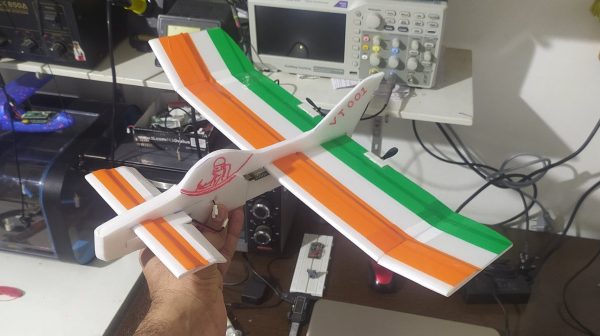
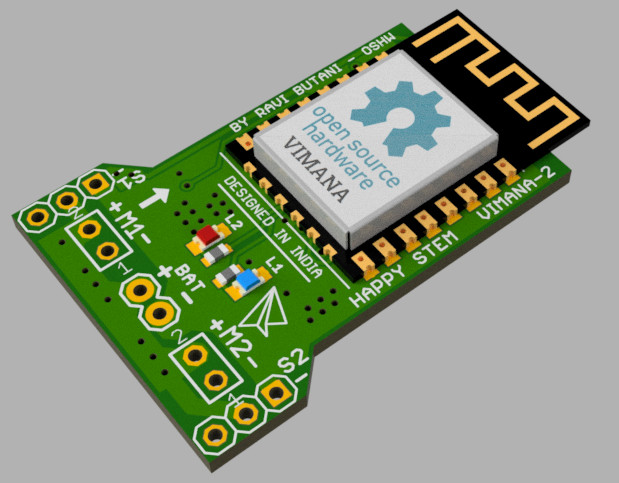 The body of the plane is lightweight foam, and can be assembled in two ways. There’s a relatively conventional layout, using a main wing, tailplane, and rudder, or a pusher model with the main wing at the rear and a canard up front. The open hardware electronics package, which [Ravi] calls VIMANA, consists of an ESP12 module with a pair of MOSFETs to act as two independent motor drivers — allowing the plane to be flown and steered with differential thrust.
For more advanced flight control, it can also command a pair of servos to control ailerons, a rudder, canards, or elevons, depending on configuration. There’s also potential to install an IMU to set the plane up with flight stabilization routines.
Thanks to the low-cost of the VIMANA board, [Ravi] hopes it can be used in STEM education programs. He notes that it’s not limited just to aircraft, and could be used for other motorized projects such as boats and cars. We’ve featured an early version of his work before, but the project has come a long way since then.
Continue reading “Hackaday Prize 2023: Tiny RC Aircraft Built Using Foam And ESP12”