Racing games have come a long way over the years. From basic 2D sprite-based titles, they’ve evolved to incorporate advanced engines with highly realistic simulated physics that can even be used to help develop real-world automobiles. For [Surrogate.tv], that still wasn’t quite good enough, so they decided to create something more rooted in reality.
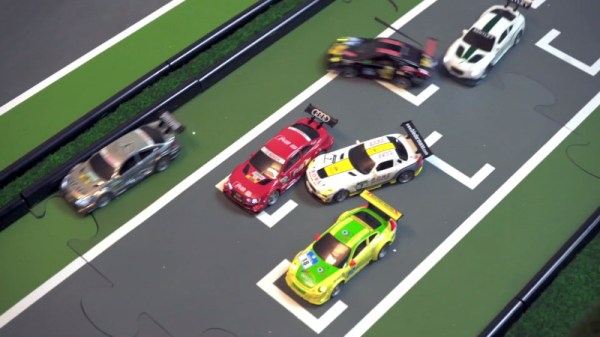
Their project resulted in a racing game based on controlling real RC cars over the internet, in live races against other human opponents. Starting with a series of Siku 1:43 scale RC cars, the team had to overcome a series of engineering challenges to make this a reality. For one, the original electronics had to be gutted as the team had issues when running many cars at the same time.
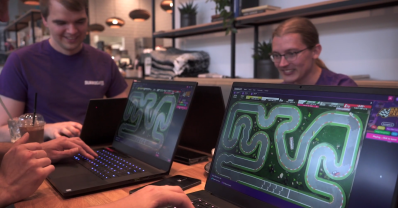
Instead, the cars were fitted with ESP8266s running custom firmware. An overhead GoPro is used with special low-latency streaming software to allow players to guide their car to victory. A computer vision system is used for lap timing, and there’s even automatic charging stations to help keep the cars juiced up for hours of play.
The game is free to play online, with the races currently operating on a regular schedule. We look forward to trying our hand at a race or three, and will be interested to see how the latency holds up from various parts of the world.
We’ve seen other remote RC builds before; usually featuring the power of the Raspberry Pi. We’ve also covered useful techniques for low latency video for real-time applications. Video after the break.