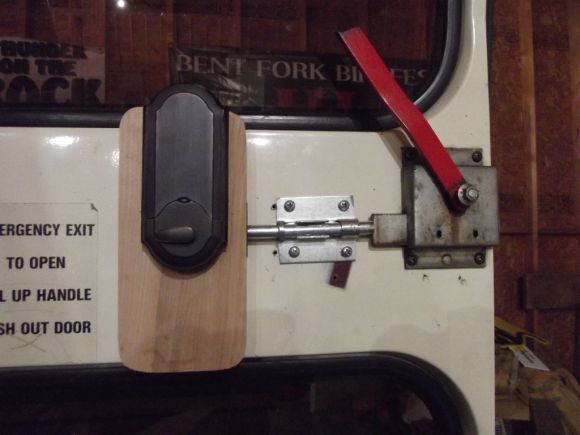
When a school bus has finished its life ferrying children around, it often ends up as someone’s pet project. Most buses in the US, however, have annoying back doors that lock only from the inside, which isn’t very convenient if you’re loading/unloading gear. Drawing inspiration from another project that fit a simple deadbolt upgrade, [Leonard] took the build one step further and hacked together his own keyless entry deadbolt system.
He started by removing the white safety bar that normally covers the long red handle and attached a slide bolt to the door. The slide bolt serves only as an extension for the deadbolt, which would otherwise get whacked by the red handle. [Leonard] made a few modifications to the slide bolt so it can sit flush against the bus’s lock bar, then went to work attaching the keyless deadbolt. At 2.5″, the bus’s door is actually thicker than standard doors, not to mention this build needs the deadbolt to move along the door’s surface to push the slide bolt fitted to the door. [Leonard] decided to throw in a chunk of wood as a kind of “simulated door,” which mounts next to the slide bolt and houses the deadbolt’s guts.
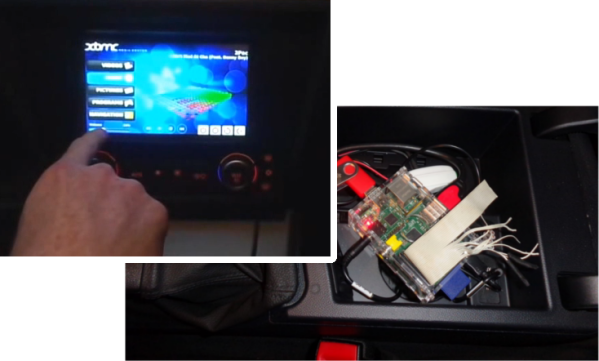
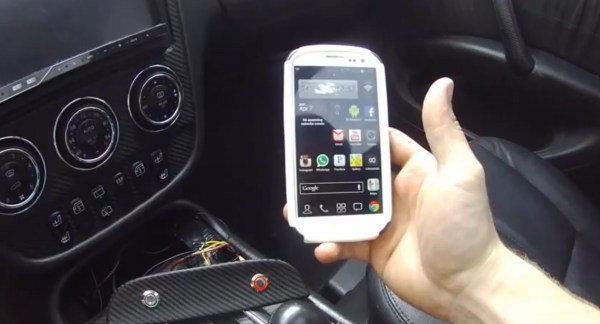
Check out the video after the break to make sense of the door’s operation and swing by [Leonard’s] blog to see what else he’s done to the bus. If you’re in the mood for more transportation hacks, make sure you see the Raspberry Pi CarPC.