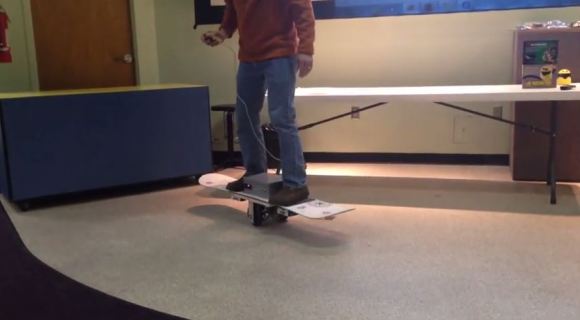
There are skateboards, long boards, and snowboards. This was originally a snowboard, but we’re not quite sure how to classify it now… Introducing the Segbot Snowboard.
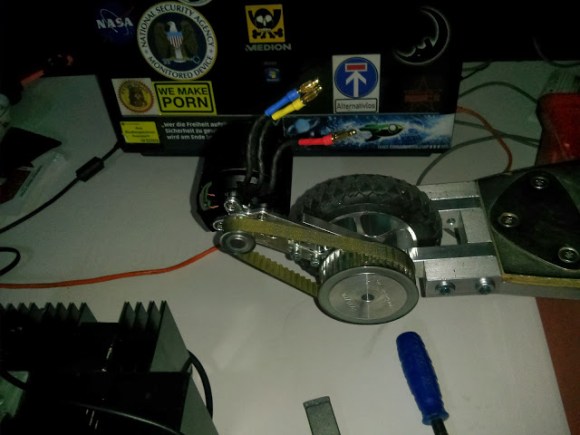
[Steve Ghertner] has been playing around with accelerometers lately and decided to try making something practical. He’s taken a snowboard and turned it into a two-wheeled, segway-like balancing board. The two parallel wheels are powered individually by 12V scooter motors. An Arduino Uno takes care of processing the data from a MPU-6050, which is a triple axis gyro and accelerometer.
You can control the board by leaning, or by using a small two-button remote. He hasn’t taken it very far out of the lab yet, but plans to after cleaning up the programming a bit.
Stick around for the following video where he explains it at his local hackerspace in Nashville, the Middle TN Robotic Arts Society where members strive to “Control Them (robots) Before They Control You!”


 [Jack], a mechanical engineer, loom builder, and avid sailor wanted an autopilot system for his 1983 Robert Perry Nordic 40 sailboat with more modern capabilities than the one it came with. He knew a PC-based solution would work, but it was a bit out of reach. Once his son showed him an Arduino, though, he was on his way. He sallied forth and built


