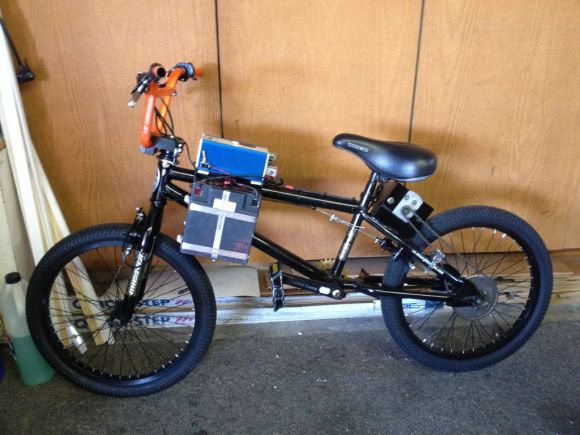
Necessity may be the mother of invention, but limited resources give birth to some of the best hacks. [joejoeboom’s] 5-minute electric bike conversion probably can’t drive you into the next town, but it can scoot you around your neighborhood.
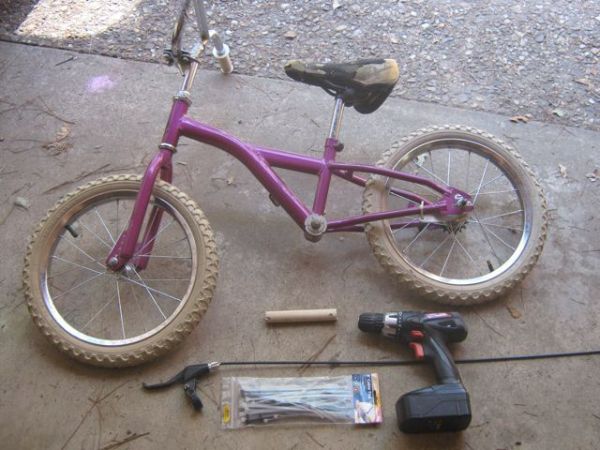
[jojoeboom] found a cordless drill at a local hardware store for $15, which he simply zip-tied to the bicycle’s frame. He positioned the drill so the chuck pressed firmly against the side of the bicycle’s rear wheel, creating a simple friction drive system. To create a throttle, [joejoeboom] strapped a spare hand brake to the handlebar and wrapped the brake’s cable around the drill’s trigger. Several carefully placed zip ties hold everything in place and allow the cable to tug at the trigger when the hand brake is squeezed.
Watch the bike poking around in a video below, and for some extreme contrast check out the 102-mph bicycle build from earlier this summer.
Continue reading “Electric Bicycle Hack Is Hilariously Simple”