Cairo Hackerspace Gets A $14 Projector

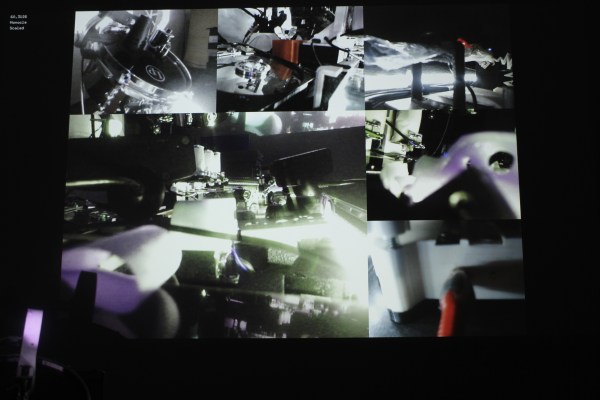
The Cairo hackerspace needed a projector for a few presentations during their Internet of Things build night, and of course Friday movie night. They couldn’t afford a real projector, but these are hackers. Of course they’ll be able to come up with something. They did. They found an old slide projector made in West Germany and turned it into something capable of displaying video.

The projector in question was a DIA projector that was at least forty years old. They found it during a trip to the Egyptian second-hand market. Other than the projector, the only other required parts were a 2.5″ TFT display from Adafruit and a Nokia smartphone.

All LCDs are actually transparent, and if you’ve ever had to deal with a display with a broken backlight, you’ll quickly realize that any backlight will work, like the one found in a slide projector. By carefully removing the back cover of the display, the folks at the Cairo hackerspace were able to get a small NTSC display that would easily fit inside their projector.

After that, it was simply a matter of putting the LCD inside the display, getting the focus right, and mounting everything securely. The presentations and movie night were saved, all from a scrap heap challenge.

Bricked Raspberry Pi Displays History

[eN0Rm’s] Raspberry Pis are much more than just another brick in the wall. He’s used the popular embedded Linux platform to build several small rear projection screens in a brick wall (Imgur link). Brick shaped metal enclosures were mortared into the wall of the building. Each rear projection screen is illuminated by a DLP projector which sits inside the metal enclosure. The Raspberry Pis sit on a shelf below all this.  The bricks are in a building in the Aker Brygge section of Oslo, Norway, and show historical facts and short videos about the local area.

[eN0Rm] could have used a PC for this task, the price for a low-end PC with a few graphics cards probably wouldn’t have been much more expensive than several Raspberry Pi’s with cases. However, this system has to just work, and a PC would represent a single point of failure. Even if one Raspberry Pi goes down, the others will continue running.

The current installation is rather messy, but it’s just a test setup.  [eN0Rm] has already been taken to task for the lack of cable management in his Reddit thread.  As [eNoRm] says – first get it working, then make it pretty.

Complete FPV Setup For Your Drone

[Ioannis] is like anyone else who has a quadcopter or other drone. Eventually you want to sit in the cockpit instead of flying from the ground. This just isn’t going to happen at the hobby level anytime soon. But the next best option is well within your grasp. Why not decouple your eyes from your body by adding a first-person video to your quad?

There are really only four main components: camera, screen, and a transceiver/receiver pair to link the two. [Ioannis] has chosen the Sony Super HAD CCTV camera which provides excellent quality at the bargain basement price of just $25 dollars. A bit of patient shopping delivered a small LCD screen for just $15. The insides have plenty of room as you can see. [Ioannis] connected the screen’s native driver board up to the $55 video receiver board. To boost performance he swapped out the less-than-ideal antenna for a circular polarized antenna designed to work well with the 5.8 GHz radio equipment.

It seems that everything works like a dream. This all came in under $100 which is half of what some other systems cost without a display. Has anyone figured out a way to connect a transmitter like this to your phone for use with Google Cardboard?

Controlling A Block Camera With An RC Transmitter

The world of drones and FPV remote-controlled aircraft is rapidly expanding, airframes are getting bigger, and the demand for even cooler AV gear is higher than ever. [elad] got his hands on a Sony block camera that is able to zoom in on a scene – great if you want to get close to the action while still flying a safe distance away. Controlling the zoom on these cameras is usually done through RS232, but [elad] made it work with an RC transmitter.

The camera [elad] is using is a Sony FCB-EX11D block camera with a standard SD resolution sensor. This camera has 10x optical zoom, making it a great solution to aerial surveillance, the only problem being the RS232 connection and the VISCA protocol. [elad] used an Arduino to listen in on the elevator channel from an RC receiver, translating that to something the camera will understand. The result is a controllable zoom on a camera that could easily take to the skies.

The entire camera package, with Arduino and electronics included, weighs in at about 100 grams. That’s about the same as a GoPro, and would fit perfectly on a camera gimbal. The only problem is getting a transmitter with enough channels or someone else to operate the camera while flying. Video below.

Continue reading “Controlling A Block Camera With An RC Transmitter”

Stereo Vision And Depth Mapping With Two Raspi Camera Modules

The Raspberry Pi has a port for a camera connector, allowing it to capture 1080p video and stream it to a network without having to deal with the craziness of webcams and the improbability of capturing 1080p video over USB. The Raspberry Pi compute module is a little more advanced; it breaks out two camera connectors, theoretically giving the Raspberry Pi stereo vision and depth mapping. [David Barker] put a compute module and two cameras together making this build a reality.

The use of stereo vision for computer vision and robotics research has been around much longer than other methods of depth mapping like a repurposed Kinect, but so far the hardware to do this has been a little hard to come by. You need two cameras, obviously, but the software techniques are well understood in the relevant literature.

[David] connected two cameras to a Pi compute module and implemented three different versions of the software techniques: one in Python and NumPy, running on an 3GHz x86 box, a version in C, running on x86 and the Pi’s ARM core, and another in assembler for the VideoCore on the Pi. Assembly is the way to go here – on the x86 platform, Python could do the parallax computations in 63 seconds, and C could manage it in 56 milliseconds. On the Pi, C took 1 second, and the VideoCore took 90 milliseconds. This translates to a frame rate of about 12FPS on the Pi, more than enough for some very, very interesting robotics work.

There are some better pictures of what this setup can do over on the Raspi blog. We couldn’t find a link to the software that made this possible, so if anyone has a link, drop it in the comments.

The R2D2-‘O-Lantern Reddit Doesn’t Want You To See

The people here at Hackaday aren’t dedicating their entire lives to moderating comments and sending press releases to the circular file; some of us actually have jobs and hobbies. [James Hobson] works at a projector company that was having a pumpkin carving contest today. He came up with the best possible use of a pumpkin projector – a R2D2-‘o-lantern that plays the message from [Leia] to [Obi-Wan Kenobi]. [James] submitted this to reddit, but one of the mods deleted it. We’re much cooler than a few mods and their little empire, so we’re putting it up here.

Instead of a knife, [James] used a rather interesting method for carving a pumpkin – a laser cutter. By maxing out the Z height of his laser cutter, he was able to cut a perfect R2D2 graphic on the surface of a pumpkin. No, [James] isn’t removing any of the pumpkin’s skin after the lasering is done, but the result still looks great when backlit.

Inside the pumpkin is a projector playing the famous distress message made from the captured Tantive IV. It’s not entirely accurate – [James] put the projector behind R2’s radar eye and not the holographic projectors, and to project [Leia] in mid-air he would need something like this, Still, it’s a great project we expect to see cloned a year or so from now.

A Graphics Card For A Homebrew Computer

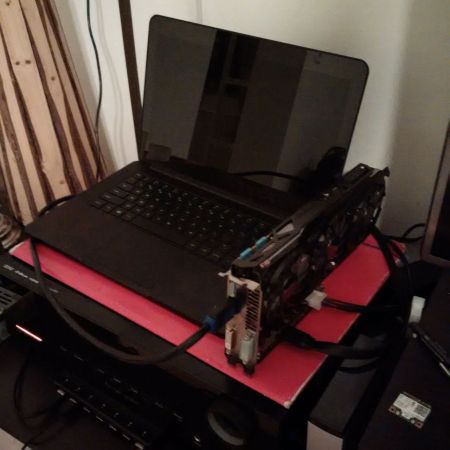
One of [aepharta]’s ‘before I die’ projects is a homebrew computer. Not just any computer, mind you, but a fabulous Z80 machine, complete with video out. HDMI and DisplayPort would require far too much of this tiny, 80s-era computer, and it’s getting hard to buy a composite monitor. This meant it was time to build a VGA video card from some parts salvaged from old equipment.

When it comes to ancient computers, VGA has fairly demanding requirements; the slowest standard pixel clock is 25.175 MHz, an order of magnitude faster than the CPU clock in early 80s computers. Memory is also an issue, with a 640×480, 4-color image requiring 153600 bytes, or about a quarter of the 640k ‘that should be enough for anybody.’

To cut down on the memory requirements and make everything a nice round in base-2 numbers, [aepharta] decided on a resolution of 512×384. This means about 100k of memory would be required when using 16 colors, and only about 24 kB for monochrome.

The circuit was built from some old programmable logic ICs pulled from a Cisco router. The circuit could have been built from discrete logic chips, but this was much, much simpler. Wiring everything up, [aepharta] got the timing right and was eventually able to put an image on a screen.

After a few minutes, though, the image started wobbling. [aepharta] put his finger on one of the GALs and noticed it was exceptionally hot. A heatsink stopped the wobbling for a few minutes, and a fan stopped it completely. Yes, it’s a 1980s-era graphics card that requires a fan. The card draws about 3W, or about two percent of a modern, high-end graphics card.