Snake-the-Planet Makes A Game Board Out Of Your Surroundings

It’s Friday night and these guys are driving around town looking for a good spot to play a head-to-head game of Snake. It’s not that they need somewhere to sit (they travel with a couch and floor lamp for that purpose) it’s that they’re using a projector and camera to make a game out of their surroundings.

A white Mystery-Machine-style van has room for everything they need to make the traveling arcade happen. A mobile power supply provides juice to the camera and projector. To get started, the system takes a high-contrast black and white photo of the surface in front of it. Everything that appears below the white threshold becomes a wall on the game board, everything else is a playable area. Obstacles are formed by windows, doorways, pipes, signs, pieces of foam board the guys hang on a wall, and even your body if you stand in the way during scanning. From there the guys each grab a joystick and play the hacker-favorite game of snake.

After the break you can watch a description of how the system works. Continue reading “Snake-the-Planet Makes A Game Board Out Of Your Surroundings”

Microsoft Shows Off Their Transparent 3D Desktop Prototype

We think most would agree that the Microsoft Kinect is a miraculous piece of hardware. The affordable availability of a high-quality depth camera was the genesis of a myriad of hacks. And now it seems that type of data is making an intriguing 3D display possible.

What you see above is a 3D monitor concept that Microsoft developed. It starts off looking much like a tablet PC, but the screen can be lifted up toward the user whose arms reach around it to get at the keyboard underneath. There is as depth camera that can see the hands and fingers of the user to allow manipulation of the virtual environment. But that’s only part of the problem. You need some way to align the user’s eyes with what’s on the screen. They seem to have solved that problem too, using another depth camera to track the location of the user’s head. This means that you can lean from one side to the other and the perspective of the virtual 3D desktop will change to preserve the apparent distance of each object.

Don’t miss the show-and-tell video after the break. As long as there’s only one viewer this looks like a perfect non-glasses alternative to current 3D hardware offerings. Continue reading “Microsoft Shows Off Their Transparent 3D Desktop Prototype”

Projector Calibration On Uneven Surfaces Made Easy

projector-calibrator

If you are thinking of building your own flight/racing sim setup at home, you might want to check this out. [Alex] from the Garoa Hackerspace in Säo Paulo, Brazil put together a slick setup that makes projector image calibration a breeze.

When building a wraparound screen for such a simulator, you are likely to run into problems with both overlapping images and distortion from the curved projection. There are projectors that can easily adjust themselves to work in this sort of setup, but they are often very expensive, so [Alex] thought he would build a solution himself.

After studying a paper written by [Johnny Chung Lee] in 2004, he built a prototype display calibrator last year that used similar, though slightly tweaked methods to get the job done. This time around, [Alex] has improved his calibrator, making the process more precise and a bit quicker.

Light sensors and an Arduino are attached to the back of the projection medium, and a large broad scan of the screen is performed by the projector. His code then triggers an additional sweep of each corner to better estimate the exact edges of his projection surface. Since the video is tweaked in software rather than relying on the projector hardware to handle the task, the result is cheap and very accurate.

Don’t take our word for it though, check out [Alex’s] video demonstration below to see his calibrator in action.

Continue reading “Projector Calibration On Uneven Surfaces Made Easy”

Up Your FPGA Game By Learning From This LCD Control Prototype

[Cesar] recently got a PSP display up and running with his FPGA development board. That’s a nice project, but what we really like is that he set aside a lot of time to show how it’s done every step of the way. This isn’t just a tutorial on that particular screen, but an overview of the skill set needed to get any piece of hardware working.

The screen itself is a Sharp LQ043T3DX02; a 480×272 TFT display with 16 million colors. Not bad for your project but when you start looking into the control scheme this isn’t going to be like using a Nokia screen with an Arduino. It takes twenty pins to control it; Red, green, and blue take sixteen pins, four pins are used for control, the rest are CK, DISP, Hsync, Vsync.

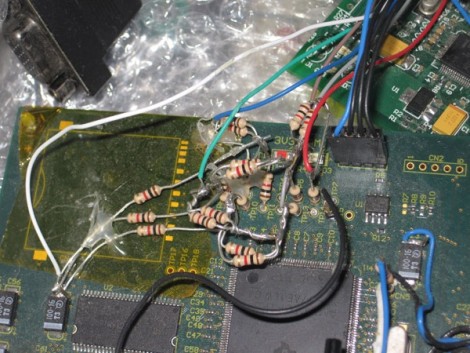
Wisely, [Cesar] designs his own interface board which includes the connector for the ribbon cable. It also has drivers for the screen’s backlight and supplies power to the device. With hardware setup complete he digs into the datasheets. We just love it that he details how to get the information you’re looking for out of this document, and shows his method of turning that first into a flow chart and then into code for the FPGA.

Retro Hardware Mash-up Spouts Archaic Geekery

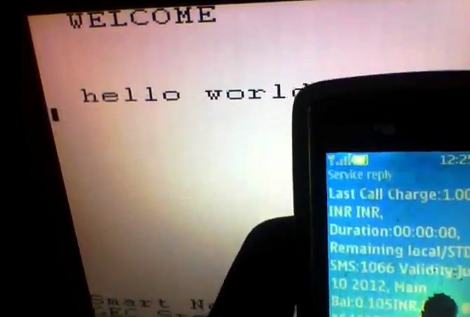
This delightful little box is something only a hacker could love. It uses some second-hand hardware to display random sayings attributed to [Buckminster Fuller]. The image above doesn’t do the display justice. There are other photos which show very crisp lettering which is easier to read.

[Autuin] always keeps his eyes open for cool gear at the end of its consumer life. The screen for this project is a CRT from a Coleman TV lantern (you know, for camping… bah!). It finds a home in the chassis of an old non-functional radio he had picked up a few years earlier. With those parts in hand the real adventure started: getting an Arduino to read in quotes and generate a TV out signal to display them.

We love the SD card holder which he fashioned from a card-edge connector he grabbed at the local electronics store. From there he scoured the Internet for help on where to patch into the TV signal. Once the right trace was discovered the Arduino TV out library does the heavy lifting.

Collimated Displays Wrap Around That Home Cockpit

We don’t recall having heard the term ‘collimated display’ before, but we’ve seem them in action. These are mirrored projection display that give the viewer a true peripheral vision experience thanks to well-designed optics. Here is a project that [Rob] and [Wayne] have put a ton of time into. It’s their own version of a DIY collimated display that uses a shop vac and Arduino to form the screen shape.

The frame above is the structure that will support the screen. A sheet of mylar was later attached to the edges of that frame. That is pulled into place by the suction of the vacuum. But it needs to be stretched just the right amount or the projected image will be distorted. They’ve got something of a PID controller to manage this. A valve box was built to vary the amount of vacuum suction inside the screen’s frame. A switch positioned behind the mylar sheet gives feedback to the Arduino when the screen reaches the appropriate position and a servo closes off the suction box. If you lost us somewhere in there the description in the clip after the jump will help to clear things up.

Here’s an unrelated project that implements the same concept on a smaller scale.

Continue reading “Collimated Displays Wrap Around That Home Cockpit”

Converting Transparency Sheets To An LCD Monitor

Apparently, there’s some sort of sporting event being televised this weekend that has been historically used as an excuse to buy a big-screen TV. [Joel] wanted a huge-screen TV on the cheap, so he converted an overhead projector to something he can use with his XBox.

Using a bare LCD panel with an overhead projector is a decades-old hack we’ve covered before. The basic idea is fairly simple, but we’ve never seen anything that could be considered a semi-permanent build. [Joel] started his project by picking up a surplus overhead projector for $25 and routing a cutting board to mount the LCD in. The bulb in the projector added a lot of heat, so three small fans are used to blow air between the projector glass and the LCD display.

[Joel] started off looking at the LumenLab DIY projector project, but considered that to be a terrible amount of work with a fairly high initial investment. If you don’t count the few LCDs [Joel] burned through while building his project, his projector was built for under $100. We’re loving the result and are sure it will be much appreciated at [Joel]’s LAN parties.