A common complaint we’ve seen on many of the recent cyberdeck builds is that they don’t offer any display technology more advanced than a tablet-sized IPS panel. The argument goes that to be a true deck in the Gibsonian sense, it’s got to have some kind of virtual reality interface or at least a head mounted display. Unfortunately such technology is expensive, and often not particularly hacker friendly.
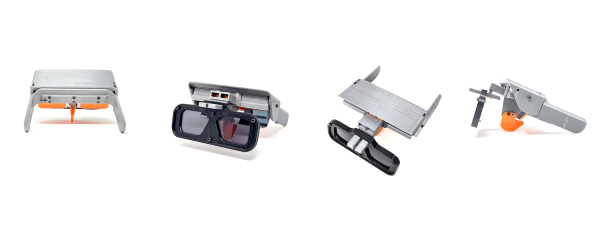
But assuming you can settle for a somewhat low-tech alternative, the simple head mounted display that [Jordan Brandes] has been fiddling with is certainly a viable option. By mounting a five inch 800×480 TFT LCD to the front of a pair of goggles designed for first person view (FPV) flying, you can throw together a workable rig for around $30 USD. Add in some headphones, and you’ve got a fairly immersive experience for not a lot.
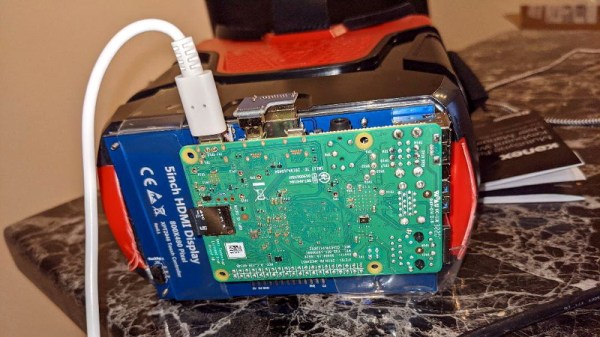
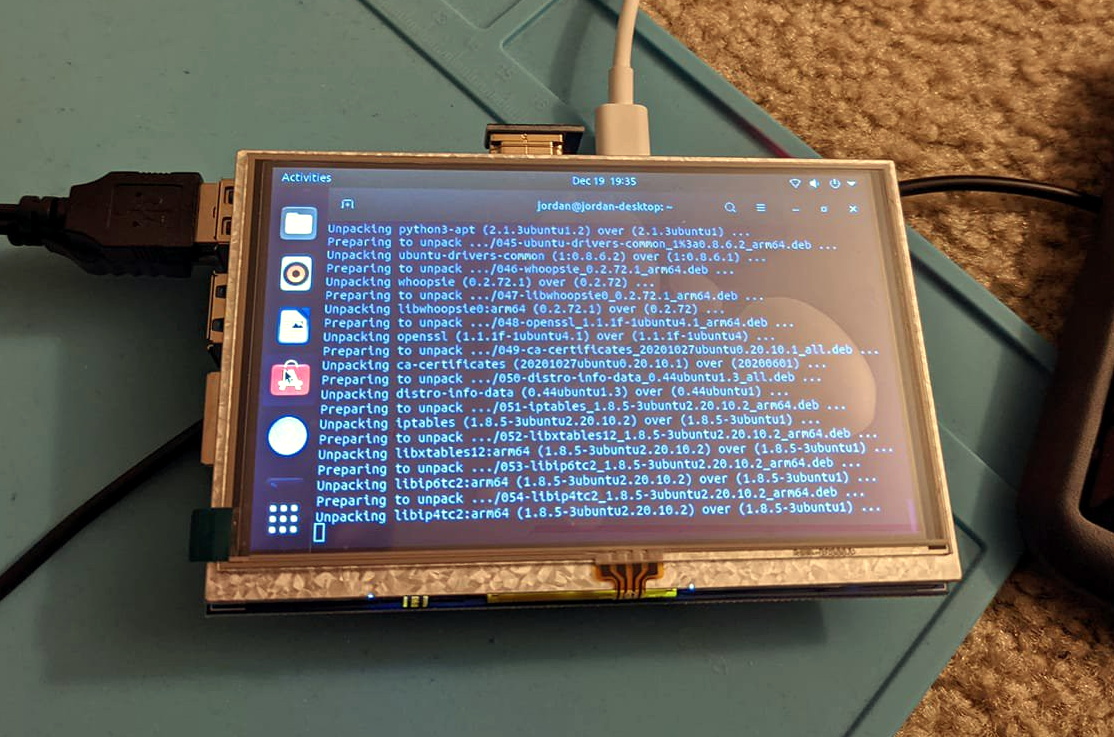 Naturally the display will show whatever HDMI signal you give it, but in his case, [Jordan] has mounted a Raspberry Pi to the back of it to make it a complete wearable computer. With a Bluetooth travel keyboard in the mix, he’s even able to get some legitimate work done with this setup. If he ends up combining this with the ultrasonic keyboard he was working on earlier in the year, he’ll be getting pretty close to jacking into cyberspace for real.
Hackers have been chasing cheap head mounted displays for years now. Back in 2007 the best you could do for this kind of money was a 300×240 black and white monocle. Getting our hands on the good stuff is still harder than we’d like, but at least we’re moving in the right direction.
Continue reading “Low-Cost Head Mounted Display From FPV Gear”