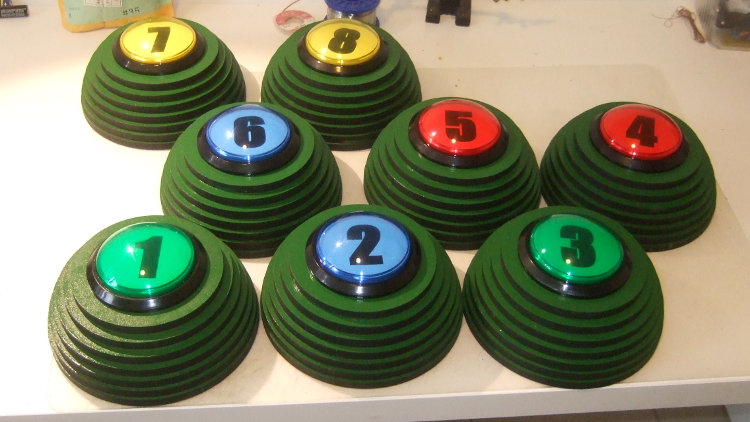
 In what we hope is a new trend in interviewing, some of the people at [Anthony]’s place of work asked him to make some wireless quiz buttons. He took the task quite seriously, making them extremely robust and low-power.
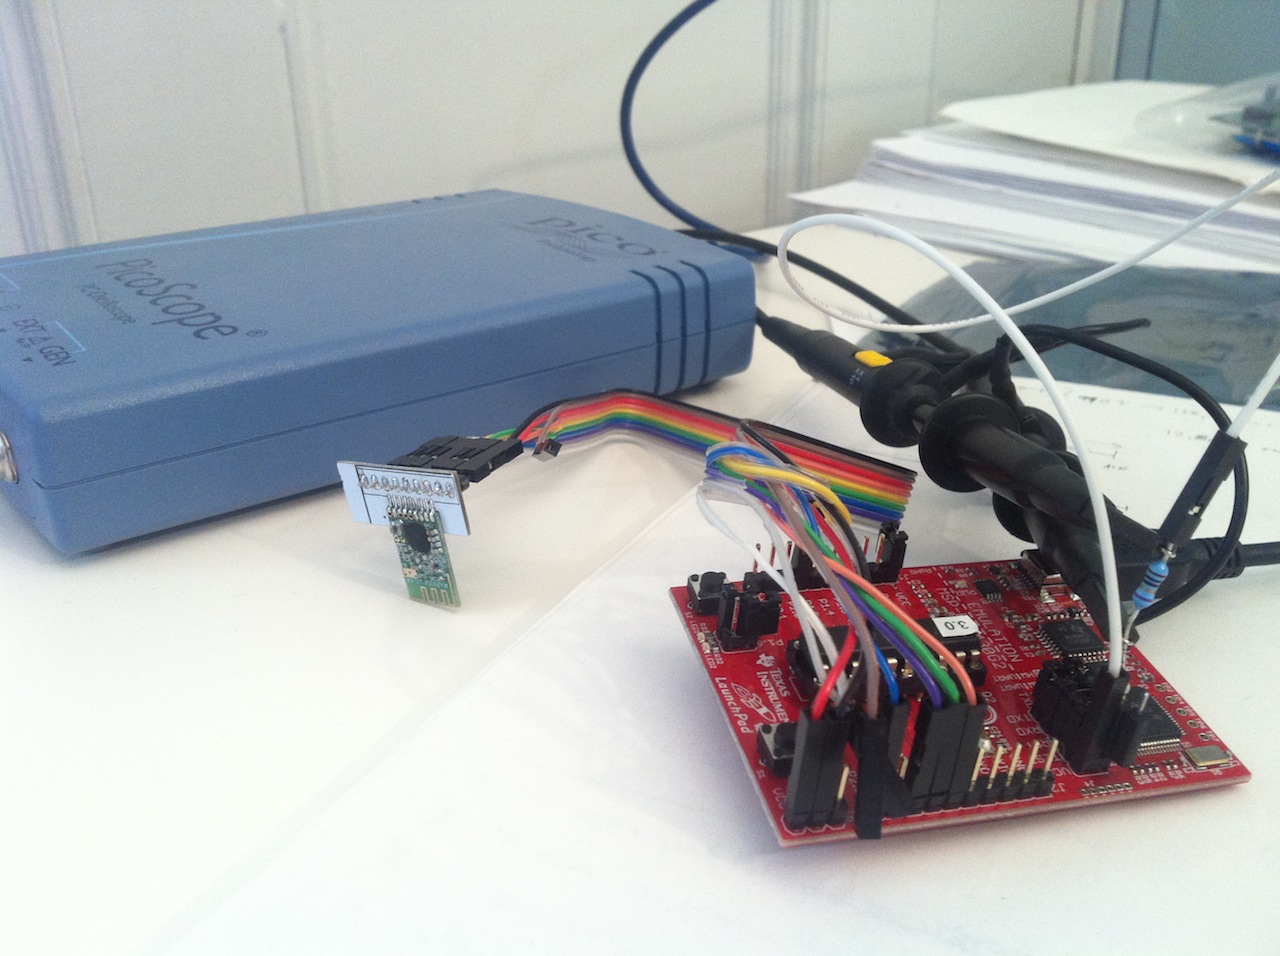
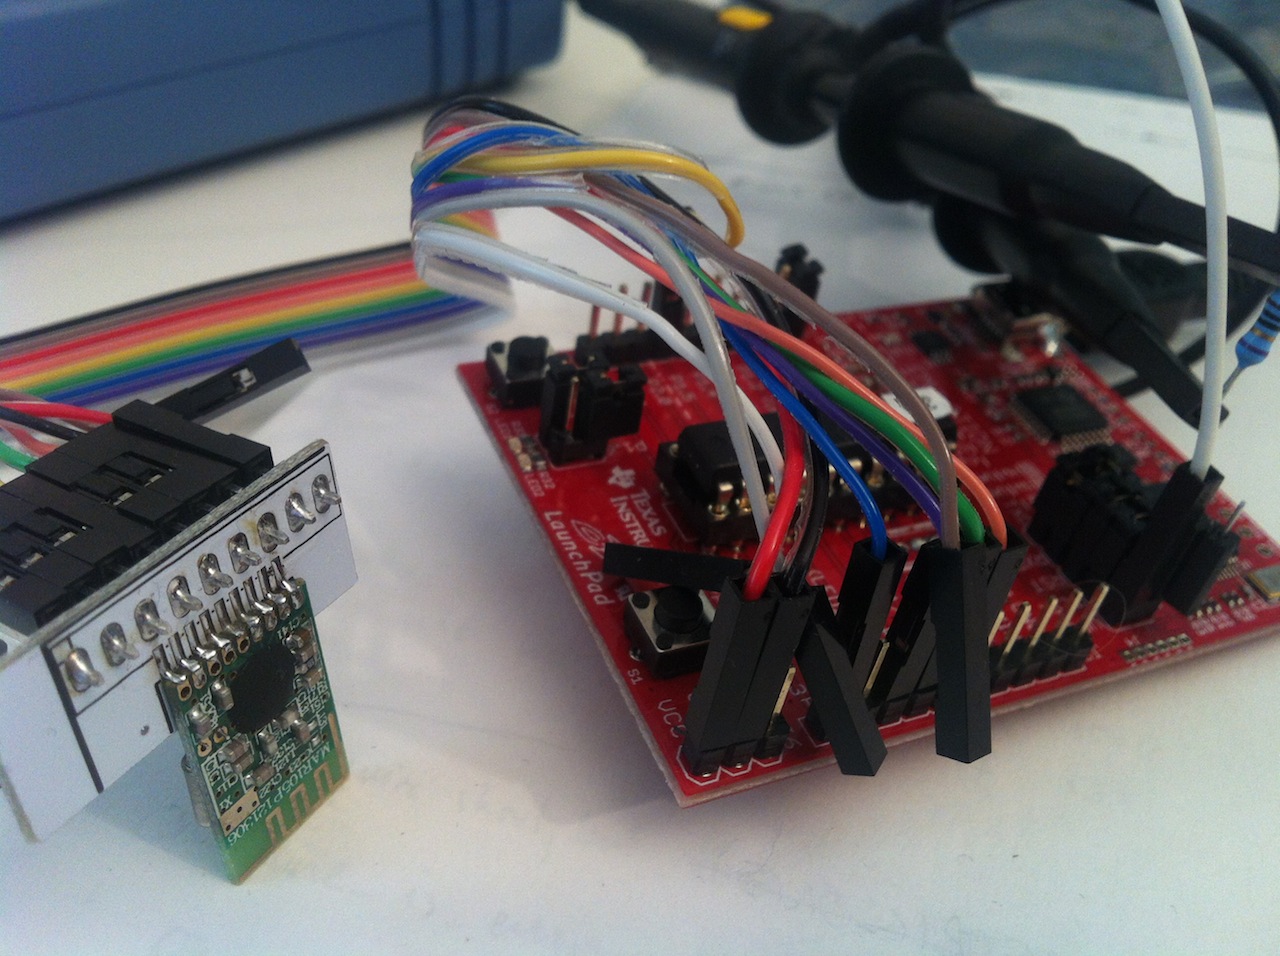
[Anthony] is experienced in the button arts, having made this party push button for a wedding reception. His design for the quiz buttons is a little different. Each button has an Arduino Pro mini and an nRF24L01 wireless RF module. On the receiver side is an Arduino Pro micro and an another RF module. A connected PC captures the serial data and displays the pressed button’s ID. It also shows the order in which subsequent buttons were pressed and the time elapsed between them.
The really notable part of this build aside from the awesome laser-cut MDF Devo energy dome button housings is the extremely low power consumption of the transmitting Arduinos. [Anthony] has designed them to go into sleep mode which disables all on-board circuitry and only wakes on interrupt. He removed the power LED and the voltage regulator since they run on 2-AA batteries. The voltage regulator was drawing more than 25mA in sleep mode. Because of these mods, each button consumes < 1μA, which is less power than the batteries can self discharge over their lifetime.
[Thanks Jef]


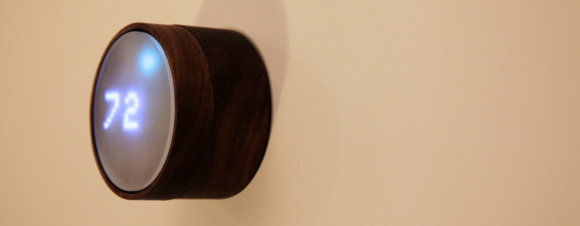 In the wake of Google’s purchase of connected devices interest Nest, the gents at [Spark]