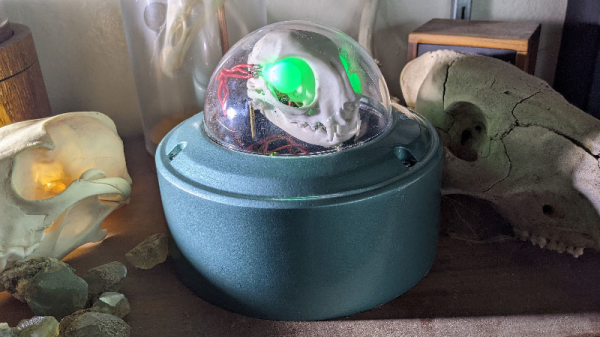
[Emily Velasco] has an internet provider that provides sub-par connectivity. Instead of repeatedly refreshing a browser tab to test if the network is up, [Emily] decided to create an internet status monitor by embedding indicator lights in a cat skull…for some reason.
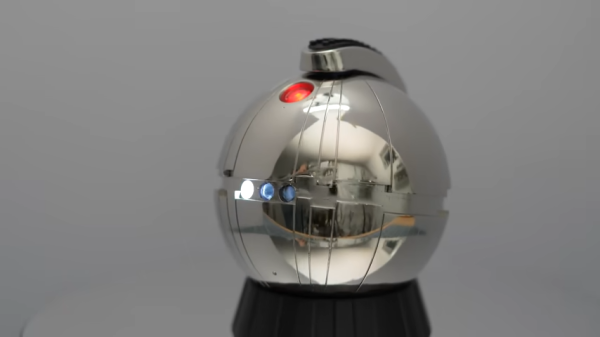
 The electronics are straightforward, with the complete parts list consisting of an Arduino Nano 33 IoT device connected to a pair of RGB LEDs and 50 Ohm resistors. The Nano attempts to connect to a known site (in this case, the Google landing page) every two seconds and sets the LEDs to green if it succeeds or red if it fails.
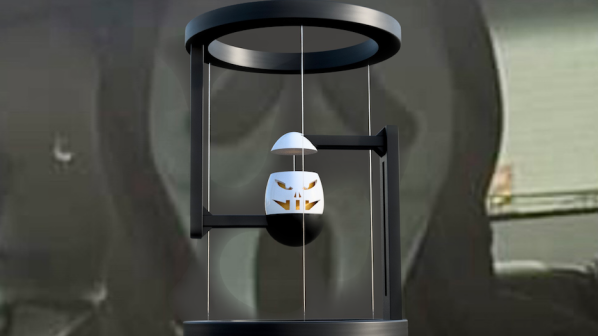
The cat skull is thankfully a replica, 3D printed by one of [Emily]’s Twitter acquaintances, and the whole project was housed in a domed security camera enclosure. [Emily] mounts the LEDs into the skull to create a “brain in a jar” effect.
The source is available on GitHub for those wanting to take a look. We’ve featured internet connectivity status indicators in the form of traffic lights here before, as well as various network status monitors and videoconferencing indicator lights.