When the RepRap project was started in 2005 by [Dr Adrian Bowyer], the goal was to develop low-cost 3D printers, capable of printing most of their own components. The project slipped into a bit of a lull by 2016 due to the market being increasingly flooded with affordable FDM printers from a growing assortment of manufacturers. Now it seems that the RepRap project may have found a new impetus, in the form of sub-millimeter level fabrication system called the μRepRap as announced by [Vik Olliver] on the RepRap project blog, with accompanying project page.
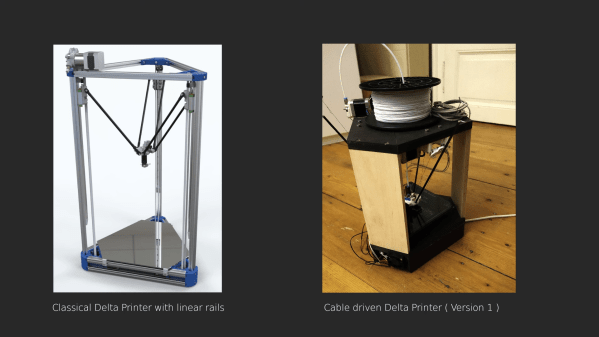
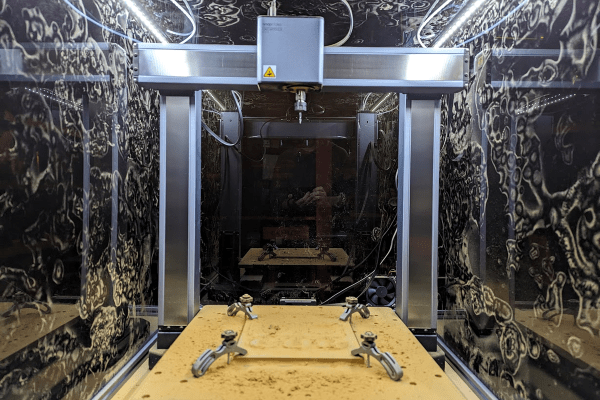
The basic technology is based around the OpenFlexure project’s Delta Stage, which allows for very precise positioning of an imaging element, or conceivably a fabrication tool. As a first step, [Vik] upgrade the original delta stage to a much reinforced one that can accept larger NEMA17 stepper motors. This also allows for standard 3D printer electronics to control the system much like an FDM printer, only at much smaller scales and with new types of materials. The current prototype [Vik] made has a claimed step accuracy of 3 µm, with a range of tools and deposition materials being considered, including photosensitive resins.
It should be noted here that although this is a project in its infancy, it has solid foundations due to projects like OpenFlexure. Will μRepRap kickstart micrometer-level manufacturing like FDM 3D printing before? As an R&D project it doesn’t come with guarantees, but color us excited.
Thanks to [Tequin] for the tip.
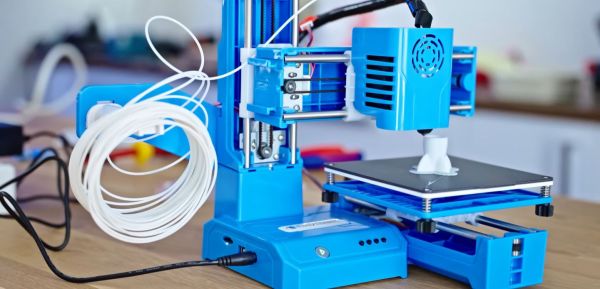
![The hot end of the EasyThreed K9 is actually pretty nifty. (Credit: [Thomas Sanladerer])](https://hackaday.com/wp-content/uploads/2024/02/cheapest_fdm_printer_hotend.jpg)