We don’t know about you, but one of the biggest hassles of having a 3D printer at home or in the ‘shop is the space it takes up. Wouldn’t it be useful if you could fold it down? Well, you’re in luck because over on Hackaday.io, that’s precisely what [Malte Schrader] has achieved with their Portable CoreXY 3D printer.
The typical CoreXY design you find in the wild features a moving bed that starts at the top and moves downwards away from the XY gantry as the print progresses. The CoreXY kinematics take care of positioning the hotend in the XY plane with a pair of motors and some cunning pulley drives. Go check this out if you want to read more about that. Anyway, in this case, the bed is fixed to the base with a 3-point kinematic mount (to allow the hot end to be trammed) but is otherwise vertically immobile. That bed is AC-heated, allowing for a much smaller power supply to be fitted and reducing the annoying cooling fan noise that’s all too common with high-power bed heaters.
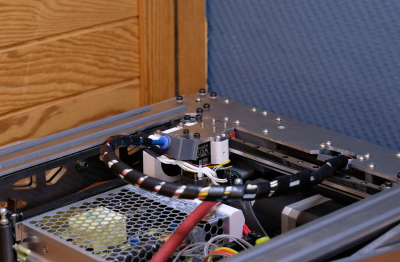
The XY gantry is mounted at each end on a pair of scissor lift mechanisms, which are belt-driven and geared together from a single stepper motor paired with a reduction gearbox. This hopefully will resolve any issues with X-axis tilting that [Malte] reports from a previous version.
The coarse tramming is handled by the bed mounts, with a hotend-mounted BLTouch further dialling it in and compensating for any bed distortion measured immediately before printing. Simple and effective.
As will be clear from the video below, the folding for storage is a natural consequence of the Z-axis mechanism, which we reckon is pretty elegant and well executed—check out those custom CNC machine Aluminium parts! When the Z-axis is folded flat for storage, the hotend part of the Bowden tube feed is mounted to a pivot, allowing it to fold down as well. They even added a pivot to the other end of the cable bundle / Bowden feed so the whole bundle folds down neatly inside the frame. Nice job!
If you want a little more detail about CoreXY kinematics, check out our handy guide. But what about the H-Bot we hear you ask? Fear not, we’re on it.