There are a lot of tinkerers out there who got their start in electronics with musical hacks. Surprisingly though, we don’t see many submissions to our tip line covering boost circuits for electric basses, rewiring guitar electronics, or even more complex effect pedals. [Deadbird], though, is bucking that trend with an EQ display stomp box that fits neatly on his pedal board.
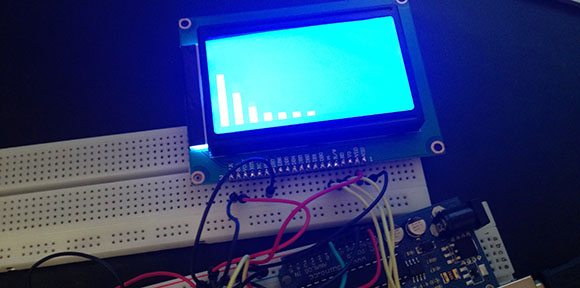
[Deadbird]’s build isn’t a graphic equalizer that can change the volume of different frequency bands; instead, he used the MSGEQ7 chip to listen in on the signal his guitar is producing and display that on a 128×64 graphic backlit display.
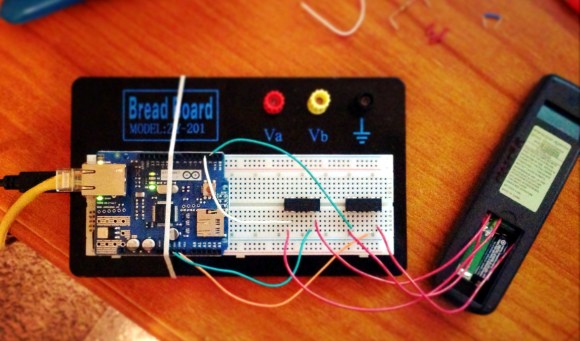
The entire project was prototyped on a breadboard with an Arduino. After he got all the components working – a momentary switch to turn the pedal on and off, 1/4″ jacks for the input and output, and a power supply – [Deadbird] took an Arduino prototyping shield and made everything more permanent. Now he’s got an attractive pedal on his board that shows the signal coming from his guitar in seven neat bands.