No matter how far down the 3D printing rabbit hole we descend, chances are pretty good that most of us won’t ever need to move filament from one spool to another. But even so, you’ve got to respect this purely mechanical filament respooler design, and you may want to build one for yourself just because.
We were tipped off to [Miklos Kiszely]’s respooler via the very enthusiastic video below from [Bryan Vines] at the BV3D YouTube channel. He explains the need for transferring filament to another spool as stemming from the switch by some filament manufacturers to cardboard spools for environmental reasons. Sadly, these spools tend to shed fibrous debris that can clog mechanisms; transferring filament to a plastic spool can help mitigate that problem.
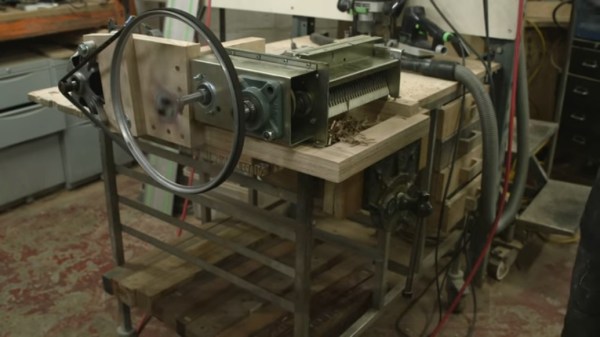
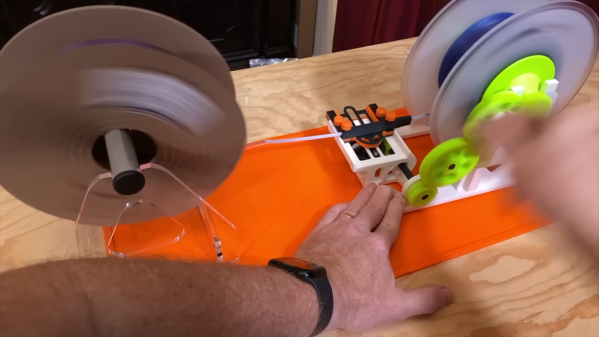
The engineering that [Miklos] put into his respooler design is pretty amazing. Bearings excepted, the whole thing is 3D printed. A transmission made of herringbone gears powers both the take-up spool and the filament guide, which moves the incoming filament across the width of the spool for even layers. The mechanism to do this is fascinating, consisting of a sector gear with racks on either side. The racks are alternately engaged by the sector gear, moving a PTFE filament guide tube back and forth to create even layers on the takeup spool. Genius!
Hats off to [Miklos] on this clever design, and for the extremely detailed instructions for printing and building one of your own. Even if you don’t have the cardboard problem, maybe this would help if you buy filament on really big spools and need to rewind for printing. Continue reading “Clever Mechanism Powers This All-Mechanical Filament Respooler”