Mix It Up With A Multi-Volume Controller

What’s the use of waiting around for something to break in order to hack into something else? As long as it’s just sitting around not being used, who cares? [OmniSaiRen] had a  Behringer MIDI controller just taking up space. Instead of selling it, they decided to build it into something they would definitely use — a multi-volume controller with mute keys and other useful macros.

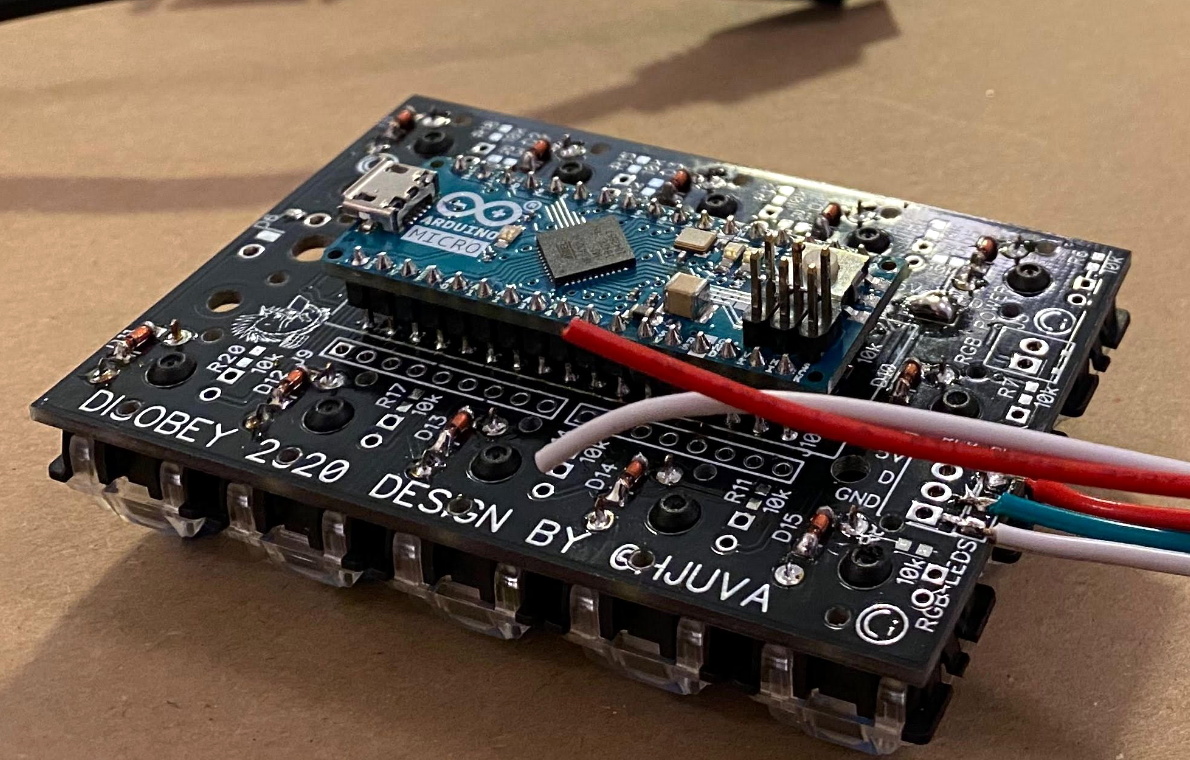
After gutting the case, [OmniSaiRen] gave it a couple coats of glossy white paint that looks really nice with the black keycaps and knobs. The plan was to use the original encoders, but [OmniSaiRen] replaced them with potentiometers when they couldn’t get the encoders working with the Arduino Nano. We are sad to report that Cherry Blues only made it to the build because they have all black housings and were also lying around taking up space, but maybe [OmniSaiRen] will grow to love them.

If you’re tired of all the mousing and clicking it takes to turn down this or that volume, you need to build one of these things. It runs on deej, an open source volume mixer that works with Linux and Windows, so what are you waiting for? If you only want a single hardware volume knob, you can’t go wrong dialing it in rotary style.

Via r/duino

3D Printed Video Terminal Dials C For Cyberpunk

Created for the Disobey 2020 hacker conference in Finland, this Blade Runner inspired communications terminal isn’t just for decoration. It was part of an interactive game that required attendees to physically connect their conference badges up and “call” different characters with the functional keypad on the front of the unit.

[Purkkaviritys] was in charge of designing the 3D printed enclosure for the device, which he says takes an entire 2 kg roll of filament to print out. Unfortunately he wasn’t as involved in the electronics side of things, so we don’t have a whole lot of information about the internals beyond the fact that its powered by a Raspberry Pi 4, features a HyperPixel 4.0 display, and uses power over Ethernet so it could be easily set up at the con with just a single cable run.

A look at the custom keypad PCB.

The keypad is a custom input device using the Arduino Micro and Cherry MX Blue switches with 3D printed keycaps to get that chunky payphone look and feel. [Purkkaviritys] mentions that the keypad is also responsible for controlling the RGB LED strips built into the sides of the terminal, and that the Raspberry Pi toggles the status of the Caps, Scroll Lock, and Num Lock keys to select the different lighting patterns.

Naturally we’d like to see more info on how this beauty was put together, but given that it was built for such a specific purpose, it’s not like you’d really need to duplicate the original configuration anyway. Thanks to [Purkkaviritys] you have the STL files to print off our own copy of the gloriously cyberpunk enclosure, all you’ve got to do now is figure out how to make video calls with it.

Continue reading “3D Printed Video Terminal Dials C For Cyberpunk”

Inputs Of Interest: I’m Building An ErgoDox!

I’ve been using my Kinesis Advantage keyboard for two months, and I love it. I’ll never go back to a regular keyboard again if I can help it.

There are a few downsides to it, however. The biggest one is that split distance between the two sides is fixed. It doesn’t have Cherry MX blues (although the browns plus the firmware beeps is pretty nice). It doesn’t have layers, really — just a ten-key under the right hand. And honestly, it’s not very portable.

ErgoDox with Nuclear Data keycaps via geekhack

I took the Kinesis out to a coffee shop a few times before they all dried up into drive-thrus, and plunking it down on a four-top out in public made me realize just how large and loud it really is.

And so I’m building an ErgoDox keyboard. What I really want to build is a Dactyl — a curved variation on the ErgoDox — but I can’t just go whole-hog into that without building some type of keyboard first. That’s just my practical nature, I guess. I realize that the comparison is weak, because I’ll have to hand-wire the keyboard matrix when I make the dactyl. Assembling an ErgoDox is child’s play, comparatively. Our goal today is to lay out just what I’m getting myself into with a build like this one.

Continue reading “Inputs Of Interest: I’m Building An ErgoDox!”

Software Shortcut Keyboard Registers Many Macros

[FabroLabs Technologies] is an industrial designer who uses several creative-type software programs in a given day. Unfortunately, they all have slightly different shortcut schemes, and trying to remember all the different modifiers is a waste of time better spent elsewhere.

This lovely little macro keyboard is every bit as useful as it is cool looking. Spinning the rotary encoder cycles through a menu of programs on the 16×2 LCD, and the key map just updates automatically for the chosen program. At the heart of this build is an Arduino Pro Micro and 20 of the loudest key switches ever made — Cherry MX blues. We like that it manages to look like toy cash register and a serious peripheral all at once — it probably has something to do with those way-cool circular keycaps that were made on a resin printer.

We’re glad that [FabroLabs] laid down such a comprehensive and open build guide during the process of making this macro keyboard. The average hacker can learn a lot from industrial designers who show their work. Remember the time [Eric Strebel] showed us all how to improve our foam board design game?