Chocolate Extrusion Printer Is Halfway To Making S’mores

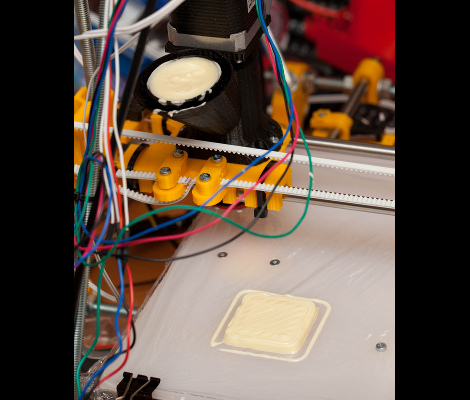
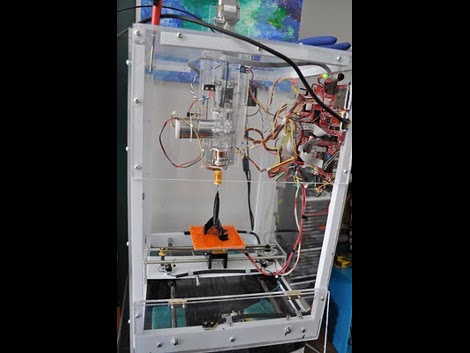
Chocolate has got to be one of the worst choices as a printing medium. It’s extremely fussy when it comes to melting point, and even in the right state the flow of the material is not going to play nicely with high-resolution designs. With this in mind, we applaud the progress the student team from Carnegie Mellon University has made with WonkaBot,  their chocolate extrusion printer.

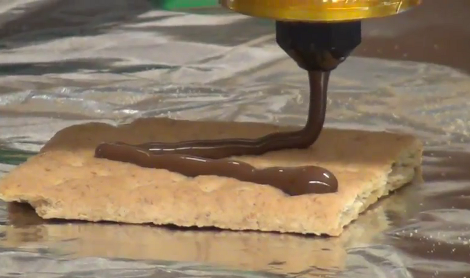
Unlike the syringe-based paste extruder from last month, this offering uses an auger to push chocolate through a heated printer head. They’re using it to print designs on graham crackers. We love the UI they came up with for the task. It uses a virtual graham cracker as a canvas on your laptop and allows you to use the touchpad or mouse to draw your design. That input is then converted to g-code and sent to the CNC machine for printing. See it in action after the break.

Continue reading “Chocolate Extrusion Printer Is Halfway To Making S’mores”
Print In Chocolate, Sugar, And Clay With A Universal Paste Extruder

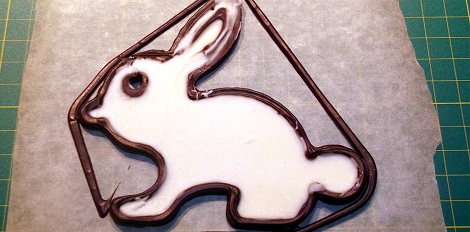
With a glut of Easter candy acquired over the last week, you might be thinking what to do with mountains of chocolate and other sugary delights. How about sending them through a 3D printer with [RichRap]’s universal paste extruder?

[RichRap]’s extruder uses a common 10cc syringes slowly squeezed by an off-the-shelf stepper motor. Chocolate wasn’t the only goal for this build;  [RichRap] also tested out cake icing, corn chip dough, muffin and sponge cake batter with his new toy. The most interesting paste in our humble opinion is porcelain ceramic clay. [RichRap] was able to make some very nice 3D printed greenware, but we’ll withhold our judgement until the ceramic parts are fired later this week.

After the break you can check out the introduction video for the Universal Paste Extruder, as well as a quick glimpse of [RichRap]’s very cool porcelain clay prints. We’re very interested in the ceramics printed with this extruder, if only for printing reprap parts that will be exposed to plastic-melting temperatures.  Of course, all the files to build your own paste extruder are up on Thingiverse.

Tip ‘o the hat to [Josef Prusa] for sending this one in.

Continue reading “Print In Chocolate, Sugar, And Clay With A Universal Paste Extruder”

New Extruder 3D Prints Tasty Treats Using Chocolate

If you’ve never felt at home with a piping bag in your hands this chocolate extruder will come to your rescue. It can replace the plastic extruder head on your 3D printer (RepRap, Makerbot, most 3-axis CNC machines, etc.), letting you turn your digital creations into decadent reality.

The head uses a progressive cavity pump to feed the chocolate from a reservoir through the printing nozzle. It’s important to keep the chocolate warm or it will set up so when [Tomi Salo] designed the print head he included a heat shroud through which warm air can be circulated. He uses a shoe dryer to source the hot hair which is patched into the heat shroud with a length of tubing.

This extruder can be 3D printed but be careful what material you use. [Tomi] mentions that PLA is ‘sort of food-safe’ but ABS is not. We wonder if the design could be altered for milling out of aluminum or stainless? At any rate, if you’re going to give it a try you might find [Tomi’s] advice on working with chocolate useful.

[via @clothbot]

Using Polycarbonate Filament With A RepRap

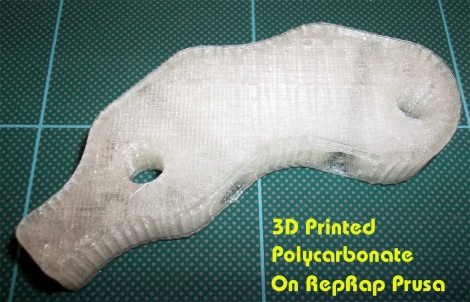
[Rich] couldn’t find any instances where RepRap owners had used polycarbonate as a 3D printing source material. He’s filled that knowledge gap by running multiple polycarbonate printing tests. Polycarbonate is a plastic that is highly resistant to shattering yet it’s still rather soft. With enough effort it can be bent and stretched, but it’s fairly difficult to break the material.

The test spool of polycarbonate was special ordered for this project. [Rich] sourced 1.6mm filament since 3mm material would have been difficult to spool. It melts at a temperature range of 280-300 degrees Celsius, which he reaches with a hot-end extruder design. The printed material comes out a bit cloudy, which may be due to the heating process itself, or due to extruder reversals (he’s not quite sure what’s causing it). But as you can see above and in the video after the break, it’s certainly a viable printing medium.

Continue reading “Using Polycarbonate Filament With A RepRap”

From RepStrap To RepRap; A 3D Printer Is Born

[Gavilan Steinman] just printed and assembled his own RepRap machine and filmed the process. This isn’t news but we found it very interesting to watch. He started with a RepStrap, a rapid-prototyping 3D printer that as built by hand instead of printed by a similar machine. This is the seminal step in the self-replicating process.

From there he prints an extruder head which improves the quality of the parts the RepStrap can produce. We then see time-lapse footage of the printing process for a Mendel unit, the second generation of RepRap machines. We’ve embedded the video after the break. It’s a great way to spend ten minutes on a Sunday afternoon.

Continue reading “From RepStrap To RepRap; A 3D Printer Is Born”

All Metal Hot End For Makerbot

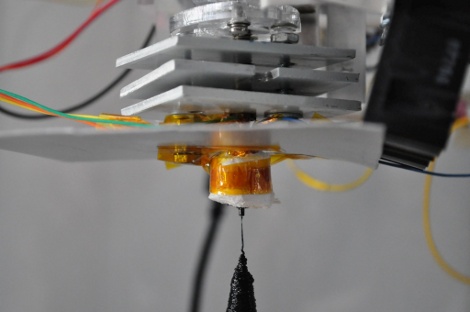
Imagine if you will for a moment, you’re printing along on your Makerbot clone and all of a sudden your PTFE hot end melts, what are you going to do now? One solution is to mill your own all metal end from a bolt with some careful drilling. Or you could follow [Peter Jansen] who has made his own all metal hot end using the existing extruder. All that’s required is some aluminum sheet and cutting down the nozzle and hat (and fans to help, but technicalities), and you’re in business with no more melted PTFE hot end.

Makerbot Clone

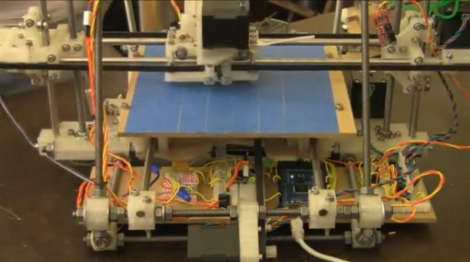
This table-top extruder was modeled after the Makerbot. Instead of laser-cut wood this is built from acrylic, uses salvaged rods from laser printers, some inexpensive stepper motors, and a homemade extruder. All said and done, [Peter Jansen] figures this build came in somewhere around $200-300. It may not look as nice, but at half the price of the Makerbot base kit you also get the fun of building from scratch. Hopefully your fabrication skills are up to the challenge. If so, you’ll be printing useful items soon enough.