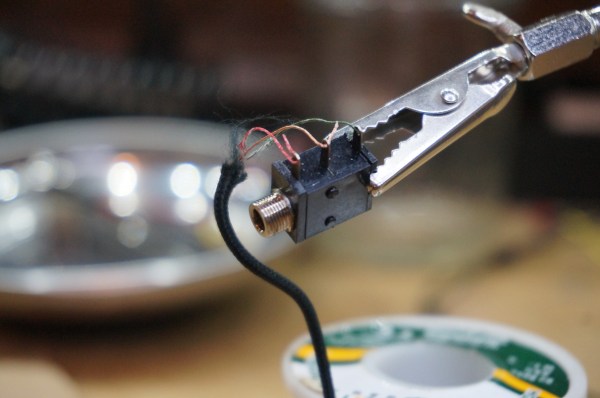
More DIY Solder Flux

[GuShH] wrote a guide for making your own rosin-based solder flux. According to [Stephen] — who sent in the tip and tried this method himself — is works well, it’s cheap, but you will need to clean up a bit after using it on a PCB.

Only two ingredients are necessary to make your own liquid or paste flux: rosin and a solvent. The rosin being weighed in the image above, can be found from several sources. We looked in on the same method quite recently where flux was sourced from a music store. But [GuShH] suggests that if you can find some from a hardware store it is better because the music store variety tends to be ‘molten’ and doesn’t work quite as well.

Proportions are listed on his guide for light, medium, and heavy concoctions. He recommends isopropyl alcohol as the solvent, and has stored the flux in a clear dropper bottle. We’re fans of needle bottles and asked about sourcing them in a previous post (linked in the paragraph above) so check that comments section if you don’t know where to get one.

What The Flux: Buy It Or Brew It Yourself

Flux generally makes our lives easier. It’s the best bet when trying to prevent solder bridges with fine-pitch components like you see here. But it is also indispensable when it comes to desoldering components from a board (we’re talking just one component without disturbing all of the others). But have you ever looked at what it costs to pick up a syringe of liquid flux from an online retailer? In addition to the cost of the product itself there’s usually a hazardous material handling fee that is rolled into the shipping cost. So we were happy that [Christopher] sent in a link to the DIY flux page over at Dangerous Prototypes.

The concept is simple enough. Mix some rosin with some solvent. Turns out these items are really easy to source. The solvent can be acetone (which you may have on hand for removing toner transfer from freshly etched PCBs) or plain old rubbing alcohol. And an easy source for rosin is your local music store. They sell it to use on bow hair for String players. Grind it up, throw it in a bottle and you’re good to go. Now does anyone know where we can source needle-tipped bottles locally?

For those that still just want to buy flux we highly recommend watching part one and part two of [Ian’s] flux review series.

Reworking Ball Grid Array Circuit Board Components At Home

[Jack Gassett] is developing a new breakout board for an FPGA. The chip comes in a ball grid array (BGA) package which is notoriously difficult to solder reliably. Since he’s still in development, the test boards are being assembled in his basement. Of the first lot of four boards, only one is functional. So he’s setting out to rework the bad boards and we came along for the ride.

To reflow the surface mount components he picked up a cheap pancake griddle. The first thing [Jack] does is to heat up the board for about two minutes, then pluck off the FPGA and the FTDI chips using a vacuum tweezers. Next, the board gets a good cleaning with the help of a flux pen, some solder wick, and a regular soldering iron. Once clean, he hits the pads with solder paste from a syringe and begins the soldering process. BGA packages and the solder paste itself usually have manufacturer recommended time and temperature guidelines. [Jack] is following these profiles using the griddle’s temperature controller knob and the timer on an Android phone. In the video after the break you can see that he adjusts the timing based on gut reaction to what is going on with the solder. After cleaning up some solder bridges on the FTDI chip he tested it again and it works!

Continue reading “Reworking Ball Grid Array Circuit Board Components At Home”

cleaning_pcbs

Cleaning Flux From PCBs The Easy Way

While we’re all for building circuits on protoboard or constructing a deadbug circuit for a last minute project, it’s always nice to see a proper PCB now and again. We think that leftover flux can sometimes make even the nicest of circuit boards look a bit dingy, and Hackaday reader [RandomTask] wholeheartedly agrees. He wrote in to share a method he found online that he uses to get his PCBs squeaky clean after soldering.

The secret to his clean PCBs is a product called Poly Clens. It’s essentially a paint brush cleaner that does a great job at removing flux without having to resort to using a brush to scrub it off the board. [RandomTask] simply submerges his newly assembled board in a small container filled with Poly Clens, agitating it for about half a minute or so. After the flux has been removed he rinses it with water, pats it dry, then ensures the board is moisture-free with a few passes of his heat gun.

He says that the entire process takes him less than 5 minutes per board, which is far better than the old alcohol and stiff brush method he used in the past.

What tips or tricks do you have for getting your new projects cleaned up? Be sure to share them with us in the comments.

Flux Paste Applicator Gun

[Luciano] didn’t want to drop a lot of cash into a flux and solder paste applicator so he built his own for about $5. He re-purposed a hot glue gun which you can usually find at a dollar store. After removing the heating element he inserted the body of a syringe. The plunger has been modified to use a knitting needle inside of some plastic tubing. After taking the picture above he made an improvement by adding a milliliter scale to the plunger, allowing you to meter out the paste and also gauge how much remains.