What’s the best way to quickly move books from a vast underground archive to the library patrons who want to read them? For the New York Public Library (NYPL), it used to be an elaborate conveyor belt system. But the trouble with those is that the books will fall right off of them on a vertical run. What the NYPL’s gargantuan flagship library on 5th Avenue needed was a train to shuttle the books around. This week, as the majestic Rose Main Reading Room reopens after renovation, the train will leave the station.
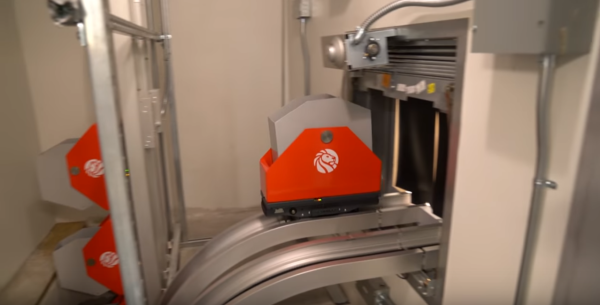
From January to August 2016, workers retrofitted the existing conveyor belt infrastructure to support 950 feet of shiny, winding track. ‘Train’ is a bit of a misnomer because the cars travel singly. The double-track system traverses eight floors of library from the underground archive to any of the 11 designated stops. There are 24 book cars at present. Each one can hold about 30 pounds of books and travels at about 75 feet per minute.
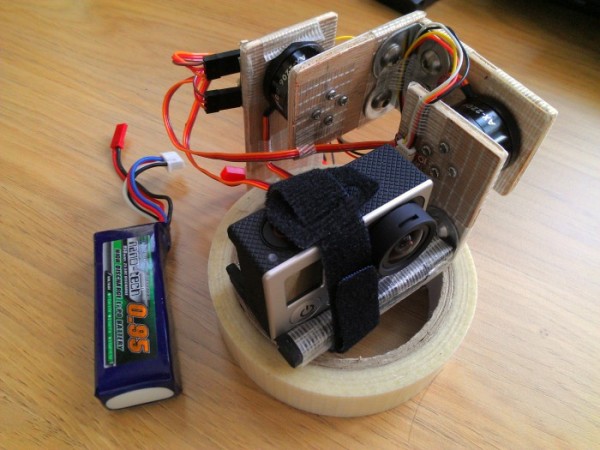
In order to move between floors economically, some sections of track are completely vertical. How do the books stay in there? Simple—the cargo hold pivots on a gimbal. Sensors along the track make it easy to keep tabs on the cars, which are separated by a 15-second buffer to avoid collisions and mishaps. Click past the break for a sped-up demonstration. For you purists out there, we’ve also embedded the full, silent, real-time version that clocks in at nearly five minutes.
We like all kinds of trains around here, from the subterranean to the scientifically derailed.
Continue reading “The New York Public Library Built A Reading Railroad”
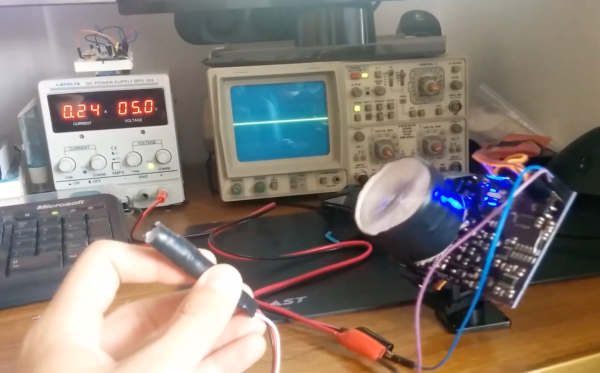
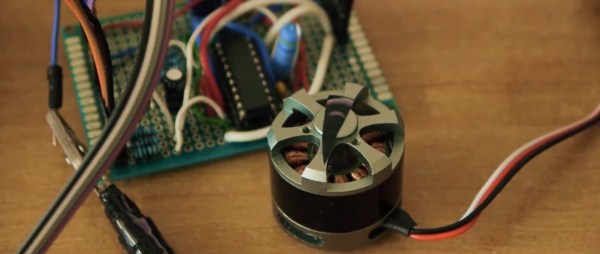
 A warning is warranted – this is not for the faint of heart. You can easily destroy your microcontroller if you’re not careful. [Ignas] added several current limiting resistors and capacitors as advised in the