Attention: No pirates maritime wealth redistribution agents were harmed in the making of the video below.
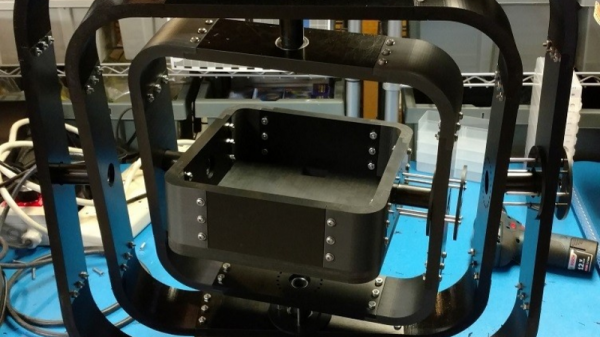
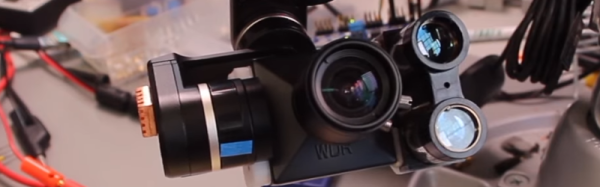
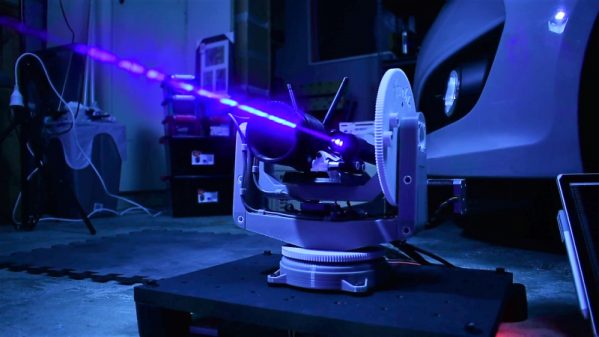
Some projects are for work, some are for fun, and some, like this entirely 3D-printed camera pan-tilt gimbal, start out as work and then turn into fun. As professional digital FX artist [FlorianH] tells the tale, he was in need of such a rig for some motion-control work. Buying off the shelf is always an option, except when it’s boring, so [Florian] invested an untold number of hours in front of Fusion 360 meticulously designing every last part, except for some bearings, the NEMA 17 steppers, and some fasteners. Ten One hundred hours of printing later and the device was ready for assembly and a quick test, which showed that this thing is smooth as silk.
And the pirate snuff-vid? That was just for fun, and we enjoyed it immensely. [Florian] assures us that none of the explosions were added in post; all are practical effects, done with flash cotton and a bit of powdered charcoal. We asked – you know, for reference.
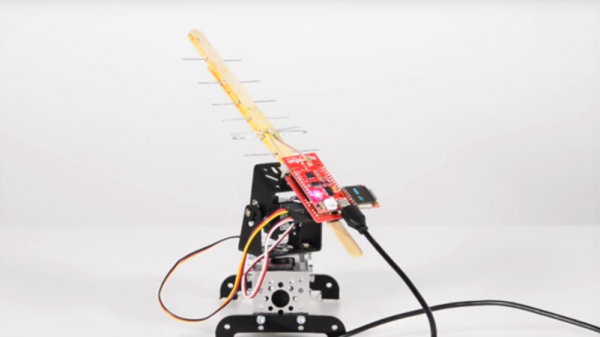
We’ve featured lots of pan-tilt rigs before, using everything from hobby servos to purely mechanical linkages. But this one has a certain flair to it that we really like.
Continue reading “Pirates Don’t Stand A Chance Against This 3-D Printed Pan-Tilt Gimbal”