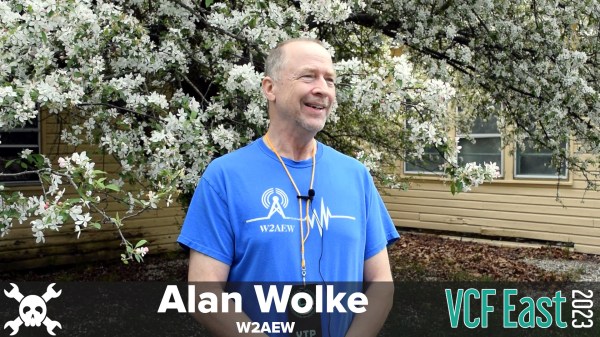
If you’re one of the more than 180,000 subscribers to [Alan Wolke]’s YouTube channel W2AEW, you’ll know he’s a lover of old test gear and ham radio hardware. You may have followed one of his tutorials, or referenced his work while repairing or upgrading your own equipment. But when we got a chance to talk to him one-on-one during Vintage Computer Festival East 2023, we were treated to a more personal look at the man himself.
Like many of us, [Alan] says he got his start with electronics at a young age simply by taking things apart and trying to put them back together again. From there he got a job in a TV repair shop during high school, where he was able to hone his natural curiosity into a marketable skill. His career took him through several of tech companies, but he ultimately ended up in an engineering role at Tektronix, a position he’s held for nearly 20 years.
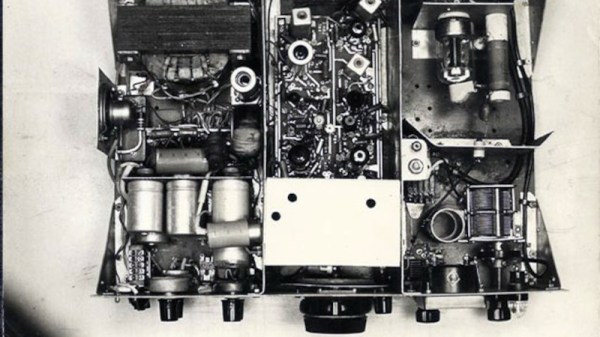
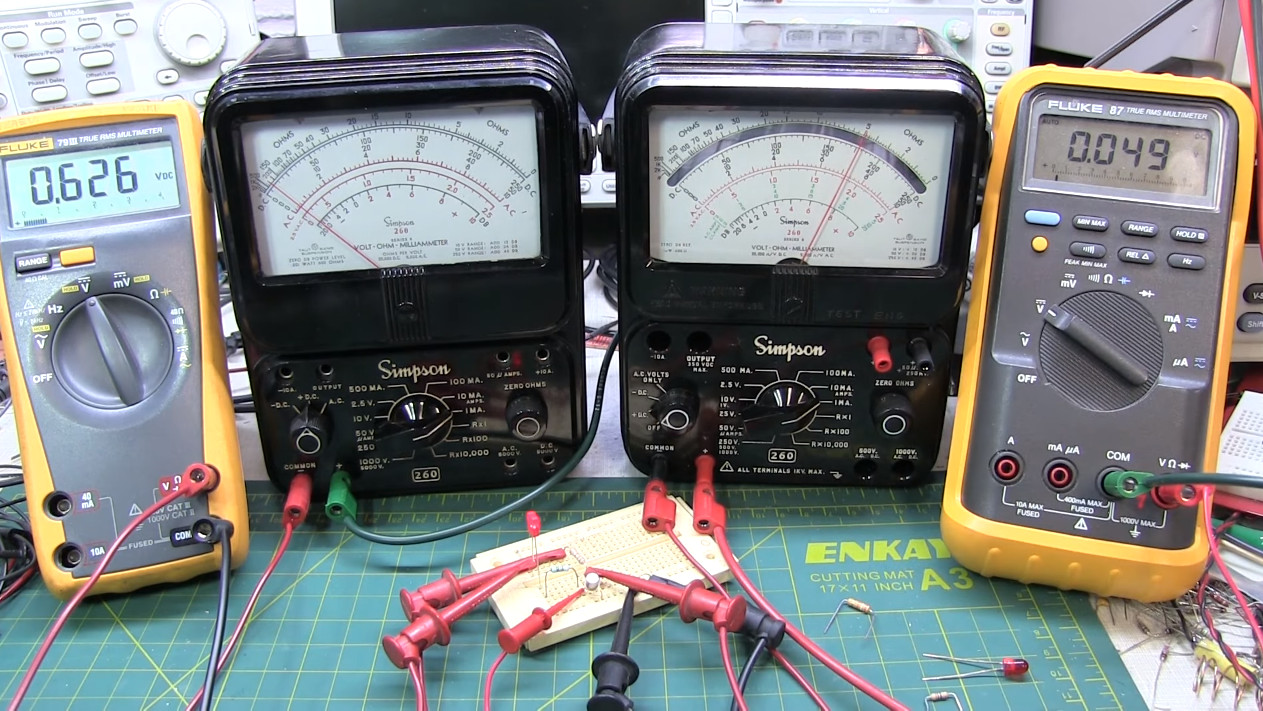 Despite continuing to stay on the cutting edge, it’s no surprise that he still has a certain attraction to the technology from his youth. But it’s more than simple nostalgia — he points out that vintage hardware is generally easier to service than modern gear. As many of his own videos show, there was something of a technological “sweet spot” around the mid-20th century to the 1980s or so; where you could expect to not only have schematics available, but the design and construction of hardware was such that you could still reason your way through it using basic troubleshooting principles.
As for being a ham, [Alan] thinks it’s a great way for get an even deeper understanding of technology. He says that if you’re interested in learning how electronics work, repairing and upgrading old radio hardware is a great way to flex your mental muscles. But at the same time, being a ham isn’t limited to dusting off war-surplus radios that were built before you were born. There’s plenty of ways to mix in modern technology, from digital modes to receiving signals from satellites using a software-defined radio.
[Alan] was just one of the fascinating people we got a chance to speak with during our visit to the 2023 Vintage Computer Festival East. We’ve still got more interviews to come, but in the meantime, you can check out our previous coverage of this incredible retrocomputing event.
Continue reading “VCF East 2023: Alan Wolke On His Passion For Tech”