For all their talk of cooperation and shared interests, the nations of the world put an awful lot of effort into spying on each other. All this espionage is an open secret, of course, but some of their activities are so mysterious that no one will confirm or deny that they’re doing it. We’re talking about numbers stations, the super secret shortwave radio stations that broadcast seemingly random strings of numbers for the purpose of… well, your guess is as good as ours.
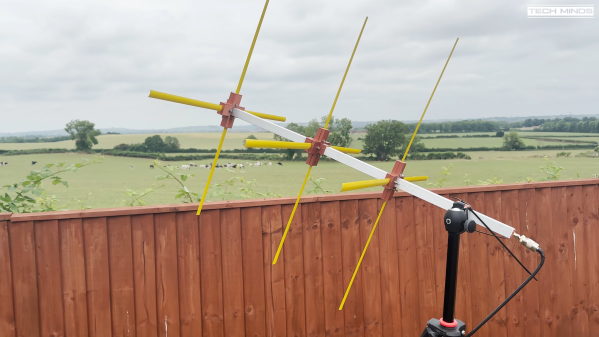
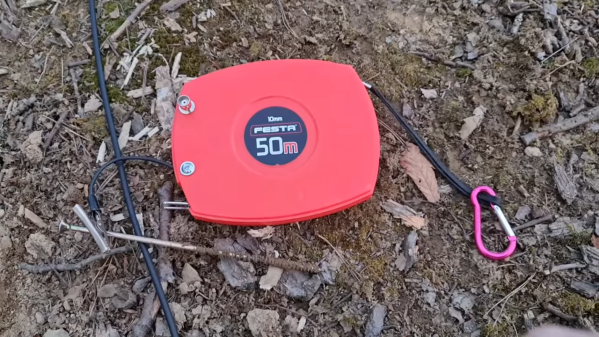
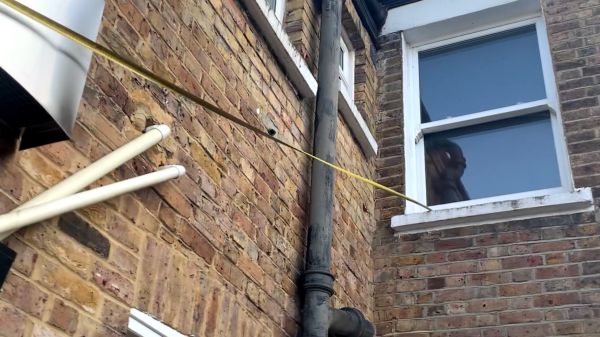
If you want to try to figure out what’s going on for yourself, all you need is a pair of tape measures and a software defined radio (SDR), as [Tom Farnell] demonstrates. Tape measure antennas have a long and proud history in amateur radio and shortwave listening, being a long strip of conductive material rolled up in a convenient package. In this case, [Tom] wanted to receive some well-known numbers stations in the 20- to 30-meter band, and decided that a single 15-meter conductor would do the job. Unlike other tape measure antennas we’ve seen, [Tom] just harvested the blades from two 7.5-meter tape measures, connected them end-to-end, and threw the whole thing out the window in sort of a “sloper” configuration. The other end is connected to an RTL-SDR dongle and a smartphone running what appears to be SDRTouch, which lets him tune directly into the numbers stations.
Copying the transmissions is pretty simple, since they transmit either in voice or Morse; the latter can be automatically decoded on a laptop with suitable software. As for what the long strings of numbers mean, that’ll remain a mystery. If they mean anything at all; we like to think this whole thing is an elaborate plan to get other countries to waste time and resources intercepting truly random numbers that encode nothing meaningful. It would serve them right.
Continue reading “It’s Numbers All The Way Down With This Tape Measure Number Station Antenna”