Jeri Ellsworth’s Shooting Gallery

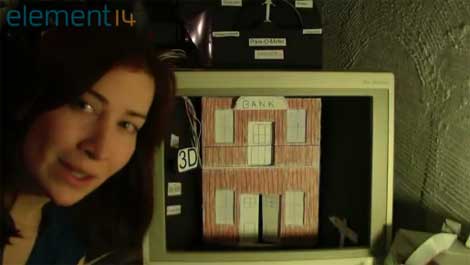
Back with another interesting vidoe, [Jeri Ellsworth] once again brings us an amusing and educational hack. This time she’s made a “shooting gallery” in the style of the old arcade games that actually used projectiles. In her version however, she’s using LEDs in the targets which are detected by the gun.  In an effort to keep the feel the same, she rigged up a pinball bell to ding at the appropriate times and it is quite effective.

As usual, she does a great job of breaking everything down and explaining how it all works. She shows us around her prototype so you can see how it is constructed, if you can make it through the solder gun shootout in the beginning.  If she were to continue with this project beyond the functional prototype stage, we’d love to see small video clips being displayed for the targets pepper’s ghost style. Maybe we’re just having fond memories of Time Traveler.

Free Energy Is For Fools?

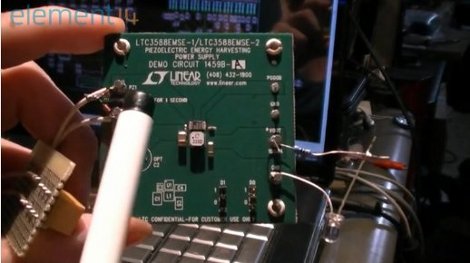
In her new element-14 video [Jeri Ellsworth] explains some  concepts about “free to you” energy and features the LTC3109EUF, an Auto-polarity, Ultra low Voltage Step-Up Converter and Power Manager, along with the LTC3588EMSE a Piezoelectric Energy Harvesting Power Supply.

Using the LTC3109EUF she is able to power a modified Nintendo Entertainment System, and LCD using a small generator and an exercise bike. The LTC3588EMSE is wired up to piezo’s in different applications including being squashed, vibrated, and temperature difference to power low current devices.

All this and a totally 80’s theme, so poof up your hair, get your spiked dog collar, and find those neon green shades because this is a fun and informative video available on element-14.

Jeri Getting Her Own Show?

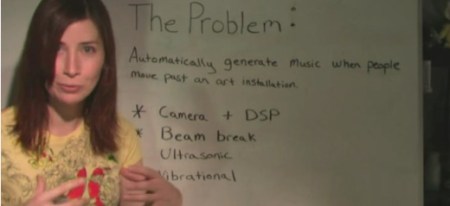
[Jeri Ellsworth] has been very excited about this new opportunity. She sent us a “pilot video“, so we’re assuming that there will be more to come.  In the pilot, she explains how to build a musical art installation that will play music when a viewer is in position. She covers several different ways to detect the presence of the person, ultimately landing on using a PIR sensor for detection. We can’t wait to see where this show goes, but we hope she continues to do her own hacking videos as well.

Let Paper Dolls Teach You Science

Remember how fun it was studying chemistry and physics in high school? Well we guess your recollection depends on the person who taught the class. Why not have another go at it by learning the A-to-Z of electronics from one of our favorite teachers, [Jeri Ellsworth].

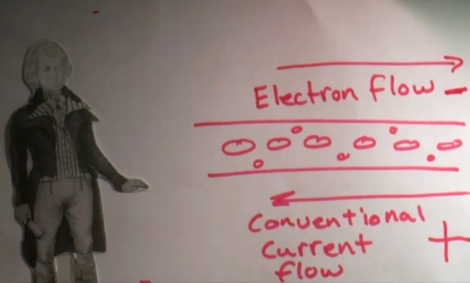
You know, the person who whips up chemistry experiments and makes her own semiconductors? The first link in this post will send you to her video playlist. So far she’s posted A is for Ampere and B is for Battery, both of which you’ll find embedded after the break. Her combination of no-nonsense technical explanation, and all-nonsense paper-doll history reenactment make for a fun viewing whether you retain any of the information or not.

Continue reading “Let Paper Dolls Teach You Science”

DIY OLEDs

[Jeri Ellsworth] has put together a couple of videos that cover how she made her own organic light emitting diodes, or OLEDs. In the first video, after the break, it discusses the difference between regular, rigid semiconductor LEDs and organic LEDs. The video then goes on to show how to make an OLED as successive layers of materials. Indium tin oxide (ITO) on glass forms a transparent anode. That is then coated with PEDOT:PSS, a conductive polymer mix that is used as a hole transport layer. Then a red diamond ruthenium complex is added to create the emissive layer. The cathode layer is a low work function metal, initially, gallium indium eutectic alloy then later other metals were shown to work. The second video, shows how to juice a glowstick and make OLEDs with the liquid. The dye in blue glowsticks, 9,10-Diphenylanthracene, is an organic semiconductor and will emit light as an electric current is passed through it. The glow stick method seems to have some problems as the ITO coated glass plate is degraded by the glowstick chemicals. It would be interesting to see if using the porous aluminum or similar technique from [Jeri]’s flexible electroluminescent displays could be used as an electrode.

Continue reading “DIY OLEDs”

Jeri Makes Flexible EL Displays

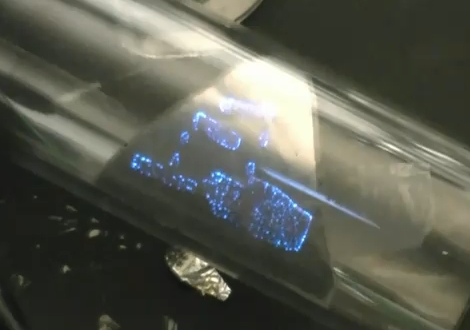
A failed chemistry experiment led [Jeri Ellsworth] to discover a flexible substrate for electroluminescent displays. We’re familiar with EL displays on the back of a glass panel like you would find in an audio receiver, but after making a mesh from aluminum foil [Jeri] looked at using the porous metal to host phosphors. She starts by cleaning foil and using a vinyl sticker to resist etching portions of the aluminum. It then goes into a bath of boric acid, electrified with the foil as the anode. As the foil etches she tests the progress by shining a laser through the foil. After this the phosphors are applied to the back surface of the foil, covered in a dielectric, and topped off with a conductive ink that will carry the AC necessary to excite the phosphors. This is layering materials in reverse compared to her EL PCB experiments. See [Jeri] explain this herself in the clip after the break.

You can see above that this produces a pretty well-defined display area. It reminds us of that color changing paint display. We think it would be worth a try to build a few 7-segment displays using this method.

Continue reading “Jeri Makes Flexible EL Displays”

Gas Containment For Laser Cutters

Tired of breathing all the noxious fumes your laser cutter puts out? Yeah… we don’t have a laser cutter either. But [Jeri Ellsworth] does and she needed a way to evacuate off-gases generated during cutting so that they don’t damage the laser cutter, or her lungs. What she came up with is a containment box that attaches to a pump system.

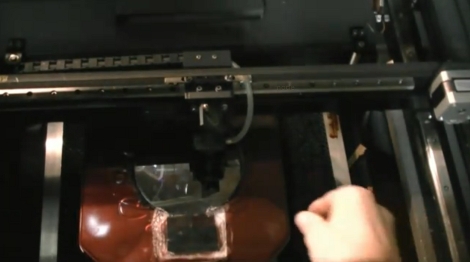
The problem is that you want to keep the gases away from the laser cutter hardware but you still need to be able to shoot the laser at your work material. Her clever solution is to use a silicone wafer like the ones with which she makes integrated circuits. They allow the infrared laser to pass through without being chopped in half. What you see in the image above is a red box with the round wafer in the center. Near the bottom of the image is a clear window so you can see what’s going on with your work piece. But to get the full idea you need to watch the video embedded after the break.

We can’t help but think she’s building this in preparation for some more chemistry hacking.

Continue reading “Gas Containment For Laser Cutters”