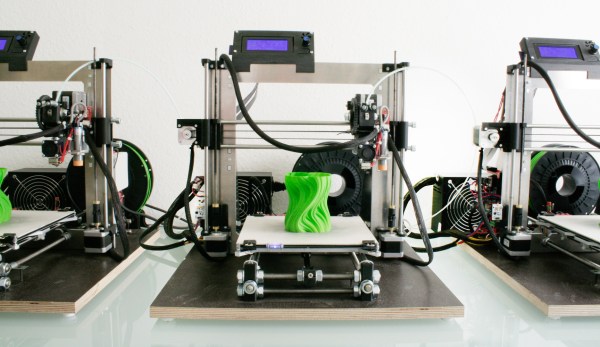
Build A 3D Printer Workhorse, Not An Amazing Disappointment Machine

3D printers have become incredibly cheap, you can get a fully workable unit for $200 – even without throwing your money down a crowdfunded abyss. Looking at the folks who still buy kits or even build their own 3D printer from scratch, investing far more than those $200 and so many hours of work into a machine you can buy for cheap, the question “Why the heck would you do that?” may justifiably arise.

The answer is simple: DIY 3D printers done right are rugged workhorses. They work every single time, they never break, and even if: they are an inexhaustible source of spare parts for themselves. They have exactly the quality and functionality you build them to have. No clutter and nothing’s missing. However, the term DIY 3D printer, in its current commonly accepted use, actually means: the first and the last 3D printer someone ever built, which often ends in the amazing disappointment machine.

This post is dedicated to unlocking the full potential in all of these builds, and to turning almost any combination of threaded rods and plywood into a workshop-grade piece of equipment.

Continue reading “Build A 3D Printer Workhorse, Not An Amazing Disappointment Machine”

Heating Up A Printrbot’s Bed

A heated bed for the Printrbot 3D printer

Heated beds for 3D printers help reduce the amount of curling and warping of parts. The warping happens when the part cools and contracts. The heated bed keeps the part warm for the entire print and reduces the warping.

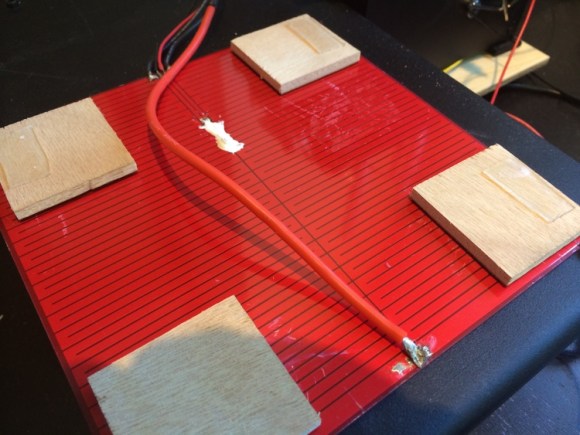
As an upgrade to her Printrbot, [Erin] added a heated bed. The first plan was to DIY one using Nichrome wire, but heated beds are available at low cost. They’re basically just a PCB with a long trace that acts as a resistor. She added a thermistor to monitor temperature and allow for accurate control.

The Printrbot heated bed worked, but didn’t heat up quite quick enough. [Erin] was quick to scratch off the solder mask and solder new leads onto the board. This converted the board into two parallel resistors, halving the resistance and doubling the power.

This version heated up very quickly, but didn’t have a steady heat. The simple control that was being used was insufficient, and a PID controller was needed. This type of control loop helps deal with problems such as oscillations.

The Printrbot’s firmware is based on Marlin, which has PID support disabled by default. After rebuilding the code and flashing, the PID gains could be adjusted using g-codes. With the values tuned, [Erin]’s printer was holding steady heat, and can now print ABS and PLA with minimal warping.