![]()
While we’re not much for fashion hacks, we’re reasonably impressed with [Karolina]’s faux Chanel bag made of chips. Apparently a grid of black squares is one of Chanel’s trademark looks, and a thousand or so QFP chips makes for a reasonable substitution.
News of the death of our retro edition has been greatly exaggerated. [Brandon] got an old Apple IIe up on the Internet and loaded up our retro edition, so we’re sort of obliged to mention him. He’s using a Super Serial Card connected to an OS X box running lynx. With getty running, he can shoot the output of lynx over to the Apple. Awesome.
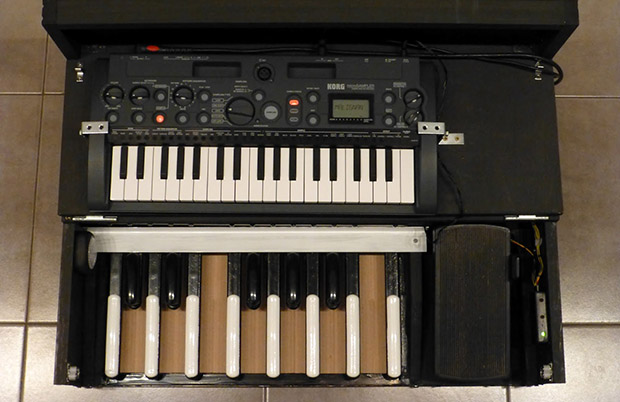
Take an old Yamaha organ, convert the keyboard to MIDI, throw in a few Arduinos, thousands of LEDs, and a handful of bubble machines. What you end up with is the bubble organ, as seen at the Bass Coast Festival last weekend. If you want a hands on, you can also check it out at the Rifflandia festival in BC, Canada this September.
Some guy over on reddit created the smallest Arduino in the world. We’re looking at a rank amateur here, though. I’ve been working on this little guy for the last 18 months and have even created an open source cloud based github design for the production model. It’s less than half the size of a Digispark, and also Internet of Things 3D interactive education buzzword buzzword.
[Moogle] found an old Super 8 camera at an estate sale. No big deal right? Well, this one is clear, and it uses light-sensitive film. Your guess is as good as ours on this one, but if you know what’s up, drop a note in the comments.
One day [John] decided he would put a PC inside an old G3 iMac. After a year, it’s finally done. He took out the CRT and replaced it with a 15″ Dell monitor. The G3 was discarded for an AMD, and the internal speakers and slot-load CD drive still work. It’s a really, really cool piece of work.