A little over a year ago I had a semi-gruesome accident; I stepped off of a ladder and I caught my wedding ring on a nail head. It literally stripped the finger off the bone. This was in spite of me being a safety-freak and having lived a whole second life doing emergency medicine and working in trauma centers and the like. I do have trauma center mentality which means, among other things, that I know you can’t wind the clock back.
 A few seconds make an incredible differences in people’s lives. Knowing that it couldn’t be undone, I stayed relaxed and in the end I have to say I had a good time that day as I worked my way through the system (I ended up in a Philadelphia trauma center with a nearby hand specialist) as I was usually the funniest guy in the room. Truth be told they ask incredibly straight questions like”are you right handed?” “Well I am NOW”.
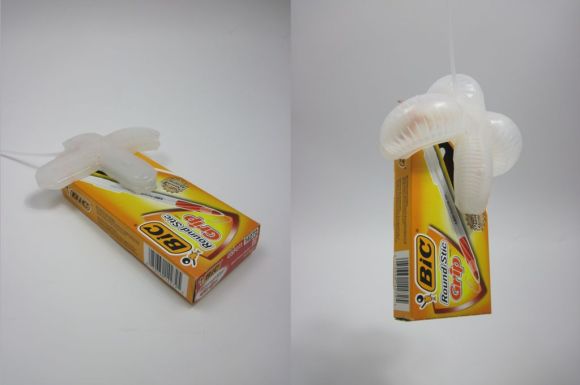
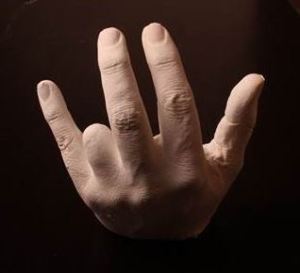
So now I could really use a bit of a body hack, having seen the X-Finger on Hackaday long before I knew that I would one day work with them, I was hoping that we could get one to work for me. In speaking with a couple of the mechanical engineers on the Hackaday staff we decided to get [James Hobson] and [Rich Bremer] involved and that the best way to do it was to get a casting of my injured hand out to them.
Continue reading “[Bil’s] Quest For A Lost Finger: Episode I”