Print A Flexible Keypad

[Micah Elizabeth Scott] needed a custom USB keyboard that wrapped around a post. She couldn’t find exactly what she wanted so she designed and printed it using flexible Nijaflex filament. You can see the design process and the result in the video below.

The electronics rely on a Teensy, which can emulate a USB keyboard easily. The keys themselves use the old resistor divider trick to allow one analog input on the Teensy to read multiple buttons. This was handy, but also minimized the wiring on the flexible PCB.

The board itself used Pyralux that was milled instead of etched. Most of the PCB artwork was done in KiCAD, other than the outline which was done in a more conventional CAD program.

Continue reading “Print A Flexible Keypad”

An Hour To Surface Mount

Most of us have made the transition from through hole parts to surface mount. There are lots of scattered tutorials, but if you want to learn some techniques or compare your technique to someone else’s, you might enjoy [Moto Geek’s] hour-long video on how he does surface mount with reflow soldering. You can see the video below.

What makes the video interesting is that it is an hour long and covers the gamut from where to get cheap PCBs, to a homebrew pick and place pencil. [Moto Geek] uses a stencil with solder paste, and he provides links to the materials he uses. Continue reading “An Hour To Surface Mount”

540 PCBs Make A Giant LED Cube

Just about anyone can make a simple LED cube. But what if you want to make a 1-meter cube using 512 LEDs? [Hari] wanted to do it, so he created two different kinds of LED boards using EasyEDA. There are 270  of each type of board, for a total of 540 (there are only 512 LEDs, so we guess he got some spares due to how the small boards panelized). The goal is to combine these boards to form a cube measuring over three feet on each side.

To simplify wiring, the boards are made to daisy chain like a cordwood module. However, to get things to line up, each column of LED boards have to rotate 90 degrees. You can see several videos about the project below.

Continue reading “540 PCBs Make A Giant LED Cube”

Retrotechtacular: Tinkertoy And Cordwood In The Pre-IC Era

It is widely accepted that Gutenberg’s printing press revolutionized thought in Europe and transformed the Western world. Prior to the printing press, books were rare and expensive and not generally accessible. Printing made all types of written material inexpensive and plentiful. You may not think about it, but printing–or, at least, printing-like processes–revolutionized electronics just as much.

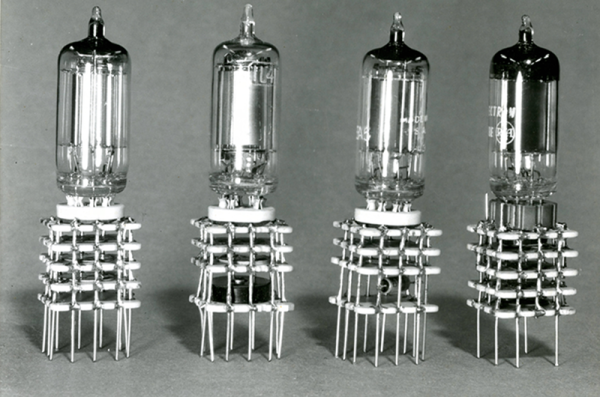
In particular, the way electronics are built and the components we use have changed a lot since the early 1900s when the vacuum tube made amplification possible. Of course, the components themselves are different. Outside of some specialty and enthusiast items, we don’t use many tubes anymore. But even more dramatic has been how we build and package devices. Just like books, the key to lowering cost and raising availability is mass production. But mass producing electronic devices wasn’t always as easy as it is today.

Continue reading “Retrotechtacular: Tinkertoy And Cordwood In The Pre-IC Era”

Ask Hackaday: What’s Your Etchant?

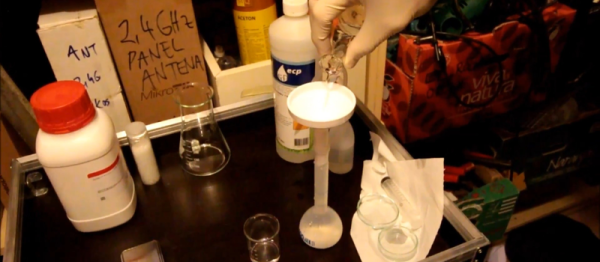
Although the typical cliché for a mad scientist usually involves Bunsen burners, beakers, and retorts, most of us (with some exceptions, of course) aren’t really chemists. However, there are some electronic endeavors that require a bit of knowledge about chemistry or related fields like metallurgy. No place is this more apparent than producing your own PCBs. Unless you use a mill, you are probably using a chemical bath of some sort to strip copper from your boards.

The standard go-to solution is ferric chloride. It isn’t too tricky to use, but it does work better hot and with aeration, although neither are absolutely necessary. However, it does tend to stain just about everything it touches. In liquid form, it is more expensive to ship, although you can get it in dry form. Another common etchant is ammonium or sodium persulphate.

pcbyThere’s also a variety of homemade etchants using things like muriatic acid and vinegar. Most of these use peroxide as an oxidizer. There’s lots of information about things like this on the Internet. However, like everything on the Internet, you can find good information and bad information.

When [w_k_fay] ran out of PCB etchant, he decided to make his own to replace it and wrote a great guide on how this is done. He found a lot of vague and conflicting information on the Internet. He read that the vinegar solution was too slow and the cupric acid needs a heated tank, a way to oxygenate the solution, and strict pH controls. However, he did have successful experiments with the hydrochloric acid and peroxide. He also used the same materials (along with some others) to make ferric chloride successfully.

Continue reading “Ask Hackaday: What’s Your Etchant?”

Free Routing For GEDA

If you lay out PC boards using software, it is a good bet you have an opinion about autorouters. Some people won’t use a package that can’t automatically route traces. Others won’t accept a machine layout when they can do their own by hand. You can, of course, combine the two, and many designers do.

The open source gEDA PCB package (and pcb-md) have an autorouter, but it is pretty simplistic. [VK5HSE] shows how you can use a few tools to interface with the Java Freerouting application, to get a better result. For example, the original router made square corners, while the Freerouting application will create angles and arcs, if configured properly.

Continue reading “Free Routing For GEDA”

Print Flexible PCBs With A 3D Printer

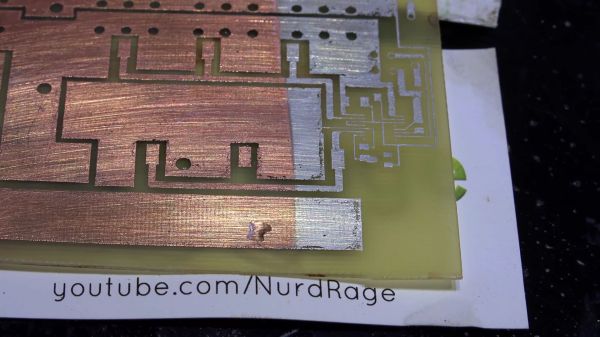
Let’s get it out of the way right up front: you still need to etch the boards. However, [Mikey77] found that flexible plastic (Ninjaflex) will adhere to a bare copper board if the initial layer height is set just right. By printing on a thin piece of copper or conductive fabric, a resist layer forms. After that, it is just simple etching to create a PCB. [Mikey77] used ferric chloride, but other etchants ought to work, as well.

Sound simple, but as usual, the devil is in the details. [Mikey77] found that for some reason white Ninjaflex stuck best. The PCB has to be stuck totally flat to the bed, and he uses spray adhesive to do that. Just printing with flexible filament can be a challenge. You need a totally constrained filament path, for one thing.

Continue reading “Print Flexible PCBs With A 3D Printer”