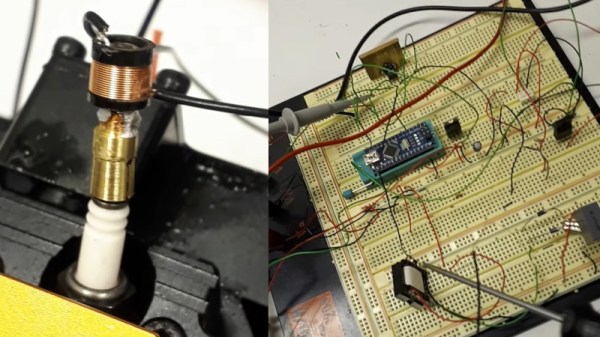
The spark plug was a key invention in the history of the internal combustion engine, allowing combustion to be easily controlled and engines to rev faster than messy earlier designs. Mid-century cars tended to rely on points ignition with a distributor and coil, however more modern designs place a coil on top of each individual spark plug. [Roger Moore] decided to build a similar setup for a small model engine on his workbench.
The rig is built with an Arduino, a flyback transformer, a smattering of MOSFETs and passives, an IGBT and a capacitor. The Arduino outputs PWM through a MOSFET which is stepped up through the transformer, and then charges the capacitor. The capacitor is then discharged into a coil mounted on top of the sparkplug of the single-cylinder engine, which fires the spark. The timing of the spark is determined by a Hall effect sensor reading a magnet placed on the flywheel.
Later development aims to shrink the system further to fit on a V10 design [Roger] is planning to make. It’s been done on a small scale before, and we’d love to see another tiny engine with way too many cylinders. Video after the break.
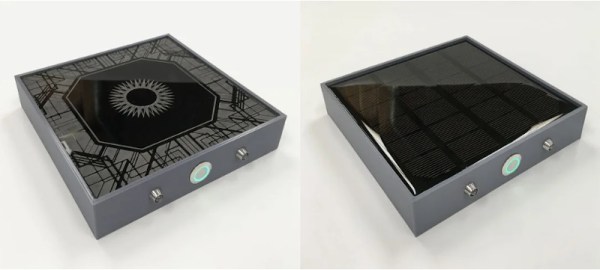
Charging pads are now a common, popular way to charge small devices. They have the benefit of reducing wear on connectors and being easier to use. [bcschmi6] decided to build a solar powered charging pad, which should come in handy when out and about.
The build uses a 3 W square solar panel, hooked up to an Adafruit solar charging board. This charges a pair of 18650 lithium batteries. The batteries only put out a maximum of 4.2 V, so they’re hooked up to a boost converter to get the output a little higher, up to 5.2 V. The output of the boost converter is then hooked up to a charging pad harvested from an Anker charger, and it’s all wrapped up in a tidy 3D printed frame.
We imagine the device would be great for camping. It could be left charging in the sun during the day, before being flipped over and used as a charging pad at night. It would be easy to build a bigger version for charging several phones at once, too. If you want to build your own charging coils, that’s a thing, too. And if you’ve got your own solar project cooking up as we head into summer, be sure to let us know!
This project started, as many do, with a simple idea. [Ben Hoad] just wanted to take a static LEGO Hogwarts Express train kit and make it motorized. It was compatible with standard LEGO track pieces, so all he should have to do was figure out how to shoehorn a motor in there and be done with it. Right?
Well, you already know how things like this go. It started with adding the motor, which ended up being relatively straightforward once [Ben] used some community LEGO CAD tools to figure out which kits had the specific parts he needed to redesign the train in such a way that he’d have enough space inside for the motor without ruining the way it looked. But then the feature creep kicked in, and he found himself falling down that familiar rabbit hole.
A 3D representation of the train’s internal components.
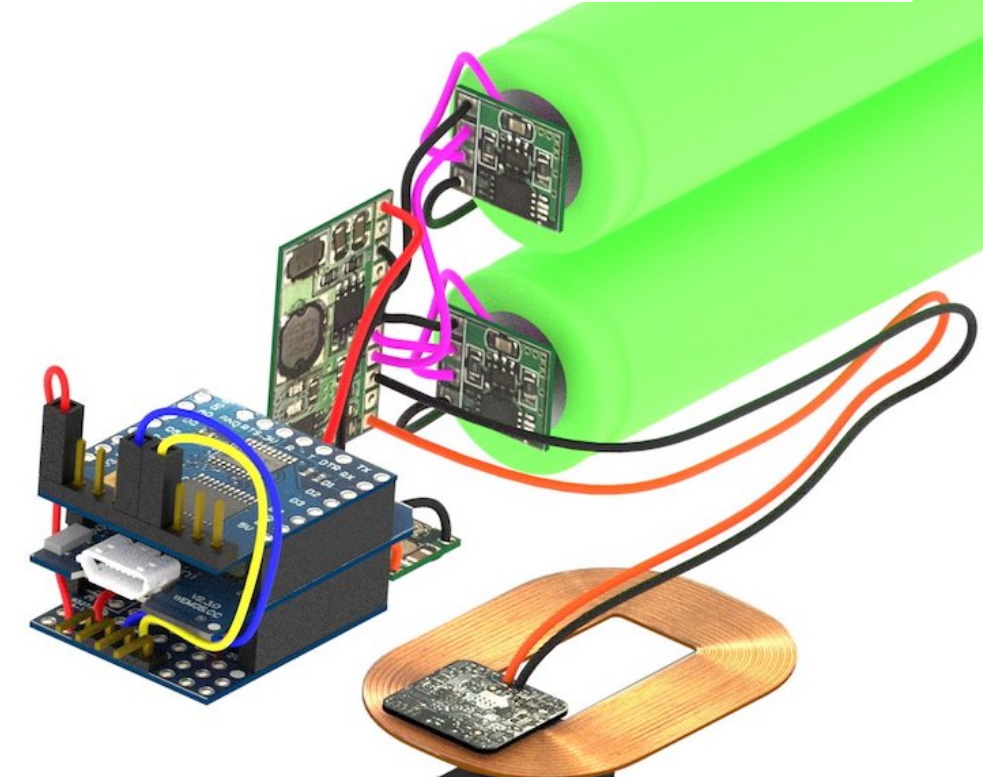
The first problem was how to reliably power the train. It turns out the rear car was more or less empty already, so that became home for two 18650 batteries (the project details say “16850” but we believe that is merely a typo). [Ben] didn’t want to have to take the thing apart every time it ran down, so he wondered if it would be possible to add wireless charging.
A Qi coil in the bottom of the train car and one in a specially designed section of track got the power flowing, but getting them lined up proved a bit finicky. So he added a Hall effect sensor to the car and a strong magnet to the track, so the train would know when the coils were lined up and automatically pump the brakes.
So now he had a motorized train that could recharge itself, but how should he turn it on and off? Well, with an ESP8266 along for the ride, he figured it would be easy to add WiFi control. With a bit of code and the Homebridge project, he was able to get the train to appear as a smart switch to Apple’s HomeKit. That allows him to start and stop the train from his smartphone, complete with a routine that returns the train to the charging station once it’s finished making the rounds. [Ben] says the next steps are to put some sanity checks in, such as shutting the motors down if the train hasn’t passed the charging station in a few minutes; a sure sign that it’s not actually moving.
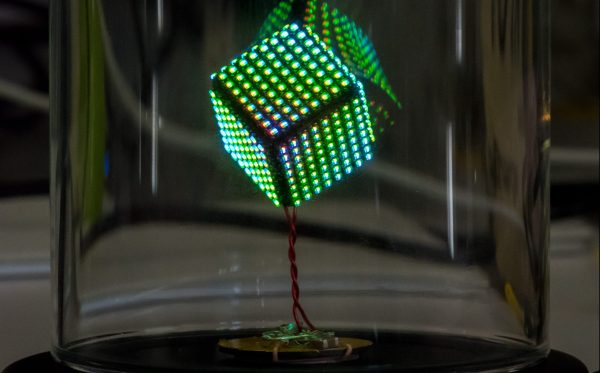
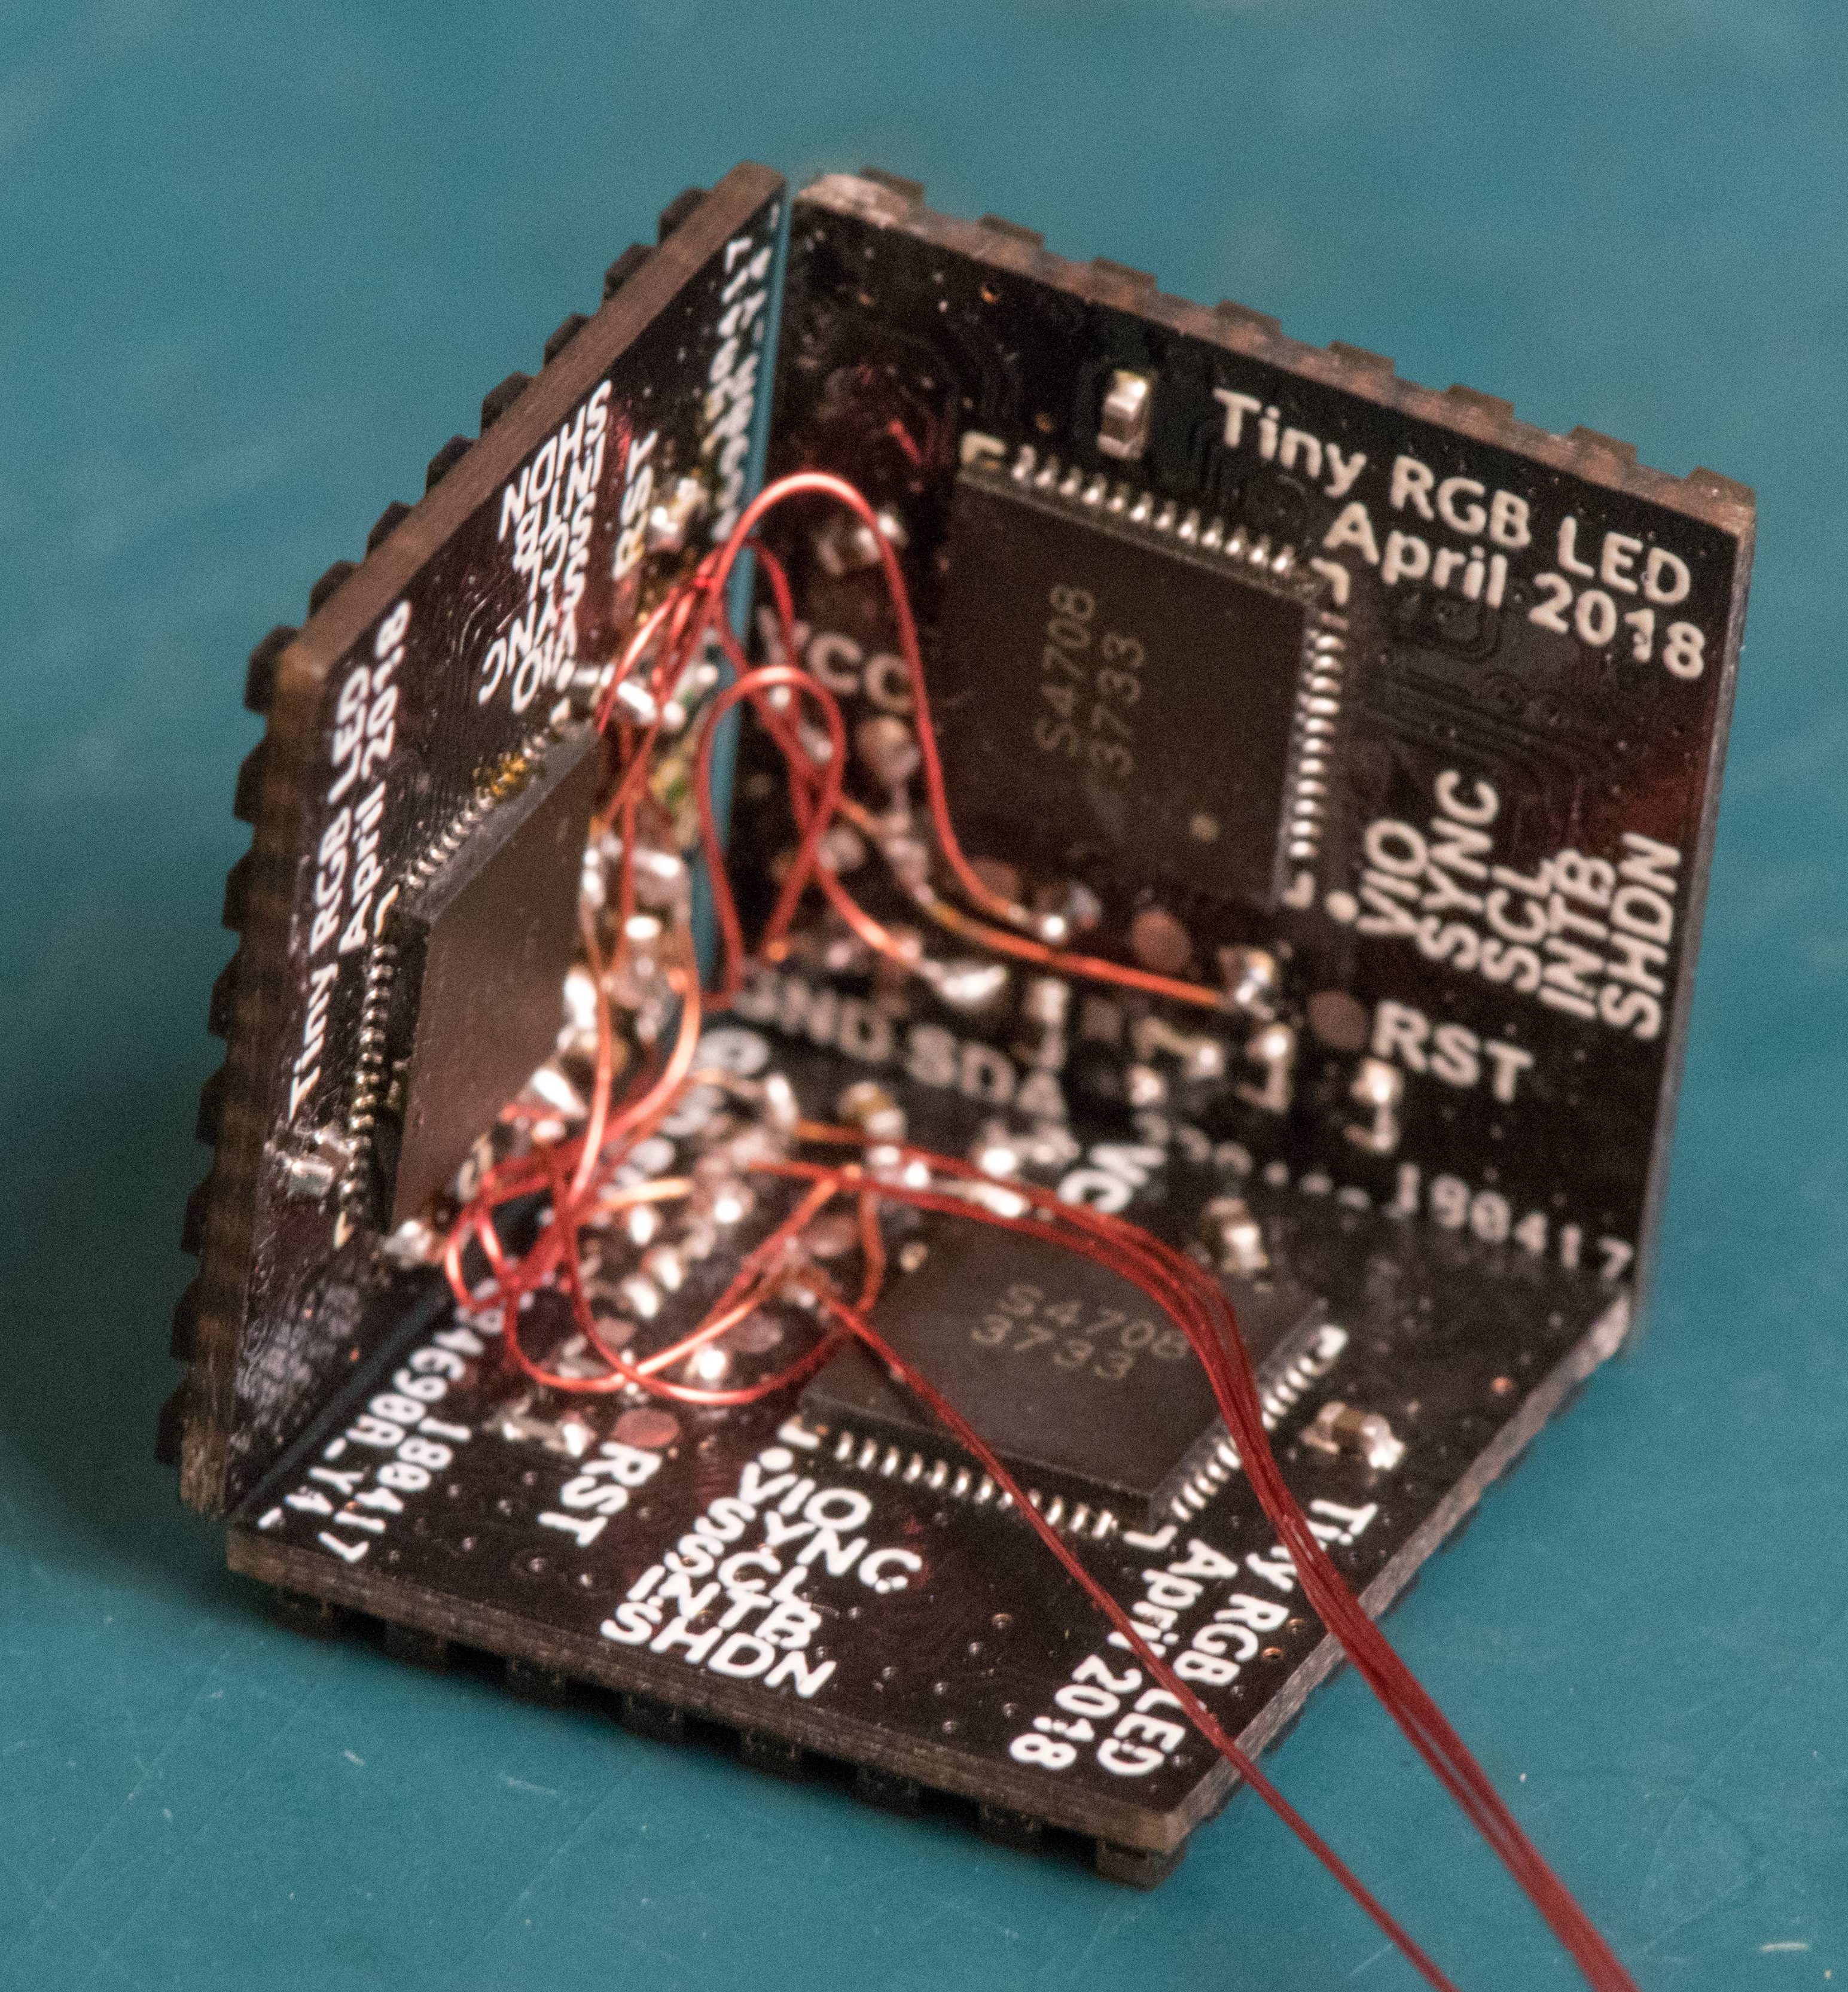
When [Freddie] was faced with the challenge of building a sendoff gift for an an LED-loving coworker he hatched a plan. Instead of making a display from existing video wall LED panels he would make a cube. But not just any cube, a miniature desk sized one that wasn’t short of features or performance. We’d be over the moon if someone gifted us with this itty-bitty Qi coil-powered masterpiece of an RGB cube.
Recently we’ve been blessed with a bevy of beautiful, animatedRGBcubes but none hit quite this intersection of size and function. The key ingredient here is tiny but affordable RGB LEDs which measure 1 mm on a side. But LEDs this small are dwarfed by the otherwise minuscule “2020” package WS2812’s and APA102s of the world. Pushing his layout capabilities to the max [Freddie] squeezed each package together into a grid with elements separated by less than 1 mm, resulting in a 64 LED panel that is only 16 mm x 16 mm panel (with test points and controller mounted to the back). Each of these four-layer PCBs that makes up the completed cube contains an astonishing 950 mm of tracking, meaning the entire cube has nearly six meters of traces!
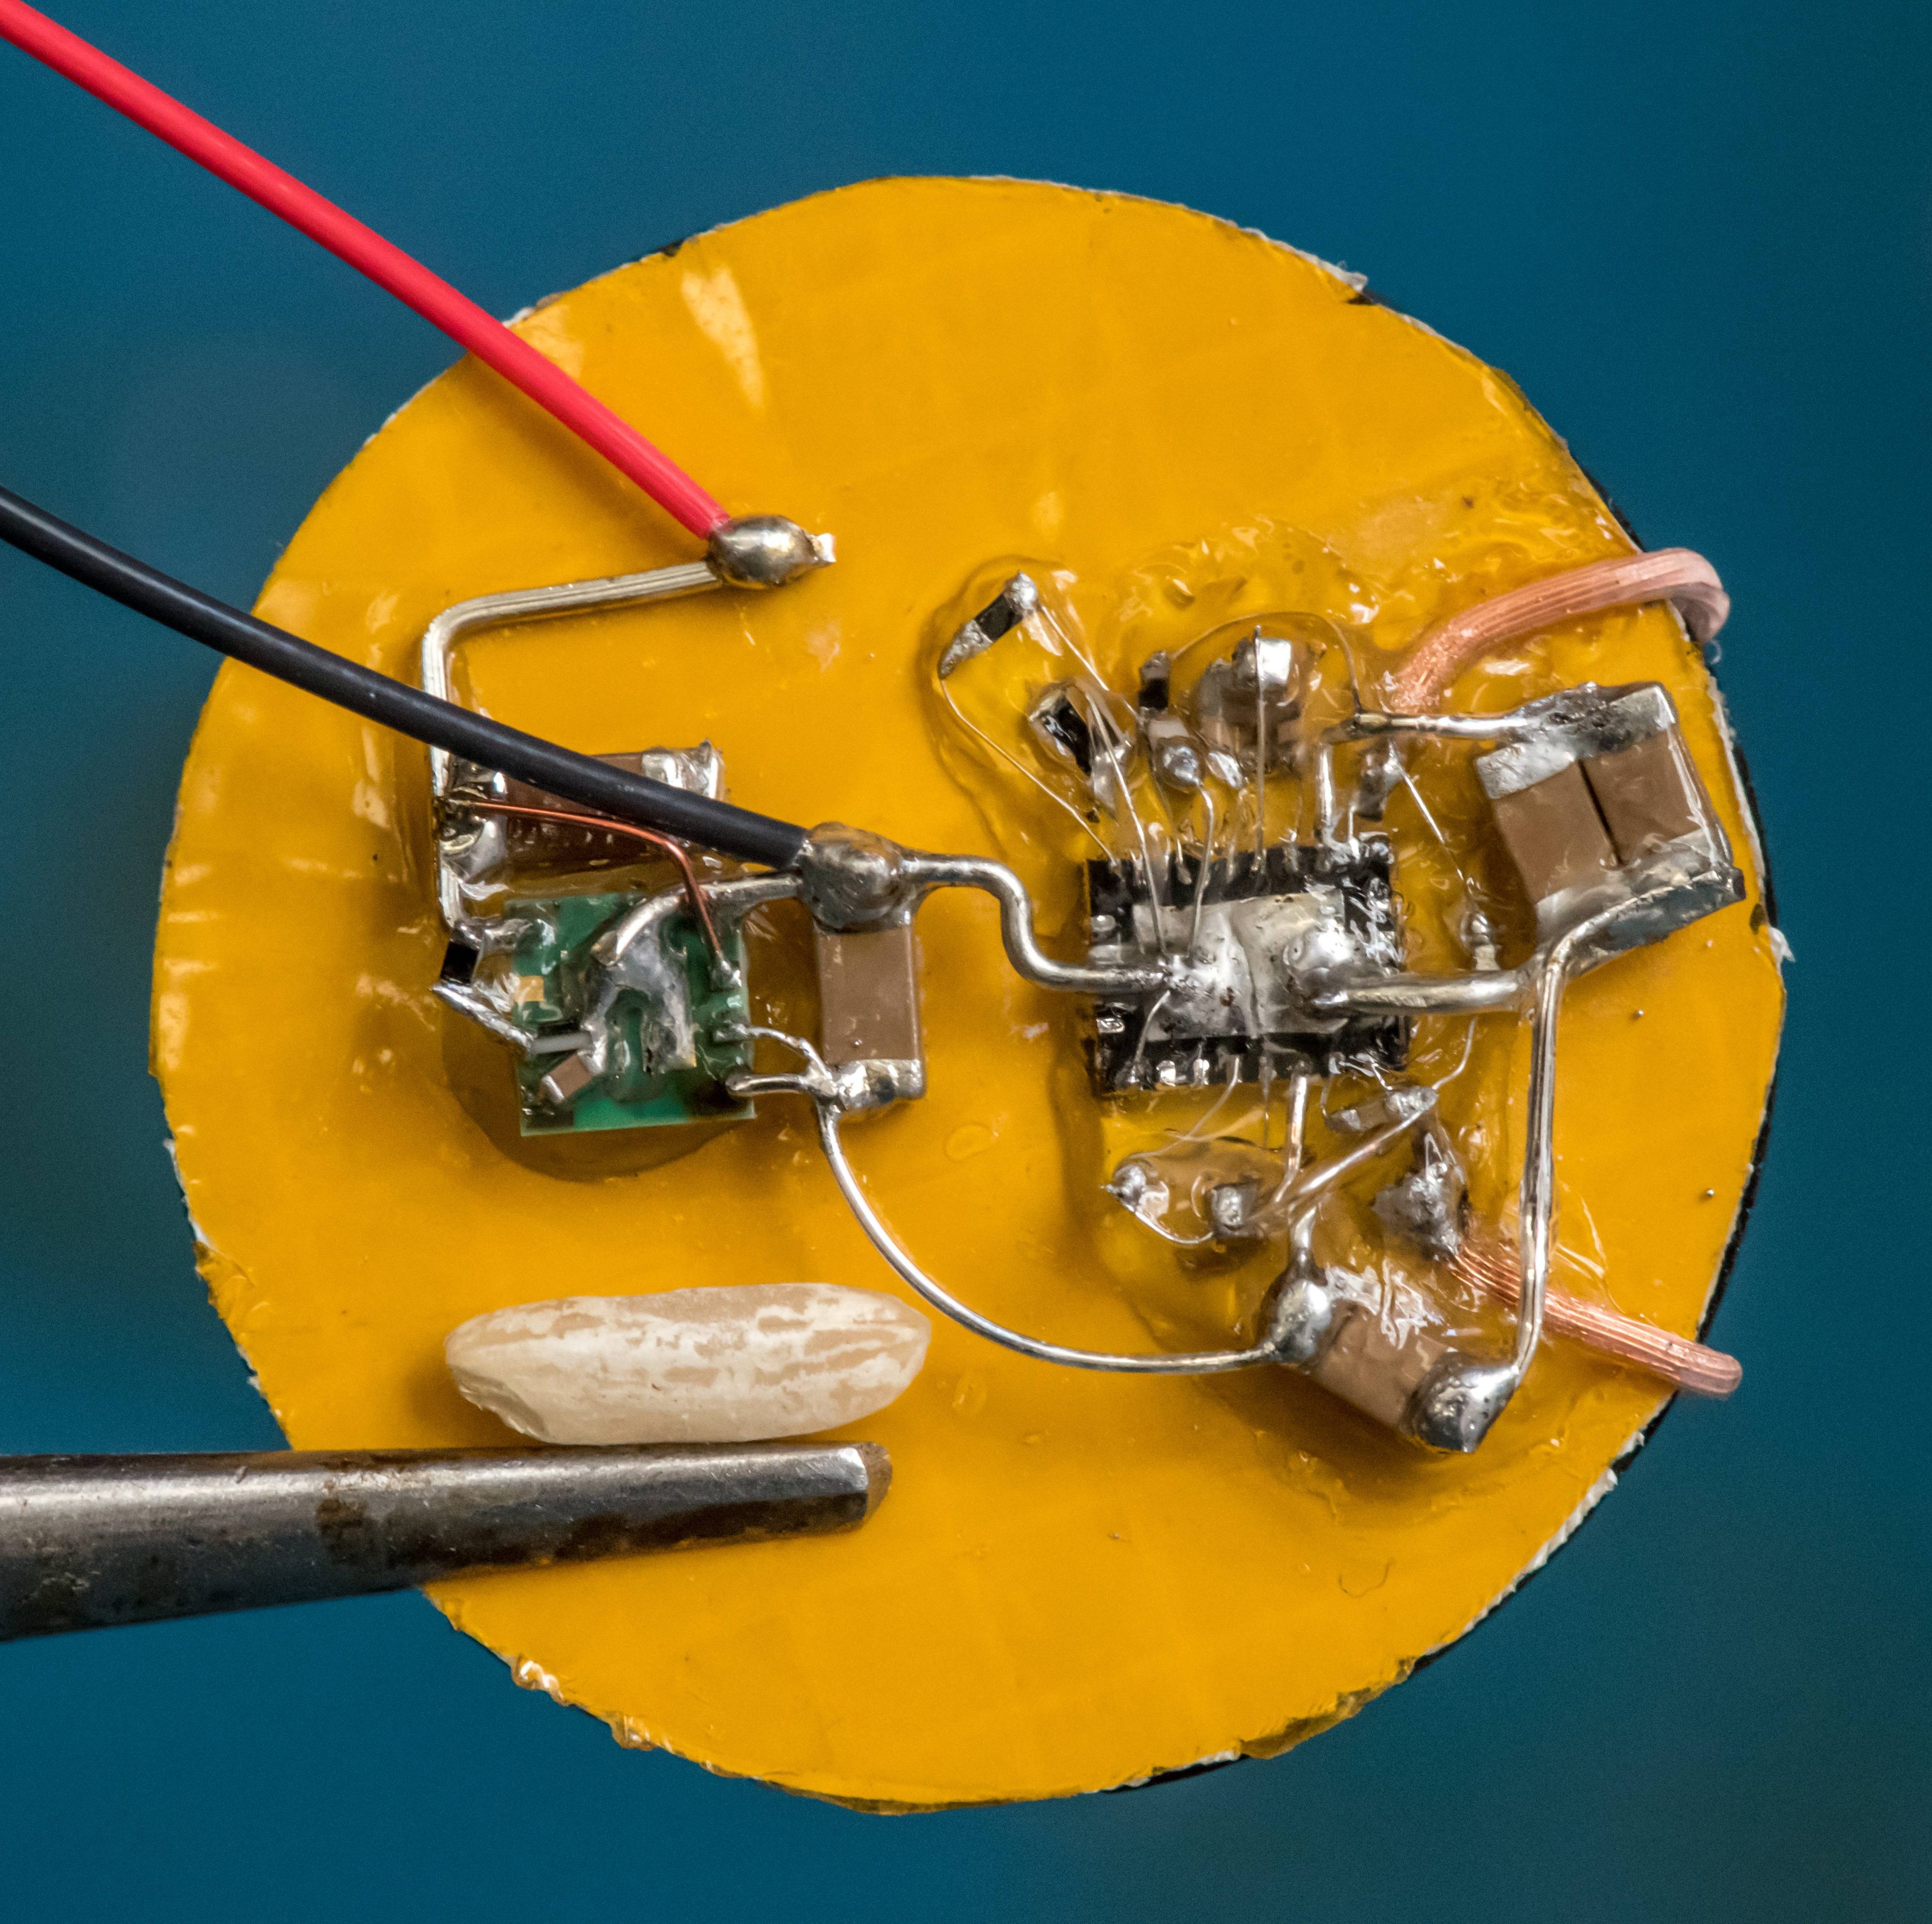
How do you power such a small device with no obvious places to locate a connector? By running magnet wire through a corner and down to a Qi coil of course. Not to let the cube itself outshine the power supply [Freddie] managed to deadbug a suitably impressive supply on the back of the coil itself. Notice the grain of rice in the photo to the left! The only downside here is that the processor – which hangs diagonally in the cube on a tiny motherboard – cannot be reprogrammed. Hopefully future versions will run programming lines out as well.
Check out the video of the cube in action after the break, and the linked photo album for much higher resolution macro photos of the build. While you’re there take a moment to admire the layout sample from one of the panels! If this sets the tone, we’re hoping to see more of [Freddie]’s going-away hacks in the future!