All-Mechanical Coil Winder Is A Scrap-Bin Delight

If there’s something more tedious than winding coils, we’re not sure what it is — possibly rolling and wrapping coins; that’s really a bother. But luckily, just like there are mechanical ways to count coins, there are tools to make coil production a little less of a chore, but perhaps none that have as much charm as this all-mechanical coil winder.

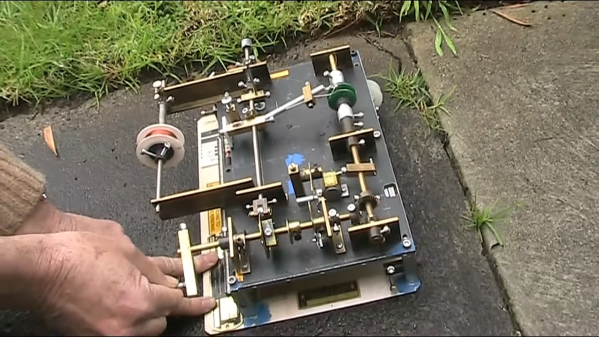
We’d say that [Ralph (VK3ZZC)]’s amazing invention firmly falls under the “contraption” category, without a hint of the term being used as a pejorative. The rig was based on the MoReCo Coilmaster, a machine that was once commercially available at a fairly steep price, according to [Ralph], and still seems to command a premium even today. Never being able to afford an original, [Ralph] spun up his own from scrap metal and tooling no more sophisticated than a drill press. It’s a riot of brass and steel, with a hand crank that drives the main winding shaft while powering a cam that guides the wire along the long axis of the coil form. Cams can be changed out for different winding patterns, and various chucks adapt to hold different coil forms to the winding shaft.

Continue reading “All-Mechanical Coil Winder Is A Scrap-Bin Delight”

Automatic Coil Winder Gets It Done With Simple Hardware And Software

We’ve grown to expect seeing mechatronics project incorporate a standard complement of components, things like stepper motors, Arduinos, lead screws, timing belts and pulleys, and aluminum extrusions. So when a project comes along that breaks that mold, even just a little, we sit up and take notice.

Departing somewhat from this hardware hacking lingua franca is [tuenhidiy]’s automatic coil winder, which instead of aluminum extrusions and 3D-printed connectors uses simple PVC pipe and fittings as a frame. Cheap, readily available, and easily worked, the PVC does a fine job here, and likely would on any project where forces are low and precision isn’t critical. The PVC frame holds two drive motors, one to wind the wire onto a form and one to drive a lead screw that moves the form back and forth. An Arduino with a CNC shield takes care of driving the motors, and the G-code needed to do so is generated by a simple spreadsheet that takes into account the number turns desired, the number of layers, the dimensions of the spool, and the diameters of the wire. The video below shows the machine going through its paces, with pretty neat and tidy results.

Being such a tedious task, this is far from the first coil winder we’ve seen. Some adhere to the standard design language, some take off in another direction entirely, but they’re all instructive and fun to watch in action.

Continue reading “Automatic Coil Winder Gets It Done With Simple Hardware And Software”

Extremely Simple Tesla Coil With Only 3 Components

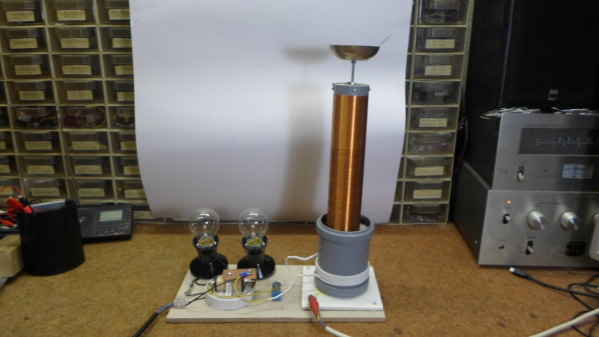
Tesla Coils are a favourite here at Hackaday – just try searching through the archives, and see the number of results you get for all types of cool projects. [mircemk] adds to this list with his Extremely simple Tesla Coil with only 3 Components. But Be Warned — most Tesla coil designs can be dangerous and ought to be handled with care — and this one particularly so. It connects directly to the 220 V utility supply. If you touch any exposed, conductive part on the primary side, “Not only will it kill You, it will hurt the whole time you’re dying”. Making sure there is an ELCB in the supply line will ensure such an eventuality does not happen.

No prizes for guessing that the circuit is straight forward. It can be built with parts lying around the typical hacker den. Since the coil runs directly off 220 V, [mircemk] uses a pair of fluorescent lamp ballasts (chokes) to limit current flow. And if ballasts are hard to come by, you can use incandescent filament lamps instead. The function of the “spark gap” is done by either a modified door bell or a 220 V relay. This repeatedly charges the capacitor and connects it across the primary coil, setting up the resonant current flow between them. The rest of the parts are what you would expect to see in any Tesla coil. A high voltage rating capacitor and a few turns of heavy gauge copper wire form the primary LC oscillator tank circuit, while the secondary is about 1000 turns of thinner copper wire. Depending on the exact gauge of wires used, number of turns and the diameter of the coils, you may need to experiment with the value of the capacitor to obtain the most electrifying output.

If you have to look for one advantage of such a circuit, it’s that there is not much that can fail in terms of components, other than the doorbell / relay, making it a very robust, long lasting solution. If you’d rather build something less dangerous, do check out the huge collection of Tesla Coil projects that we have featured over the years.

Continue reading “Extremely Simple Tesla Coil With Only 3 Components”

Automatic Winder Takes The Drudgery Out Of Tesla Coil Builds

What is it about coil winding automation projects that’s just so captivating? Maybe it’s knowing what a labor saver they can be once you’ve got a few manually wound coils under your belt. Or perhaps it’s just the generally satisfying nature of any machine that does an exacting task smoothly and precisely. Whatever it is, this automatic Tesla coil winder has it in abundance.

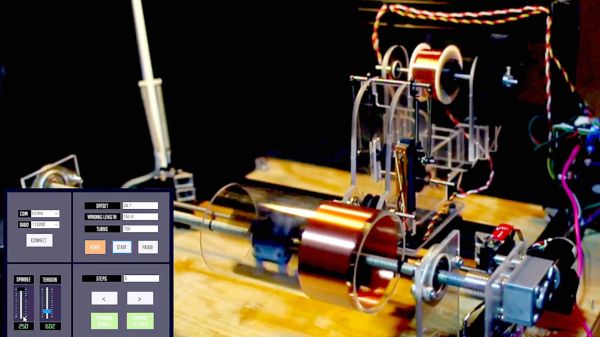
According to [aa-epilectrik]’s account, the back story of this build is that while musical Tesla coils are a big part of the performance of musical group ArcAttack, they’re also cool enough in their own right to offer DIY kits for sale. This rig takes on the job of producing the coils, which at least takes some of the drudgery out of the build. There’s no build log, but there are enough details on reddit and Instagram to work out the basics. The main spindle is driven by a gearmotor while the winding carriage translates along a linear slide thanks to a stepper-driven lead screw. The spool holding the fine magnet wire needs to hold proper tension to prevent tangling; this is achieved through by applying some torque to the spool with a small DC motor.

There are some great design elements in this one, not least being the way tension is controlled by measuring the movement of an idler pulley using a linear pot. At top speed, the machine looks like it complete a coil in just about three minutes, which seems pretty reasonable with such neat results. Another interesting point: ArcAttack numbers [Anouk Wipprecht], whom we’ve featured a couple of times on these pages, among its collaborators. Small world.

Continue reading “Automatic Winder Takes The Drudgery Out Of Tesla Coil Builds”

Homebrew Coil Winder Makes Toroids A Snap To Wind

Anyone who has ever wound a toroidal coil by hand can tell you that it’s not exactly a fun job. Even with the kinds of coils used in chokes and transformers for ham radio, which generally have relatively few windings, passing all that wire through the toroid time after time is a pain. And woe unto anyone who guesses wrong on how much wire the job will take.

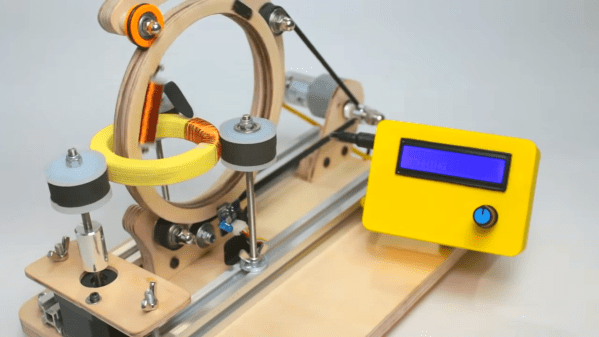
To solve those problems, [Sandeep] came up with this clever and effective toroid winder. The idea is to pass a small spool of magnet wire through the toroid’s core while simultaneously rotating the toroid to spread the windings out as evenly as possible. That obviously requires a winding ring that can be opened up to allow the toroid form to be inserted; [Sandeep] chose to make his winding ring out of plywood with a slit in it. Carrying the wire spool, the winding ring rotates on a C-shaped fixture that brackets the toroid, which itself rotates under stepper motor control on a trio of rollers. An Arduino controls the rotation of both motors, controlling the number of windings and their spread on the form. lacking a ferrite core for testing, [Sandeep] used a plywood ring as a stand-in, but the results are satisfying enough to make any manual coil-winder envious.

We love tools like this that make a boring job a snap. Whether it’s cutting wires for wiring harnesses or winding guitar pickups, tools like these are well worth the time spent to build them. But we suppose when it comes to toroid winding, one could always cheat.

Continue reading “Homebrew Coil Winder Makes Toroids A Snap To Wind”

Don’t Scrape Magnet Wire, Do This Instead

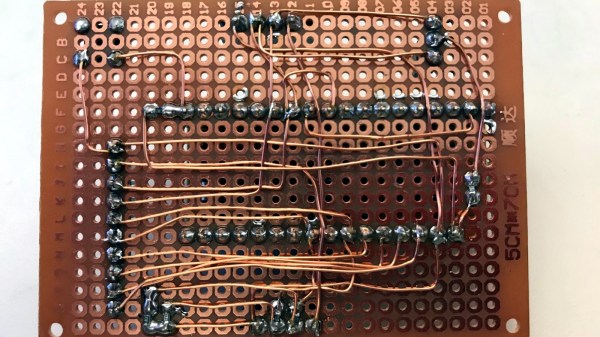
[Tom] doesn’t much like breadboarding. He prefers to wire up prototypes with perfboard and solder point-to-point with enameled magnet wire. That may sound troublesome to some of you, but [Tom] has come up with a few tips to make prototyping with perfboard and magnet wire easier and more effective, and the biggest tip is about how to manage stripping all that magnet wire.

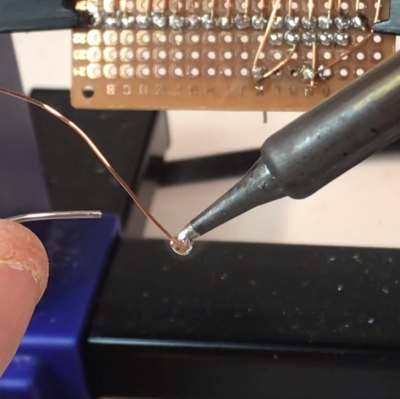
Push the tip of the magnet wire a small distance into the molten solder and hold it there for a few moments. The solder will bubble away the enamel and tin the copper underneath in the process.

Magnet wire is a thin, solid-core conductor that has a clear coating of enamel. This enamel acts as an electrical insulator. The usual way to strip away the enamel and reveal the shiny copper underneath is to scrape it off, but that would get tiresome when working with a lot of connections. [Tom] prefers to “boil it away” with a blob of molten solder on an iron’s tip.

Begin by melting a small amount of solder on the iron, then push the tip of the magnet wire a small distance into the molten solder and hold it there for a few moments. The enamel will bubble away and the solder will tin the copper underneath in the process. The trick is to use fresh solder, and to clean the tip in between applications. You can see him demonstrate this around the 1:00 mark in the video embedded below.

Once the tip of the magnet wire is tinned, it can be soldered as needed. Magnet wire bends well and holds its shape nicely, so routing it and cutting to size isn’t too difficult. [Tom] also suggests a good hands-free PCB holder, and points out that 0603 sized SMT resistors fit nicely between a perfboard’s 0.1″ pads.

Perfboard (and veroboard) have been standbys of prototyping for a long time, but there are still attempts at improving them, usually by allowing one to combine through-hole and surface-mount devices on the same board, but you can see [Tom] demonstrate using magnet wire on plain old perfboard in the video below.

Continue reading “Don’t Scrape Magnet Wire, Do This Instead”

Tiny LED Cube Packs Six Meters Of Madness

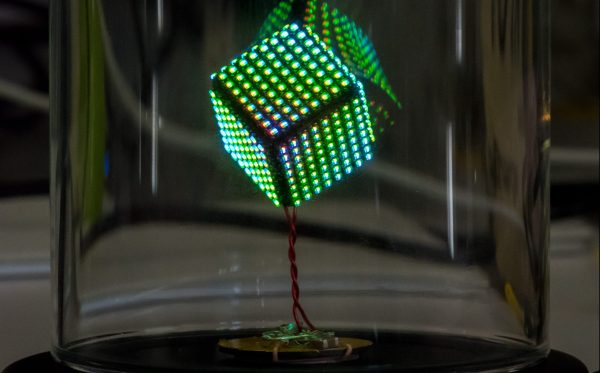
When [Freddie] was faced with the challenge of building a sendoff gift for an an LED-loving coworker he hatched a plan. Instead of making a display from existing video wall LED panels he would make a cube. But not just any cube, a miniature desk sized one that wasn’t short of features or performance. We’d be over the moon if someone gifted us with this itty-bitty Qi coil-powered masterpiece of an RGB cube.

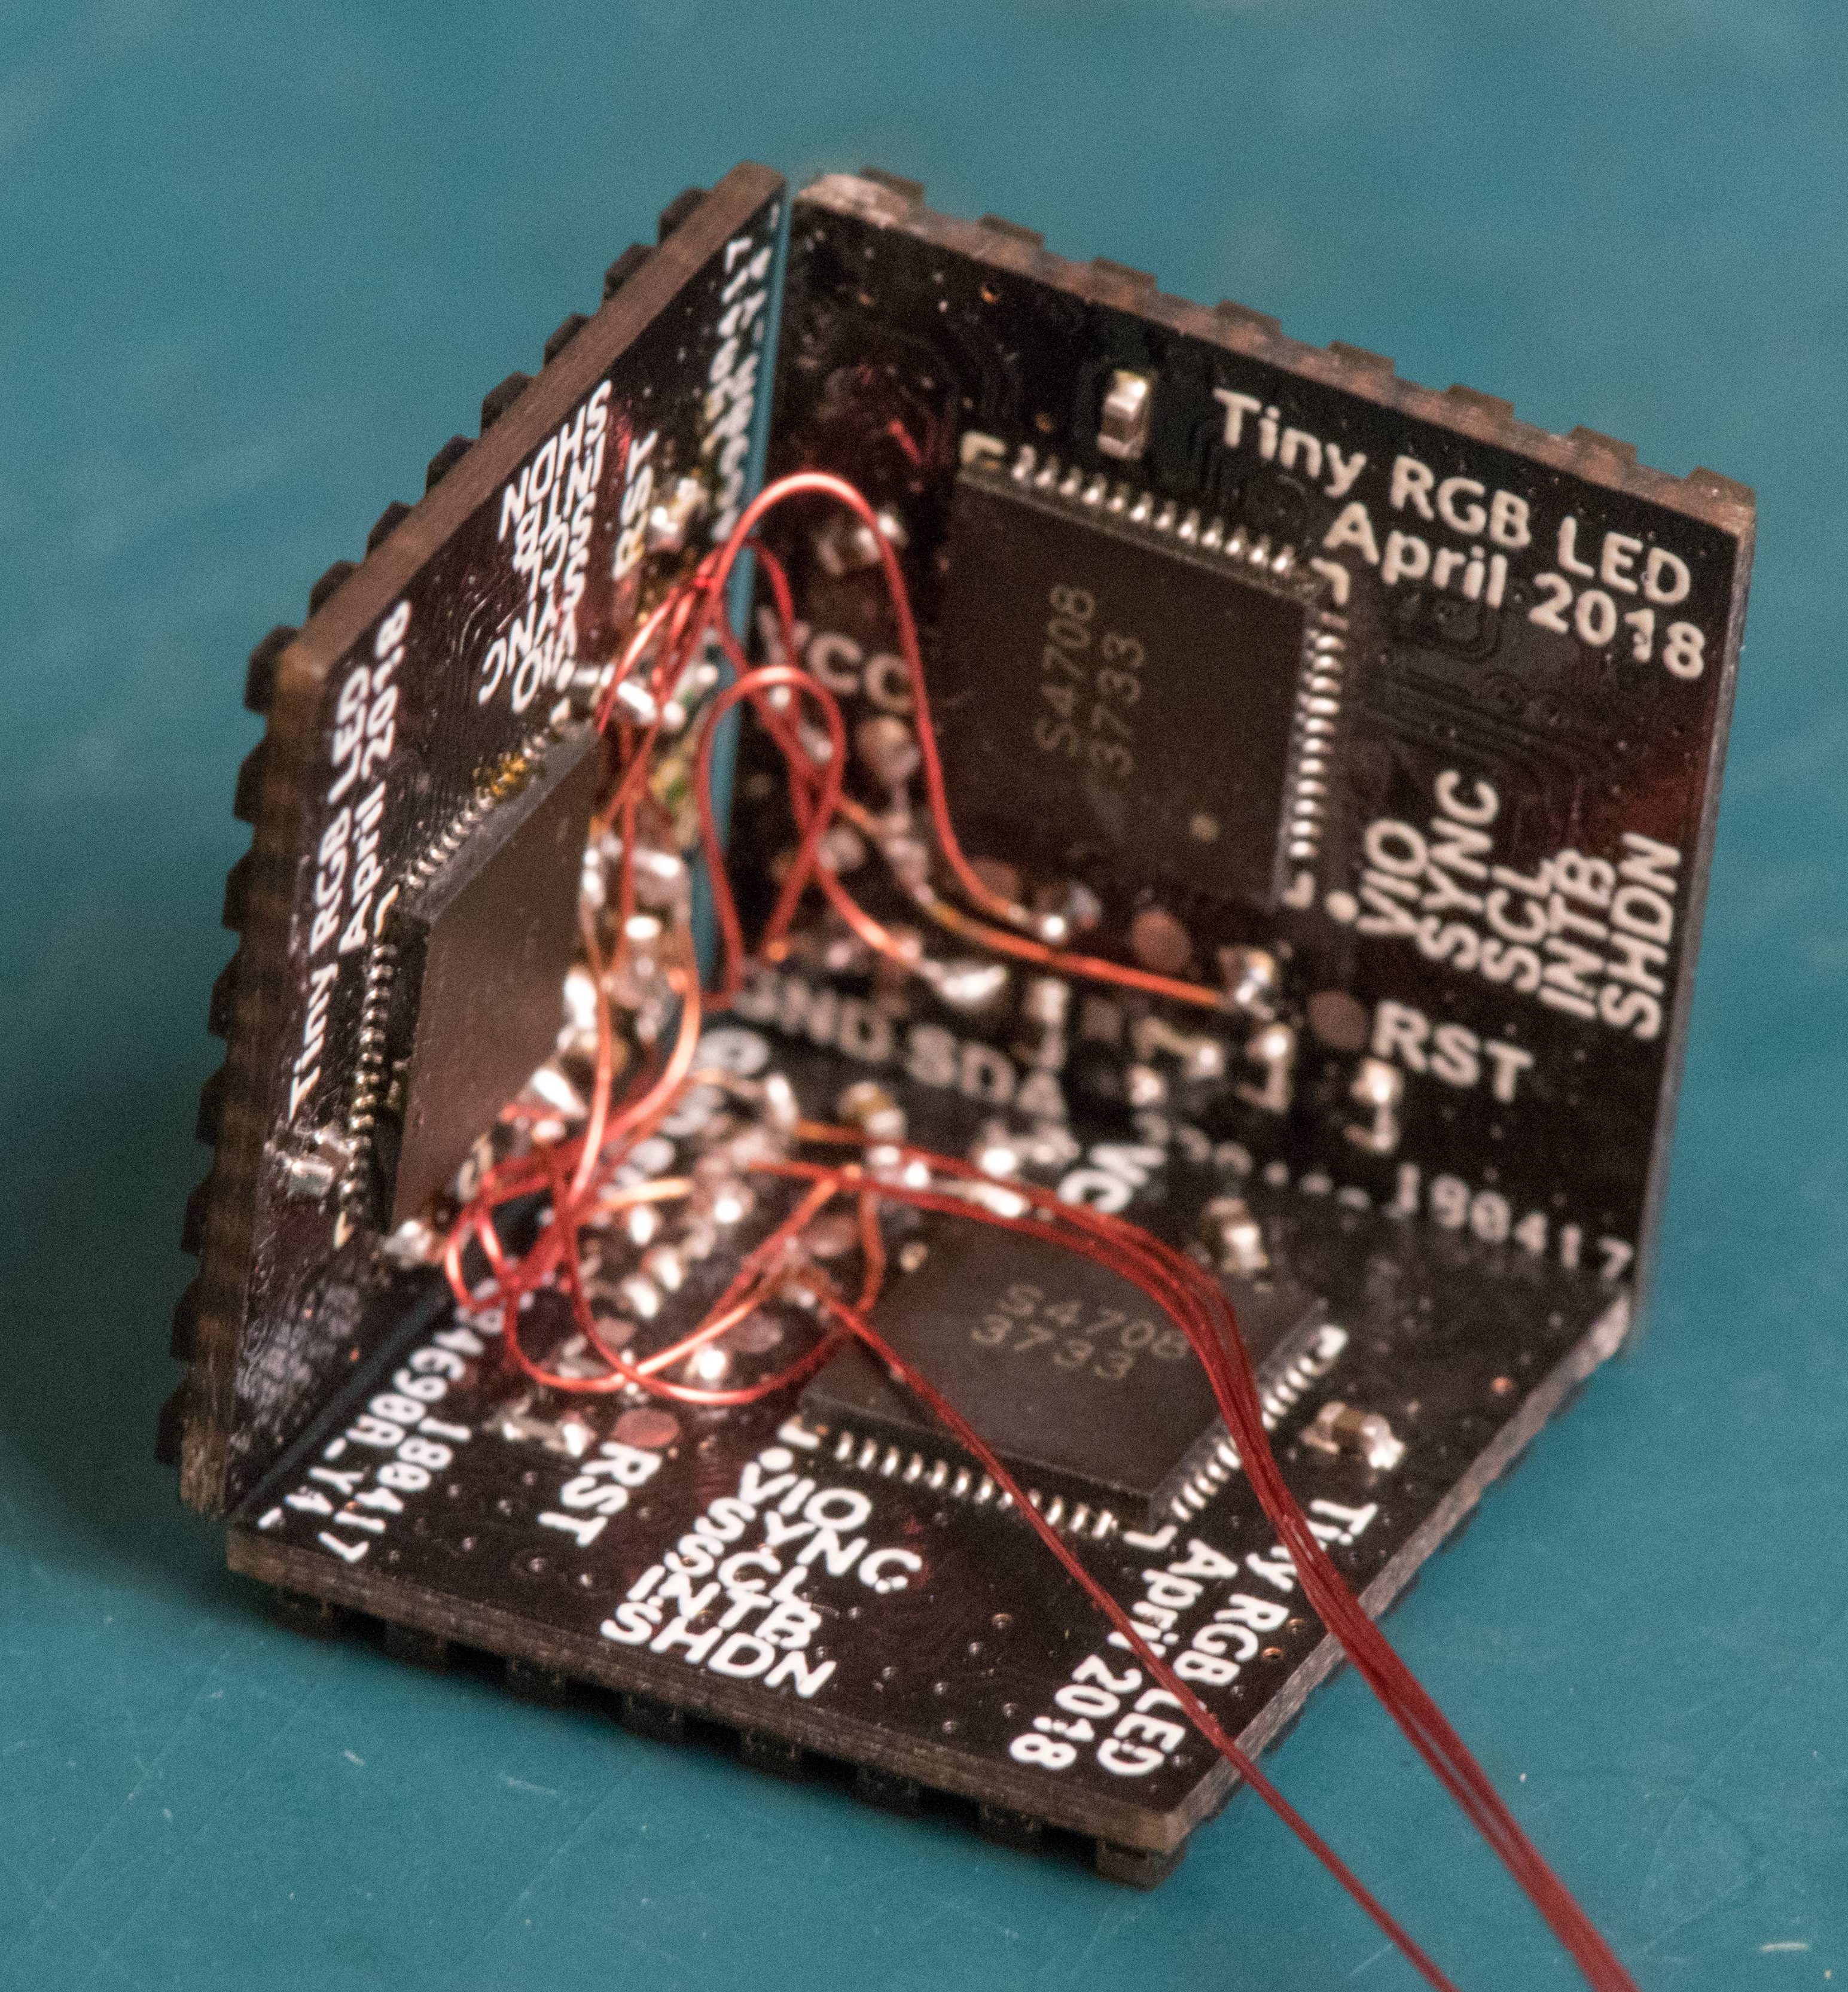
Recently we’ve been blessed with a bevy of beautiful, animated RGB cubes but none hit quite this intersection of size and function. The key ingredient here is tiny but affordable RGB LEDs which measure 1 mm on a side. But LEDs this small are dwarfed by the otherwise minuscule “2020” package WS2812’s and APA102s of the world. Pushing his layout capabilities to the max [Freddie] squeezed each package together into a grid with elements separated by less than 1 mm, resulting in a 64 LED panel that is only 16 mm x 16 mm panel (with test points and controller mounted to the back). Each of these four-layer PCBs that makes up the completed cube contains an astonishing 950 mm of tracking, meaning the entire cube has nearly six meters of traces!

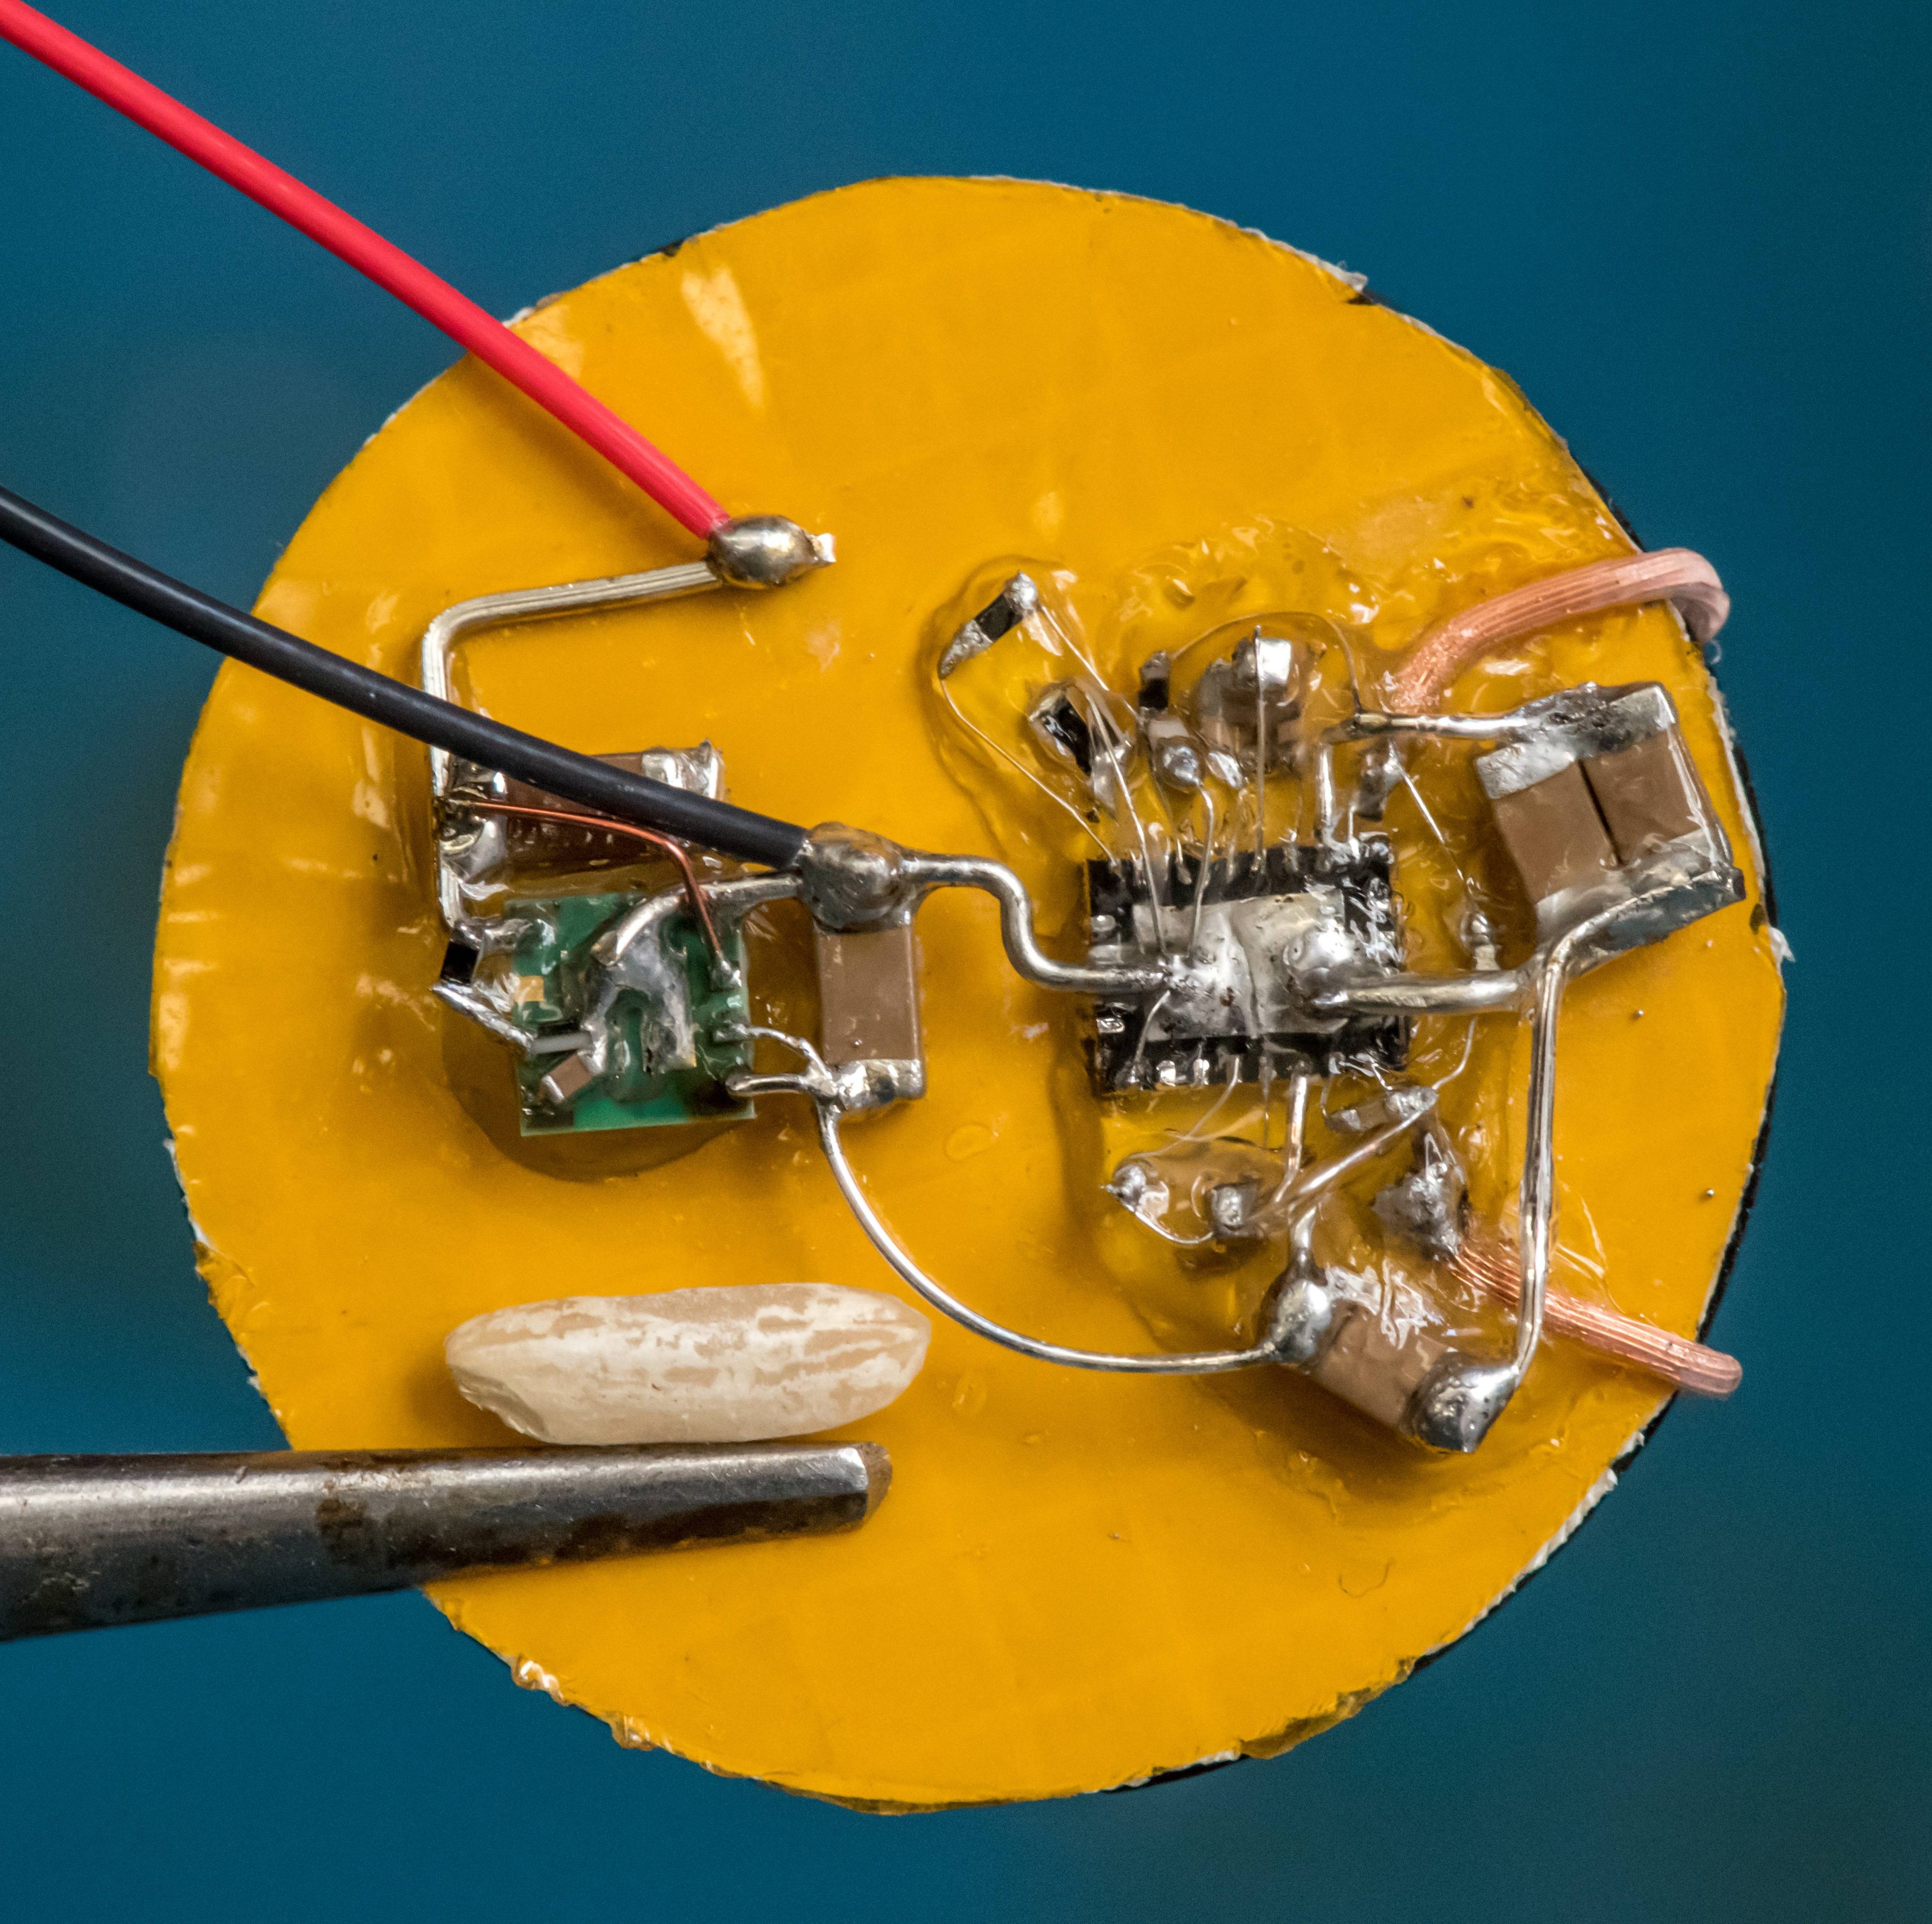
How do you power such a small device with no obvious places to locate a connector? By running magnet wire through a corner and down to a Qi coil of course. Not to let the cube itself outshine the power supply [Freddie] managed to deadbug a suitably impressive supply on the back of the coil itself. Notice the grain of rice in the photo to the left! The only downside here is that the processor – which hangs diagonally in the cube on a tiny motherboard – cannot be reprogrammed. Hopefully future versions will run programming lines out as well.

Check out the video of the cube in action after the break, and the linked photo album for much higher resolution macro photos of the build. While you’re there take a moment to admire the layout sample from one of the panels! If this sets the tone, we’re hoping to see more of [Freddie]’s going-away hacks in the future!

Continue reading “Tiny LED Cube Packs Six Meters Of Madness”