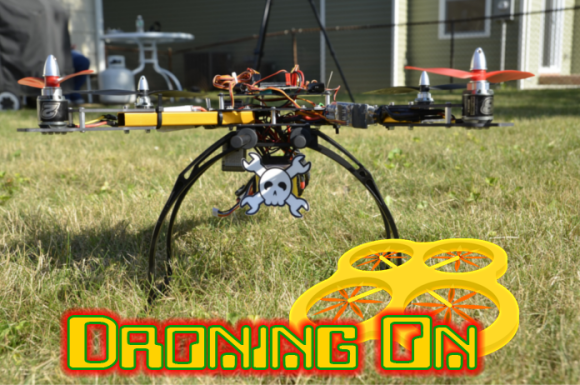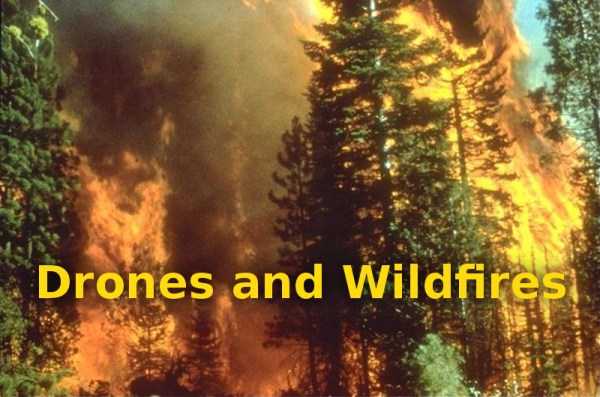
 There is no denying that personal drones are in the public eye these days. Unfortunately they tend to receive more negative press than positive. This past weekend, there were news reports of a wildfire in California. Efforts to fight the fire were hampered when no less than five drones were spotted flying in the area. Some reports even stated that two of the drones followed the firefighting aircraft as they returned to local airports. This is the fourth time this month firefighting planes have been grounded due to unmanned aircraft in the area. It’s not a new problem either, I’ve subscribed to a google alert on the word “Drone” for over a year now, and it is rare for a week to go by without a hobby drone flying somewhere they shouldn’t.
The waters are muddied by the fact that mass media loves a good drone story. Any pilotless vehicle is now a drone, much to the chagrin of radio control enthusiasts who were flying before the Wright brothers. In this case there were two fields relatively close to the action – Victor Valley R/C Park, about 10 miles away, and the Cajun Pass slope flying field, which overlooks the section of I-15 that burned. There are claims on the various R/C forums and subreddits that it may have been members from either of those groups who were mistaken as drones in the flight path. Realistically though, Victor Valley is too far away. Furthermore, anyone at the Cajun pass flying site would have been fearing for their own safety. Access requires a drive through 3 miles of dirt road just to reach the site. Not a place you’d want to be trapped by a wildfire for sure. Who or whatever was flying that day is apparently lying low for the moment – but the problem persists.
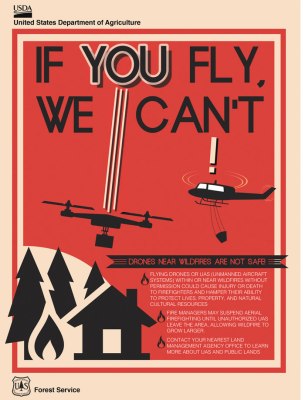
Rules and Regulations
In the USA, the FAA rules are (finally) relatively clear for recreational drone operations. The layman version can be found on the knowbeforeyoufly.org website, which was put together by the Academy of Model Aeronautics (AMA), The Association for Unmanned Vehicle Systems International (AUVSI), and other groups in partnership with the FAA.
Continue reading ““Drones” Endanger Airborne Wildfire Fighting”
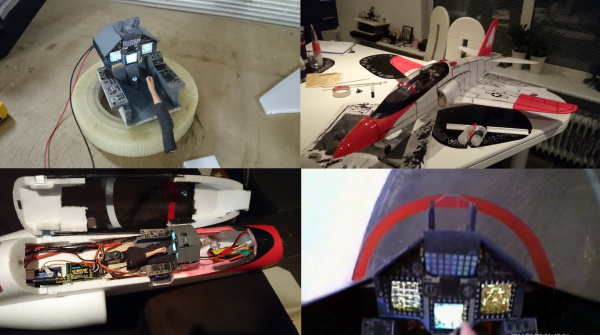
 One of [Andrey]’s
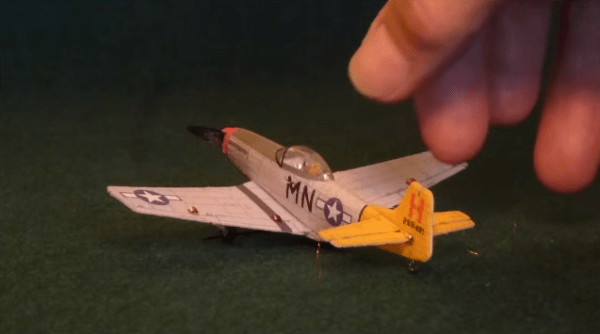
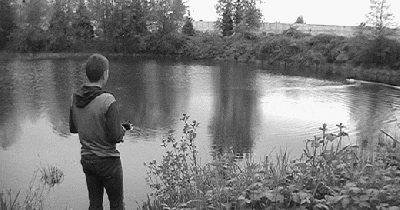 Next [Vlad] took to the water. His first attempt was a home-built airboat, which looked awesome but unfortunately didn’t work very well. Finally he ended up buying a $20 boat off of eBay and made a MOSFET-based motor controller to drive its dual thrusters. This design worked much better and after a bit of PID tuning, the boat was autonomously navigating between waypoints in the water. In the future [Vlad] plans to use the skills he learned on this project to make an autopilot for the