Summoning 4chans, 9gags, Reddits and other denizens of easily-digested content, Liberty Games stripped apart a dilapidated “Baby Doll” pinball arcade machine and turned it into this meme-spouting monstrosity. A complete redo of the vinyl and graphics to sport dozens of familiar internet tropes was first, then they had Shapeways create internal scenery and finally some electronics were added to spice things up.
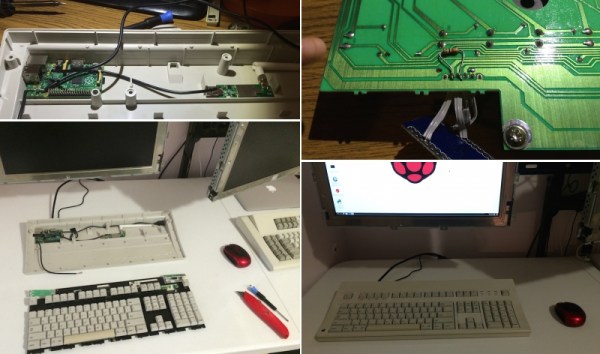
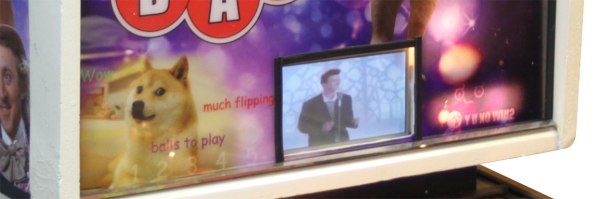
We have seen PINMAME-based digital machines but this took a different path. Pinball machines this old pre-date common transistors so they rely on electro-mechanicals for everything. This made hacking the machine challenging so the team intercepted most of the signals and tied them into a Raspberry Pi with a Pi-face interface board. A videoscreen was added to the scoreboard, triggering all manner of memey videos and sounds according to actions performed and unlocked on the screen.
If you yearn for expired pranks of years gone by and are bad at pinball, you are in luck. Losing the game gets you Rickrolled – over and over again. On the plus side, Nyan Cat rockets away to bonuses and even the Admiral himself warns you of impending danger.
We resisted the urge to write this article as a chain of one meme to the next, you will get plenty of that from the well-documented project conversion and the following video. Someone in the comments will probably make a list of all memes.
Continue reading “Meme Themed Pinball Machine – Much Flipping, Y U No Win?!”