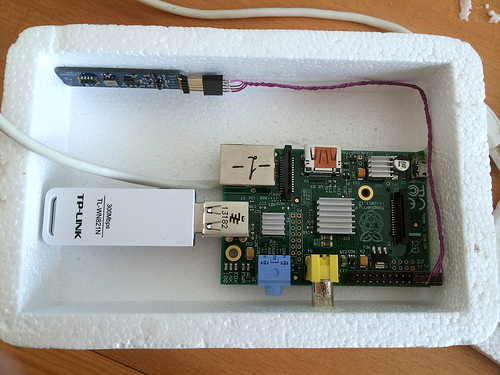
When [Ioannis] received some high resolution LCD’s in a tattered foam box, he posed to himself a most interesting question – Should he throw the foam box away, or use it as a container for a project? Fortunately for us, he decided on the latter and threw together a very capable weather station!
Having only an hour to spare, [Ioannis] grabbed a Raspberry Pi, WiFi USB stick and a camera module and went to work. He mounted the camera module to the foam lid using a highly advanced technique, and soldered a cable that would power the device directly to D17 – a Zener diode that sits on the bottom of the board.
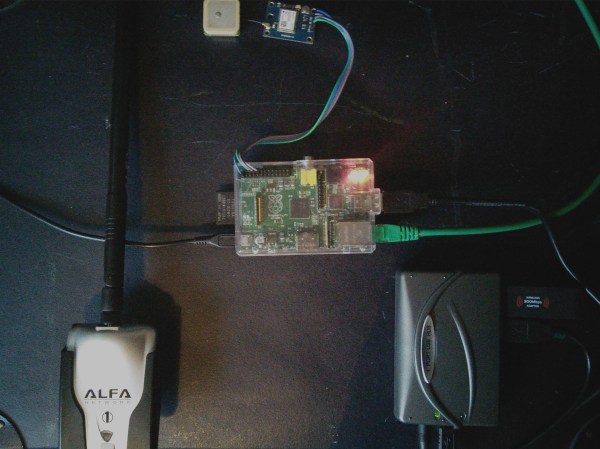
For the weather data, he’s using another design of his – the Sensor Stick. This nifty device — which we featured over the weekend — is about the size of a stick of chewing gum, and sports an array of sensors including the popular BMP085, which can measure pressure and temperature .
He wraps up everything using open source software to get the data from the weather station. Pretty impressive for an old foam box and an hours time! This would be an interesting start to a home automation system. Connect it to motorized windows and/or a sprinkler system and he’s on his way to claiming The Hackaday Prize.


 The folks at the LVL1 hackerspace had the idea of making a life-sized game of Operation. This plan changed when someone at the hackerspace had the great idea of
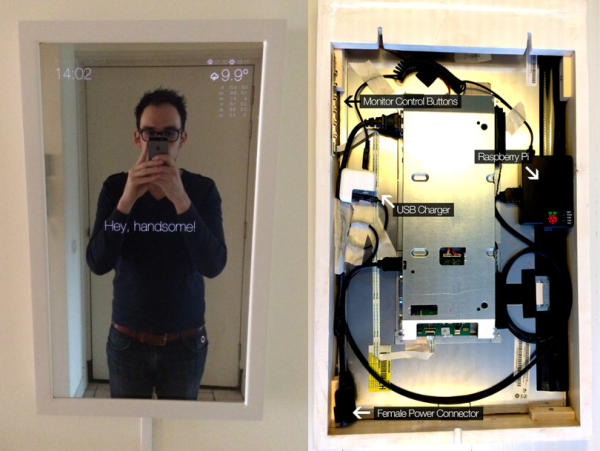
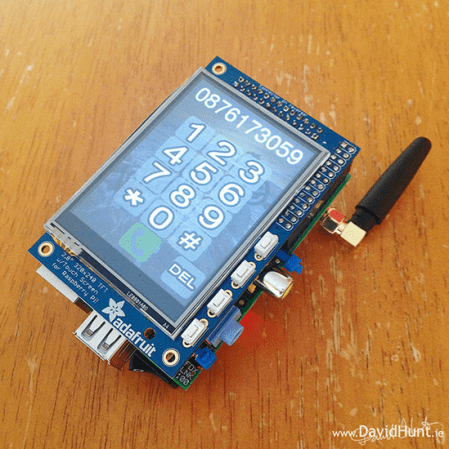 Have you ever dreamed of independence from smartphone bloatware? If you have a Raspberry Pi and an Adafruit TFT, you’re halfway to making your own version of


