Artificial Limbs And Intelligence

Prosthetic arms can range from inarticulate pirate-style hooks to motorized five-digit hands. Control of any of them is difficult and carries a steep learning curve, rarely does their operation measure up to a human arm. Enhancements such as freely rotating wrist might be convenient, but progress in the field has a long way to go. Prosthetics with machine learning hold the promise of a huge step to making them easier to use, and work from Imperial College London and the University of Göttingen has made great progress.

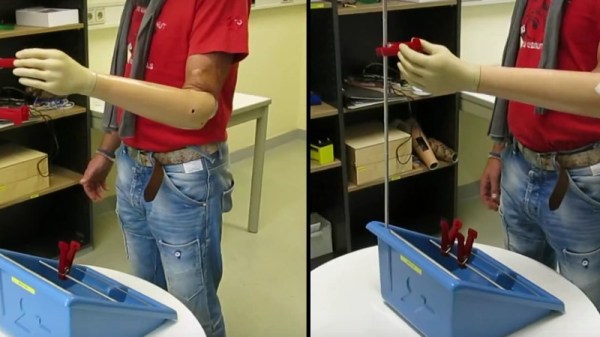
The video below explains itself with a time-trial where a man must move clips from a horizontal bar to a nearby vertical bar. The task requires a pincer grasp and release on the handles, and rotation from the wrist. The old hardware does not perform the two operations simultaneously which seems clunky in comparison to the fluid motion of the learning model. User input to the arm is through electromyography (EMG), so it does not require brain surgery or even skin penetration.

We look forward to seeing this type of control emerging integrated with homemade prosthetics, but we do not expect them to be easy.

Continue reading “Artificial Limbs And Intelligence”

Not So Simple LED Upgrade For Microscope

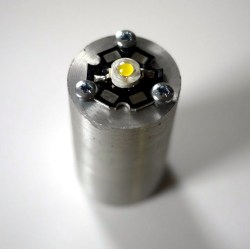
[Amen] obtained a microscope whose light source was an incandescent bulb, but the light from it seemed awfully dim even at its brightest setting. Rather than hunt down a replacement, he decided to replace the bulb with a 1W LED mounted on a metal cylinder. The retrofit was successful, but there were numerous constraints on his work that complicated things. The original bulb and the LED replacement differed not just in shape and size, but also in electrical requirements. The bulb was also part of an assembly that used a two-pronged plug off to the side for power. In the end, [Amen] used 3D printing, a bit of metal work, and a bridge rectifier on some stripboard to successfully replace his microscope’s incandescent bulb assembly with an LED. He even used a lathe to make connector pins that mated properly with the microscope’s proprietary power connector, so that the LED unit could be a drop-in module.
Working on existing equipment always puts constraints on one’s work, usually due to space limitations, but sometimes also proprietary signals. For example, a common issue when refitting a projector with an LED is to discover that the projector expects a stock bulb, and refuses to boot up without one. Happily, the microscope didn’t care much about the bulb itself, and with the LED positioned in roughly the same position as the original bulb’s filament [Amen] obtained smooth and even lighting across the field of view with no changes made to the microscope itself.

Surgical Microscope Gets LED Retrofit

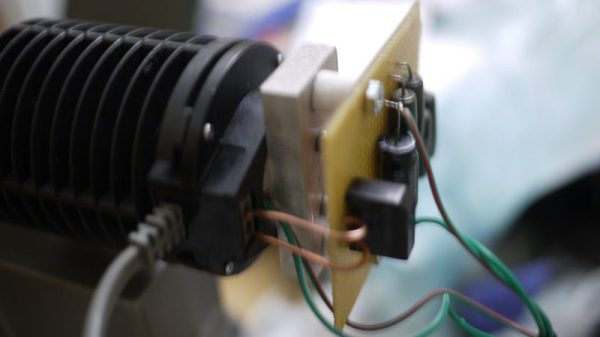
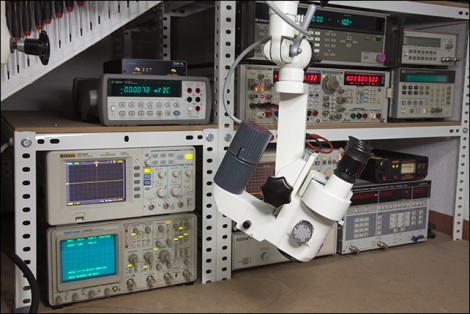
[Roberto Barrios] picked up a surgical microscope to add to those other fun lab toys you seen in the background. These work very well when soldering small components because they don’t have to be as close to the viewed objects as traditional microscopes. But [Robert] didn’t care for the heat generated by the incandescent bulb so he build his own LED replacement. If you recognize his name it’s because we saw a beautifully crafted in-visor GPS system that he built back in April. This project exhibits the same level of craftsmanship in which he utilized the base of a spare bulb to add an LED, heat sink, and driver board that is adjustable on all three axes.

He also mentioned that he overhauled his site design and it now plays nicely with all browsers.

Using Makerbot For Dishwasher Repair

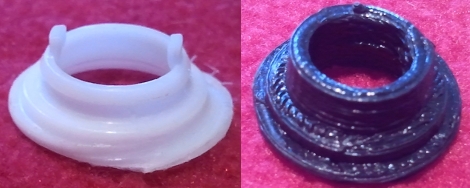
[Daryll Strauss’] dishwasher had some problems that he traced to a worn out part on the upper spinning arm. The hackerspace he belongs to has a Makerbot and he though this would be the perfect opportunity to print his own replacement part. He picked up some inexpensive digital calipers and set to work mapping out the dimensions of the broken piece. He took his hand-drawn cross section and built a replica part in Blender. Once he had it just right he generated the g-code and printed the part. His replacement works very well, and it’s a bit thicker (by design) than the original so hopefully that means it will hold up longer.

Cheap Projector Repair


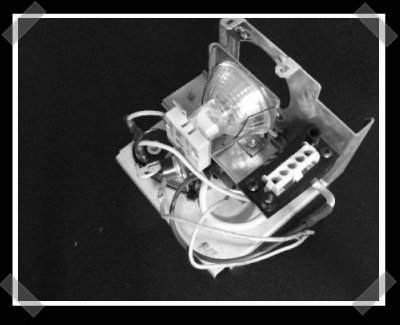
[Ryan] sent in this writeup on some DIY projector repair. The write-up is a little hard to follow, but maybe it’ll inspire some future projector landfill saves. [Dissident] replaced the light bulb and ballast in an older DLP projector with some salvaged MR-16 hardware from an even older over head projector. The main trick required was to bridge the trigger leads that tell the projector that the bulb is on and working.