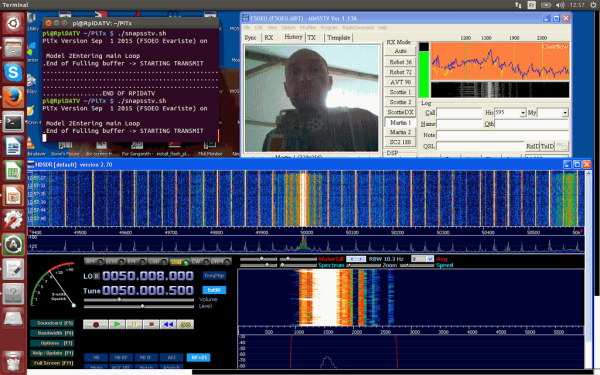
Although GRC (the GNU Radio Companion) uses the word radio, it is really a graphical tool for building DSP applications. In the last post, I showed you how you could experiment with it just by using a sound card (or even less). However, who can resist the lure of building an actual radio by dragging blocks around on a computer screen?
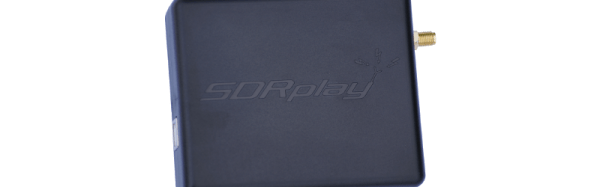
For this post and the accompanying video, I used an SDRPlay. This little black box has an antenna jack on one end and a USB port on the other. You can ask it to give you data about a certain area of the RF spectrum and it will send complex (IQ) data out in a form that GRC (or other DSP tools) can process.
The SDRPlay is a great deal (about $150) but if you don’t want to invest in one there are other options. Some are about the same price (like the HackRF or AirSpy) and have different features. However, you can also use cheap TV dongles, with some limitations. The repurposed dongles are not as sensitive and won’t work at lower frequencies without some external help. On the other hand, they are dirt cheap, so you can overlook a few little wrinkles. You just can’t expect the performance you’ll get out of a more expensive SDR box. Some people add amplifiers and converters to overcome these problems, but at some point it would be more cost effective to just spring for a more expensive converter.
Continue reading “Your First GNU Radio Receiver With SDRPlay”
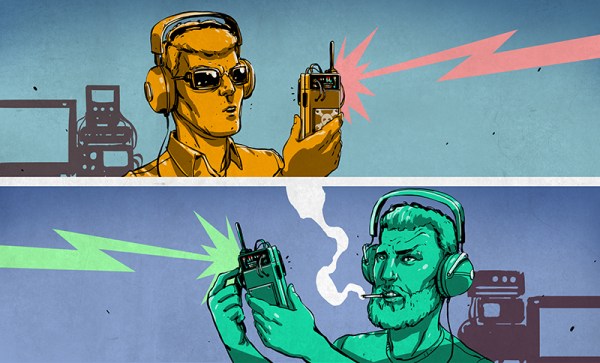

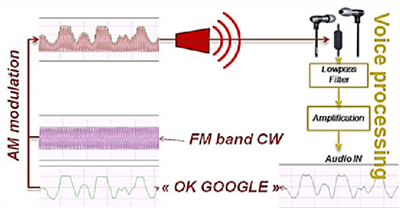 The ubiquitous Apple earbuds have a single wire for a microphone input, and this is the attack vector used by the researchers. With a 50 Watt VHF power amplifier (available for under $100, if you know where to look), a software defined radio with Tx capability ($300), and a highly directional antenna (free clothes hangers with your dry cleaning), a specially crafted radio message can be transmitted to the headphone wire, picked up through the audio in of the phone, and understood by Siri, Cortana, or Google Now.