![]()
[Michel] was in need of a 9V battery connector, and in a brilliant bit of insight realized 9V batteries will plug directly into other 9V batteries (just… don’t do that. ever.) Taking a dead 9V, he tore it open, was disappointed by the lack of AAAA cells, and soldered some wires onto the connector.
Sometimes a project starts off as a reasonable endeavour, but quickly becomes something much more awesome. [Wallyman] started off building a hammock stand and ended up making a giant slingshot. We’re not one to argue with something that just became a million times more fun.
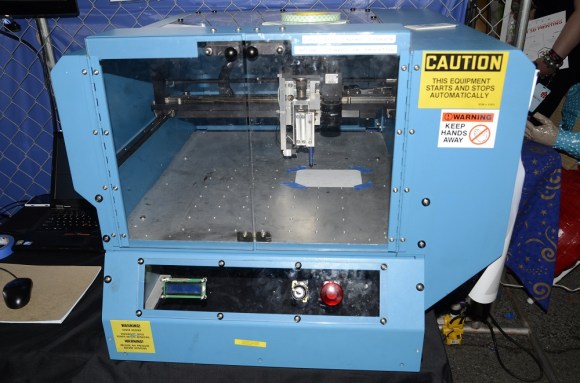
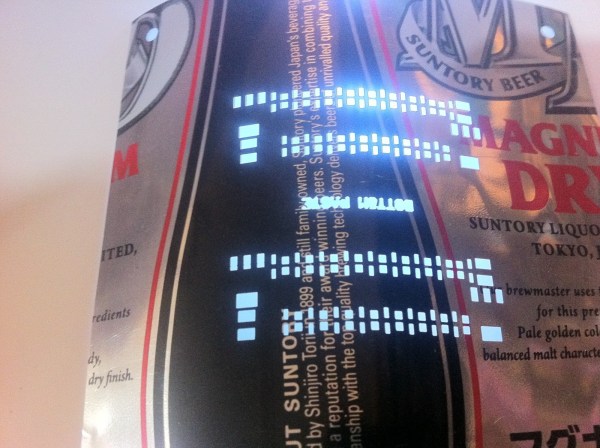
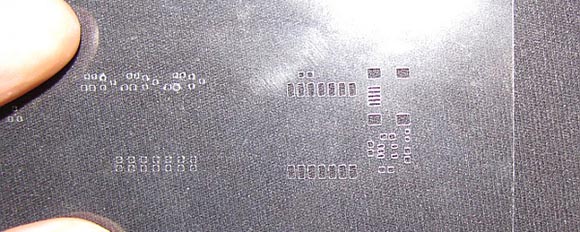
We’ve seen solder stencils made out of laser-cut metal, photoetched metal, plastic cut on a vinyl cutter, laser-cut plastic, and now finally one made on a 3D printer. It’s a pretty simple process – get the tCream layer into a .DXF file, then subtract it from a plastic plate in OpenSCAD.
Apple loves their proprietary screws, and when [Jim] tried to open his Macbook Air with the pentalobe screwdriver that came with an iPhone repair kit, he found it was too large. No problem, then: just grind it down. Now if only someone could tell us why a laptop uses smaller screws than a phone…
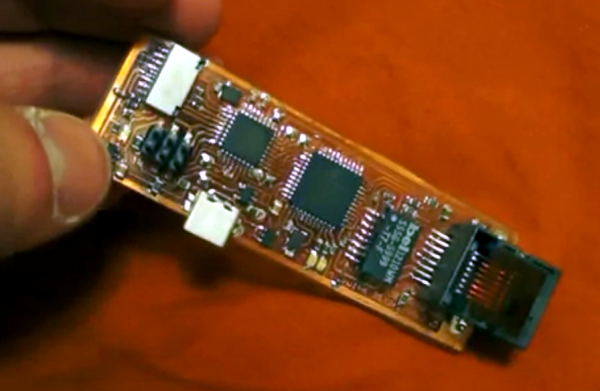
[Victor] has been playing around with an RTLSDR USB TV tuner dongle for a few months now. It’s a great tool, but the USB thumb drive form factor wasn’t sitting well with him. To fix that, he stuck everything into a classy painted Hammond 1590A enclosure. It looks much cooler, and now [Victor] can waterproof his toy and add a ferrite to clean things up.