[Michael] wanted a stereo that he could use outside, be it at the beach, beside the pool, or while tailgating. He decided to build this boom box himself, and didn’t cut any corners when it came to a professional looking finish.
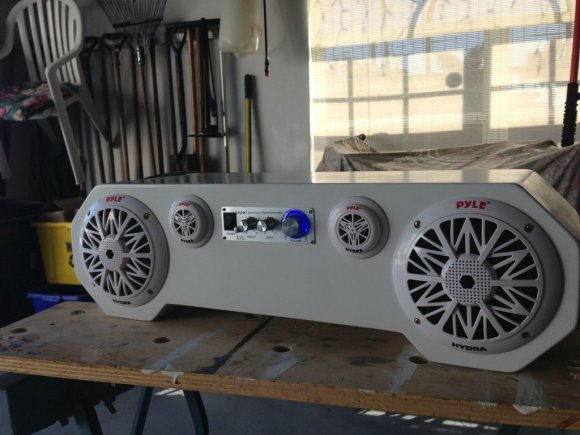
Because of the locale in which he plans to use the stereo he went with a set of marine speakers. They’ll have no problem standing up to water, and since they’re used in boats they should also be able to take a beating during transport. To feed it he uses a Lepai T amp which is seen above.
After cutting each piece of the case out of MDF he started working on the openings to receive the components. This involved quite a number of layout lines and some work with a compass to map out the circular openings. He built a recessed panel on the back to interface the power cord for charging. Inside is an 18 Ah battery. A set of switches lets him turn on the charger and choose between powering the amp from battery or from the power cord.
[via Reddit]


