A decade ago, [Jouke Waleson] bought a Dutch ‘model 1950’ PTT (The Dutch Postal Service) rotary-dial telephone of presumably 1950s vintage manufactured by a company called Standard Electric, and decided it would be neat to hack it to function as a Bluetooth hands-free device. Looking at the reverse, however, it is stamped “10.65” on the bottom, so maybe it was made as recently as 1965, but whatever, it’s still pretty old-tech now.
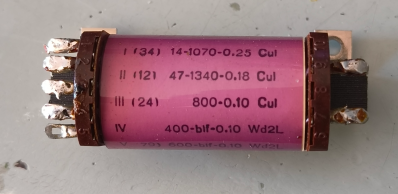
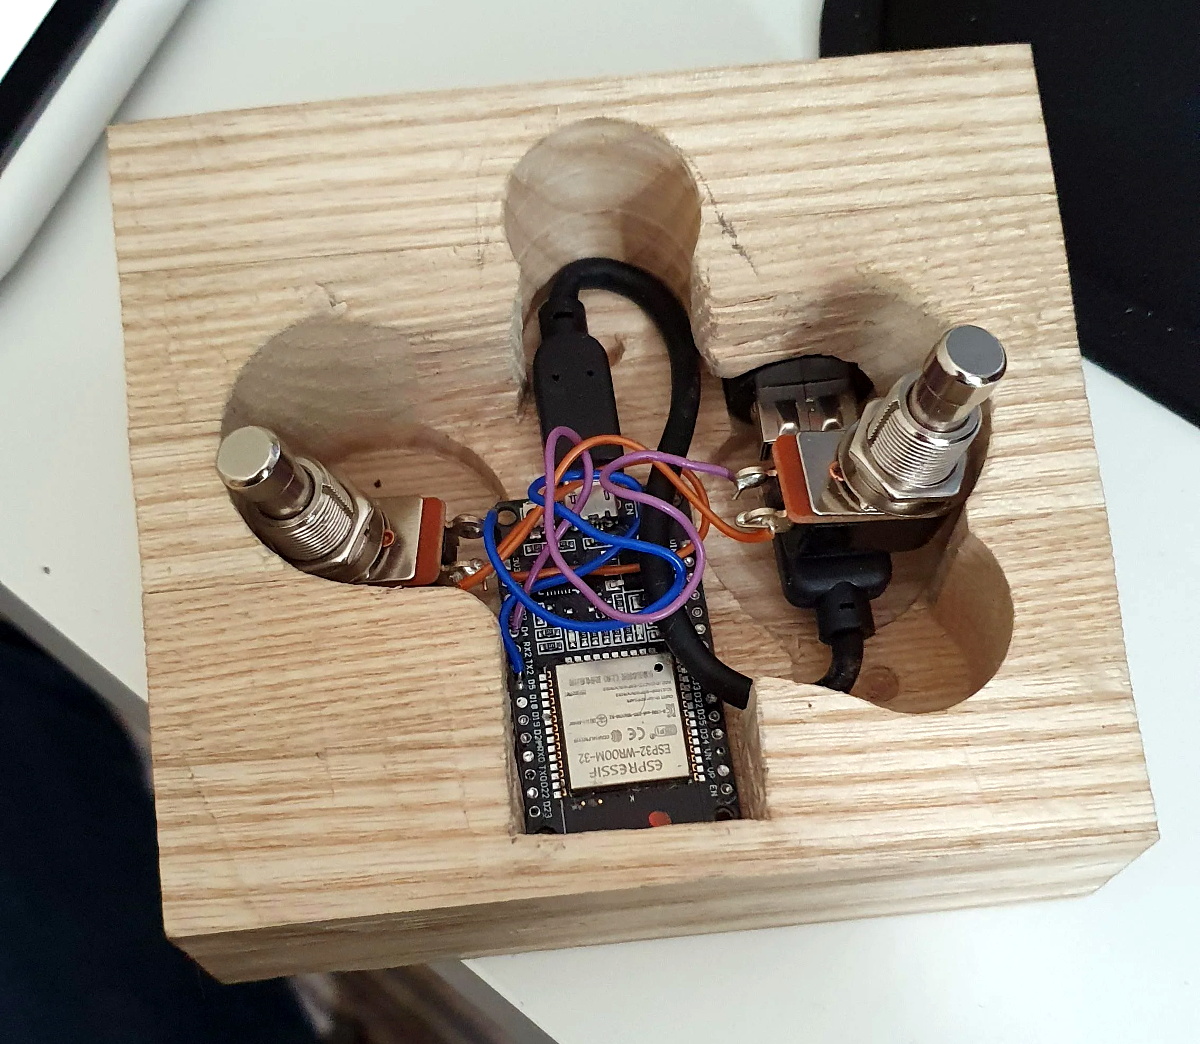
The plan was to utilise ESP32 hardware with the Espressif HFP stack to do all the Bluetooth heavy lifting. [Jouke] did find out the hard way that this is not a commonly-trodden path in hackerland, and working examples and documentation were sparse, but the fine folks from Espressif were on hand via GitHub to give him the help he needed. After ripping into the unit, it was surprisingly stuffed inside there. Obviously, all the switching, even the indication, was purely electromechanical, which should be no surprise. [Jouke] identified all the necessary major components, adding wires and interfacing components as required, but was a bit stumped at the function of one funky-looking component that we reckon must be a multi-tap audio transformer, oddly finished in baby pink! After renovating some interesting cross-shaped mechanical indicators and wiring up some driving transistors, it was time to get on to the audio interface. Continue reading “Bakelite To The Future – A 1950s Bluetooth Headset”