Putting Some Numbers On Your NEMAs

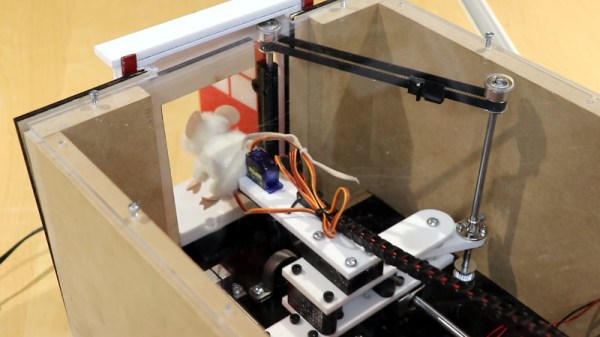
It’s official: [Engineer Bo] wins the internet with a video titled “Finding NEMA 17,” wherein he builds a dynamometer to find the best stepper motor in the popular NEMA 17 frame size.

Like a lot of subjective questions, the only correct answer to which stepper is best is, “It depends,” and [Bo] certainly has that in mind while gathering the data needed to construct torque-speed curves for five samples of NEMA 17 motors using his homebrew dyno. The dyno itself is pretty cool, with a bicycle disc brake to provide drag, a load cell to measure braking force, and an optical encoder to measure the rotation of the motor under test. The selected motors represent a cross-section of what’s commonly available today, some of which appear in big-name 3D printers and other common applications.

[Bo] tested each motor with two different drivers: the TMC2209 silent driver to start with, and because he released the Magic Smoke from those, the higher current TB6600 module. The difference between the two drivers was striking, with lower torque and top speeds for the same settings on each motor using the TB6600, as well as more variability in the data. Motors did better across the board with the TBC6600 at 24 volts, showing improved torque at higher speeds, and slightly higher top speeds. He also tested the effect of microstepping on torque using the TBC6600 and found that using full steps resulted in higher torque across a greater speed range.

At the end of the day, it seems as if these tests say more about the driver than they do about any of the motors tested. Perhaps the lesson here is to match the motor to the driver in light of what the application will be. Regardless, it’s a nice piece of work, and we really appreciate the dyno design to boot — reminds us of a scaled-down version of the one [Jeremey Fielding] demonstrated a few years back.

Continue reading “Putting Some Numbers On Your NEMAs”

Peek Behind The Curtain Of This Robotic Mouse

At first glance, this little animatronic mouse might seem like a fairly simple affair. A door opens, our rodent friend pops its head out, looks around, and goes back in. But just like in The Wizard of Oz, a strategically placed curtain is hiding the impressive array of gadgetry that makes the trick possible.

Creator [Will Donaldson] has put together a fantastic write-up of just what went into creating this little fellow, and we think you’ll be surprised at just how serious the mechanics involved are. Take for example the rig that provides horizontal motion with a NEMA 17 stepper motor mated to a 200 mm leadscrew and dual 8 mm rail assembly that would like right at home as part of a 3D printer.

The star of the show rides atop a beefy sliding carriage assembly made of printed components and acrylic, which is linked to the door via a GT2 timing belt and pulley in such a way that it automatically opens and closes at the appropriate time. To inject some life into the puppet, [Will] stuffed it with a pair of SG90 servos in a sort of pan-and-tilt arrangement: the rear servo turns the mouse’s body left and right, while the forward one moves the head up and down.

An Arduino Uno controls the servos, as well as the stepper motor by way of a TB6600 controller, and optical limit switches are used to make sure nothing moves out bounds. [Will] is keeping the CAD files and source code to himself for the time being, though we imagine a sufficiently dedicated mouseketeer could recreate the installation based on the available information.

This would appear to be the first animatronic mouse to grace the pages of Hackaday, but we’re certainly no strangers to seeing folks imbue inanimate objects with lifelike motion.

Continue reading “Peek Behind The Curtain Of This Robotic Mouse”

Arduino Takes Control Of Dead Business Card Cutter

It’s a common enough situation, that when an older piece of equipment dies, and nobody wants to spend the money to repair it. Why fix the old one, when the newer version with all the latest bells and whistles isn’t much more expensive? We all understand the decision from a business standpoint, but as hackers, it always feels a bit wrong.

Which is exactly why [tommycoolman] decided to rebuild the office’s recently deceased Duplo CC-330 heavy duty business card cutter. It sounds like nobody really knows what happened to the machine in the first place, but since the majority of the internals were cooked, some kind of power surge seems likely. Whatever the reason, almost none of the original electronics were reused. From the buttons on the front panel to the motor drivers, everything has been implemented from scratch.

An Arduino Mega 2560 clone is used to control four TB6600 stepper motor drivers, with a common OLED display module installed where the original display went. The keypad next to the screen has been replaced with 10 arcade-style buttons soldered to a scrap of perfboard, though in the end [tommycoolman] covers them with a very professional looking printed vinyl sheet. There’s also a 24 V power supply onboard, with the expected assortment of step up and step down converters necessary to feed the various electronics their intended voltages.

In the end, [tommycoolman] estimates it took about $200 and 30 hours of work to get the card cutter up and running again. The argument could be made that the value of his time needs to be factored into the repair bill as well, but even still, it sounds like a bargain to us; these machines have a four-figure price tag on them when new.

Stories like this one are important reminders of the all wondrous things you can find hiding in the trash. Any time a machine like this can be rescued from the junkyard, it’s an accomplishment worthy of praise in our book.