McCulloch County, Texas, is smack dab in the middle of a very large state. We wouldn’t exactly call it the middle of nowhere, but given there’s so little light pollution it scores a 1 on the Bortle Scale, it’s not exactly the Big Apple, either. [Bray Falls] lives there, and has a job description we have become immediately jealous of: [Bray] is a telescope rancher.
Like the song goes, the stars really are big and bright at night deep in the heart of Texas. Not only is his ranch free of the light pollution that plagues more urban locations, central Texas is pretty dry, with only a few days of rain in any given month. That’s not great for agriculture, but it’s great for astronomy since it means the skies are most often cloud-free. Combine that with access to high-speed internet, and you have the makings of a telescope ranch.
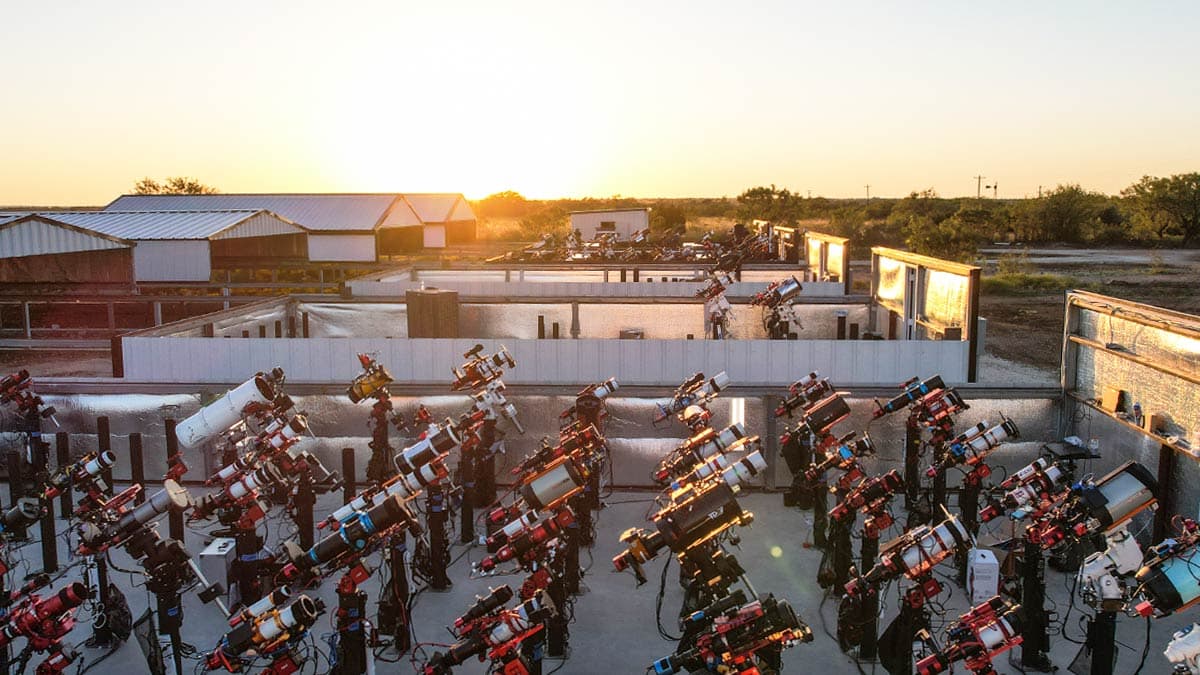
Image: Starfront Observatory
It’s brilliant in its simplicity: along with his own ‘scopes, [Bray]’s Starscope Observatory hosts hundreds of other people’s CCD equipped goto telescopes, all set up to be remote controlled over the information superhighway. On clear nights– which again, is most of them–the roofs roll off the telescope barns and observations can begin. Pad rental comes with tech support, too, so you don’t have to fly out to heart of darkest Texas if your mount gets jammed or you lose signal for any reason. That said, you should be sure to read the fine print before signing up, because said tech support probably doesn’t apply if you 3D printed your own ‘scope, or built your own mount.
That said, having gone to the effort of doing all that, would you really send your baby away to a farm upstate? Best reserve that for the old Celestron collecting dust in the corner. If you think we should be leaving these observations to the pros, be aware [Bray] has apparently discovered a very oddly-placed supernova remnant, 40 degrees off the galactic plane in Virgo. So this isn’t just a rewarding hobby; it’s still science, too.