Thermal receipt printers are finding their way into all sorts of projects that are well beyond the point-of-sale environment that they normally inhabit. And while we applaud all the creative and artistic uses hackers have found for these little gems, this GitHub physical ticket printer has to be the best use for one yet.
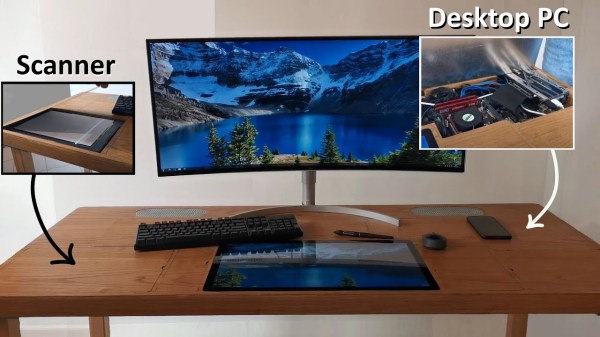
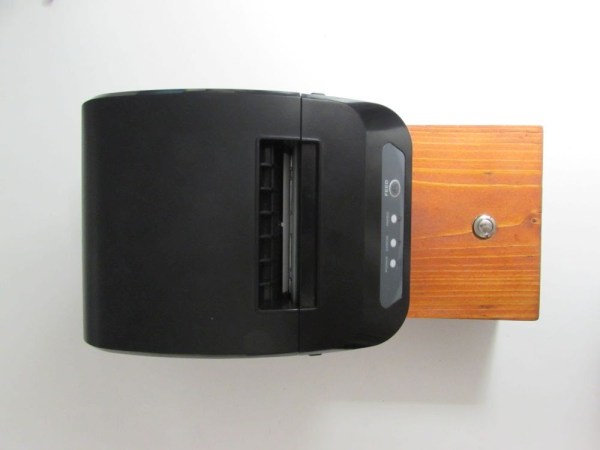
According to [Andrew Schmelyun], seeing a fast-food order pop up on a thermal printer was the inspiration for this build. Maintaining over one hundred GitHub repos as he does, it’s easy for the details of any one bug report or feature request to get lost in the swarm of sticky notes that [Andrew] previously used to keep track of his work. To make it happen, he teamed an Epson thermal printer up to a Raspberry Pi Zero W and worked out the details of sending data to the printer using PHP. Luckily, there’s a library for that — the beauty of GitHub.
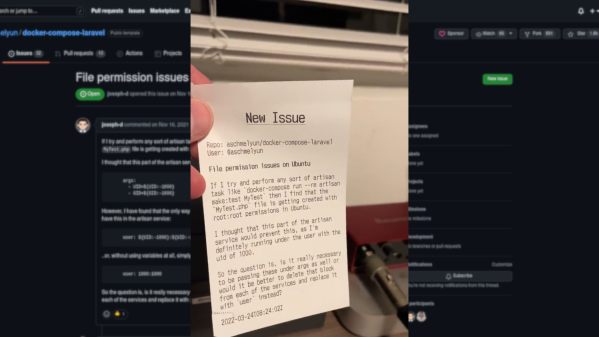
With the “Hello, World!” bit out of the way, [Andrew] turned his attention to connecting to GitHub. He set up some webhooks on the GitHub side to send a POST request every time an issue is reported on one of his repos. The POSTs are sent via ngrok to a PHP web server running on the Pi, which formats the data and sends the text to the printer. There’s a short video in the tweet below.
Between the sound of the printer working and the actual dead-tree ticket, it’ll be hard for [Andrew] to miss issues now. We’ve seen thermal printers stuffed into cameras, used to send pictures to Grannie, and even watched them commit suicide slowly, but we say hats off to [Andrew] for his solid work ethic and a fun new way to put a receipt printer to use.
Continue reading “Get GitHub Tickets IRL With A Raspberry Pi And A Receipt Printer”