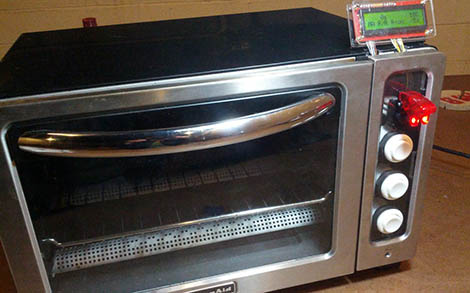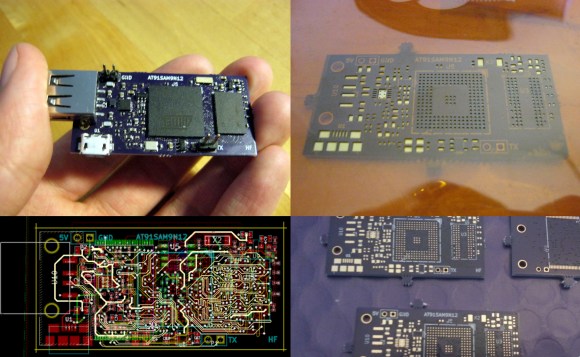
Typically, you buy a single board Linux computer. [Henrik] had a better idea, build his own ARM based single board computer! How did he do it? By not being scared of ball grid array (BGA) ARM processors.
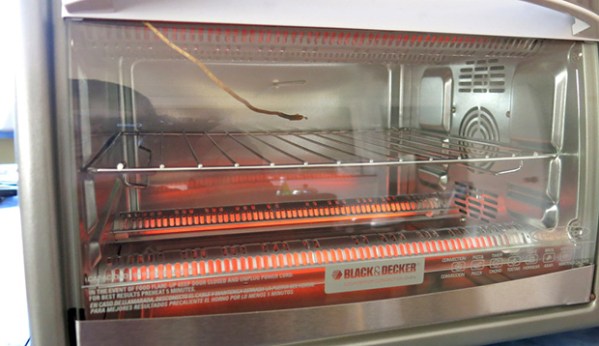
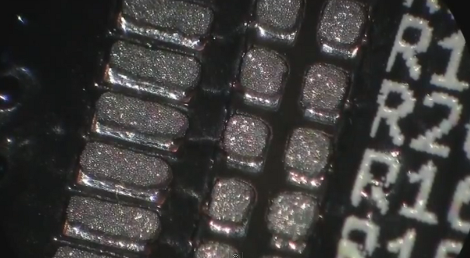
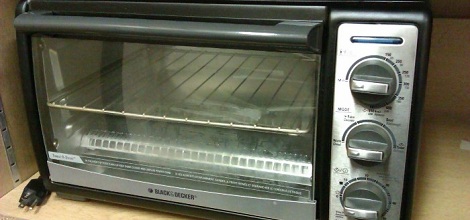
Everyone loves the Raspberry Pi and Beagle Board, but what is the fun in buying something that you can build? We have a hunch that most of our readers stay clear of BGA chips, and for good reason. Arguably, one of the most important aspects of [Henrik’s] post is that you can easily solder BGAs with cheaply available tools. OSH Park provides the inexpensive high-quality PCBs, OSH Stencils provides the inexpensive stencils, and any toaster oven allows you to solder even the most difficult of components. Not only does he go over the PCB build, he also discusses the bootloader, u-boot, and how to get Linux running.
Everything worked out very well for [Henrik]. It’s a good thing too, cause we sure wouldn’t want to debug a PCB as complicated as this one. What projects have you built that use a BGA? Let us know how it went!