OLinuXino Booting Android

We can’t say the name rolls off the tongue, but it is beginning to look like the OlinuXino is going to happen. Here you can see the prototype hardware booting Android. If this is the first time you’re seeing the hardware you can think of it in the same category as the Raspberry Pi. It’s a butt-kicking ARM platform that comes as a bare-board with which you can do what you please.

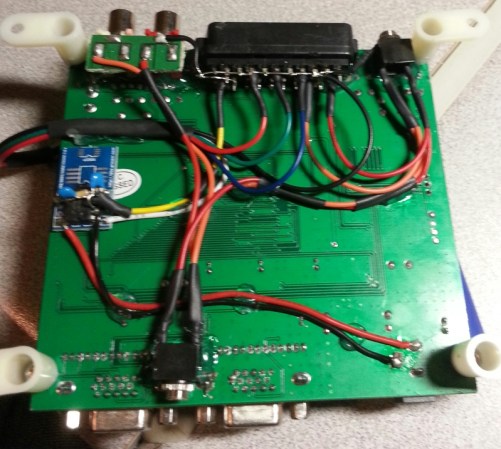
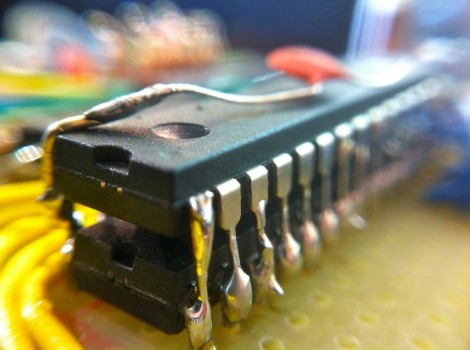
Olimex Ltd. put together the offering, which seems to be part of the name mash-up (Olimex + Linux + Arduino?). The board hosts an ARM Cortex-A8 processor which runs at 1 GHz. There’s a half a gigabyte of ram, four USB and one USB-OTG ports, and a big array of breakout pins. One eyebrow-raising choice was not to include an HDMI connector. Instead the board offers VGA and Audio outputs. There is a pin header meant for an LCD screen, as seen in the image above, so it could be that the intention here is for smaller or more portable applications. But like we said, the form factor really lets you do what you want.

Possibly the best part is the price. The target for the top-of-the-line board is 55 Euros (about $68) and that comes with WiFi and 4 GB of NAND storage on the board. There’s a bunch of posts on the project, including a look at the PCB routing work. This link to the A13 tag will give you the widest overview of the work so far.

[Thanks Acce]

VGA Message Board Displays SMS Without A Computer

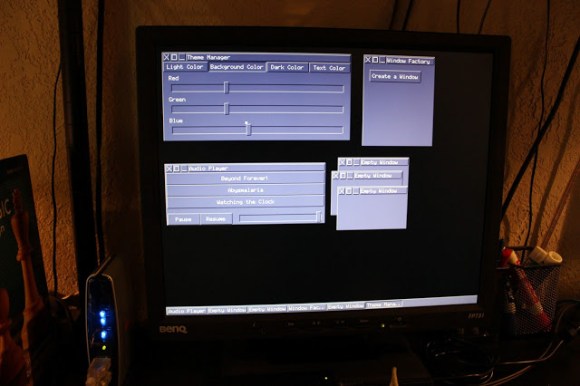
[Achu Wilson’s] latest creation is a VGA message board which is written to via SMS text messages. This doesn’t sound too interesting at first, until you find out he’s doing this with a microcontroller rather than a PC. All of the complexity is in the code that drives the VGA. He managed to do it without any jitter while using an 8-bit microcontroller.

But first, the cellular side of things. A GSM modem takes care of connectivity. To communicate with the modem [Achu] used an ATmega8. He mentions the he could have used a much smaller uC, like an ATtiny, but this is what he had lying around. When a message is received the ATmega8 feeds the characters to an ATmega16 which is driving the VGA monitor. Rather than deal with the analog voltages necessary to run a color display he simply ganged the three color lines together and drives them from one of the microcontroller pins. This results in white and black which correspond to voltage or no voltage.

You can see him showing off the system in the clip after the break.

Continue reading “VGA Message Board Displays SMS Without A Computer”

Offloading VGA Generation Onto A Coprocessor

[Alessandro] sent us a link to his post about a PRU software VGA rasterizer. It’s not the easiest read, but we think it’s worth your time.

The gist of his background information is that back when his company was developing for an ARM9 processor he wanted to test his mettle with the coprocessor chips. The first iteration was to write a character LCD driver that pulled data from the main processor’s memory and displayed it on the screen. This makes for a low-overhead debugger display, it’s also very limited (32 characters over two lines doesn’t tell you much). And thus began his work on a VGA generator for the Programmable Realtime Unit (PRU is what TI calls this coprocessor) that grabs data in memory just like the original version. But with a much larger display area this becomes quite useful for debugging. That resistor mess is the R2R ladder he soldered together to perform the Digital to Analog Conversions. There’s a quick demo clip after the jump.

This work could end up being useful to you. [Alessandro] reports that the BeagleBone has similar hardware. A bit of porting could get his generator working on that board as well.

Continue reading “Offloading VGA Generation Onto A Coprocessor”

Tricking The BeagleBone Into Outputting Video

[FlorianH] wanted to get video out working with his BeagleBone but he just couldn’t figure out how to make the kernel play ball. Then a bit of inspiration struck. He knew that if you plug in the official DVI cape (that’s the BeagleBone word for what you may know as a shield) the kernel automatically starts pumping out the signals he needs. So he figured out a way to spoof the cape and output video.

At boot time the kernel polls the I2C bus to see what’s connected. The DVI cape has an EEPROM which identifies it. Since the data from the EEPROM is available for download [FlorianH] grabbed the data he needed, then used an ATmega32 to stand in for the memory chip. When he got the chip talking to the BeagleBone he was able to detect the video sync signals on his scope and he knew he was in business.

Look closely at the breadboard on the right. We love that SIL breakout board for the ATmega32. Very prototype friendly!

Bitbanging Super Smash Bros.

[Kyle] and an a few of his classmates are wrapping up a microcontroller interfacing class at Purdue and thought it best to send in the results of their efforts. It’s a version of Super Smash Bros. made by just bitbanging pins on a microcontroller.

The hardware for the project is based around a Freescale 9S12c32, an updated version of the 30-year-old M68HC11 microcontroller. For the controls, the guys used a Playstation 2 joystick and buttons housed in an Altoids box, and the actual console is made out of strips of wood stapled together to look like a crate from Super Smash Bros.

There are nine playable characters:  Pikachu, Captain Falcon, Yoshi, Donkey Kong, Mario, Luigi, Link, Kirby, and Fox. Despite these characters being only four pixels high, the game looks extremely playable (at least when two players don’t choose the same character). After the break is the video demo of Super Smash Bros: Bitbang edition, along with a gallery of pics showing the console and gameplay. All the code is up on GitHub for your perusal.

Continue reading “Bitbanging Super Smash Bros.”

Veronica Gets VRAM And Its Own Boot Logo

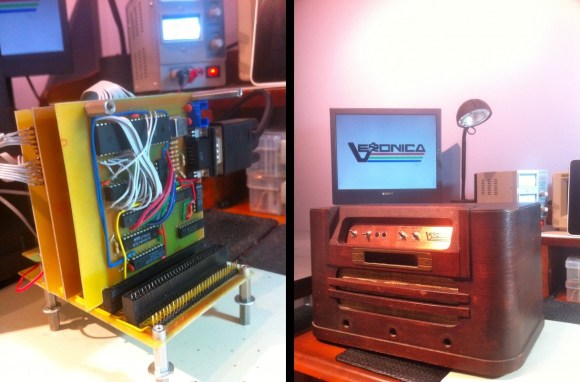
[Quinn Dunki] just reported in on the latest iteration in her computer project which is called Veronica. This time she added RAM to increase the VGA performance of her build. Like just about every other part of the project, [Quinn] knew what she wanted to do, but had to overcome a lot of issues along the way.

The goal is to implement a 256×240 display with 8-bit color depth. [Quinn] says this is on par with game console technology from the 1980’s. The problem is that the 10MHz AVR controller can’t really keep up with the scan rate of this size of display. The answer is to add RAM which stores all of the color data, the microcontroller will simply advance the address pointer on the memory chips to match the sync rate of the VGA output.

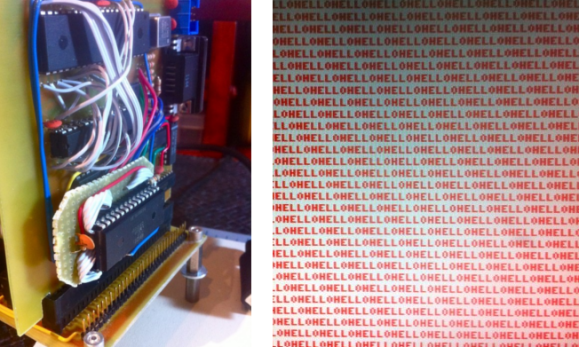
After hooking up her hardware design she gets a screen full of uninitialized pixel data. But moving from there to the final product seen above was quite frustrating. It turns out that noise on the breadboard was most of the problem, further compounded by entire breadboard row which wasn’t contacting the wires to make the temporary connections. A bit of jockeying for position and by Jove, she’s got a boot screen.

That breadboard sure has become crowded since her first VGA experiments.

ATmega324 Acts As A GPU For Homebrew Computer

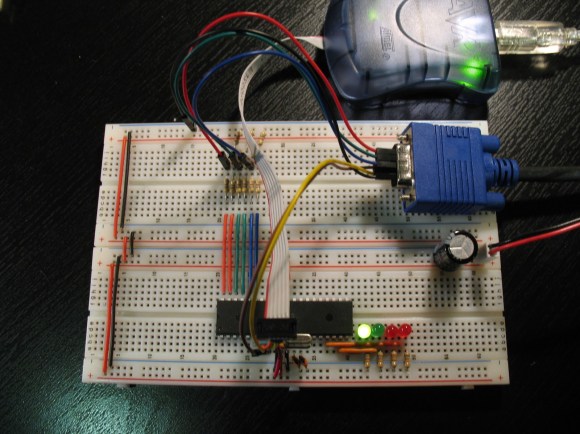
[Quinn Dunki’s] homebrew computer project is moving up another evolutionary rung. She needs a more versatile user interface and this starts with the data output. Up to this point a set of 7-segment digits has served as a way to display register values. But her current work is aimed at adding VGA output to the system.

She starts off her write up by justifying the protocol choice. Although composite video would be easier to get up and running (we see it in a lot of AVR projects) [Quinn] doesn’t have a screen that will display composite video. But there’s also a lot of info out there about VGA signal generation. She delved into the specifics and even found a great AVR-based example over at Lucid Science.

The version seen above uses the 40-pin ATmega324. It’s a lot bigger than necessary for the example she put together, but in the future she plans to add video memory and will be glad to have all of those extra I/O pins. When it comes to video sync, timing is everything. She wrote the code to drive the display using assembly. In this way, she was able to look up the cycles used for each command to ensure that the loop is running with near perfect timing.